Great Planes Corsair 40 Kit - GPMA0177 User Manual
Page 32
D 5. Attach the cowl blocks to inside of the cowl using
#2 x 3/8" sheet metal screws.
D 6. Stand the fuse up on its tail. Center the cowl on the
fuse and mark the cowl block locations on the firewall. Use
the marks to help locate the cowl blocks on the firewall and
glue the cowl blocks to the firewall with 6-minute epoxy.
D 1. Fill any scuffs, dings and the forward end of the
pushrod tube exit slot with balsa filler. After the filler has
hardened, sand the entire structure with progressively finer
grades of sandpaper, ending with 320-grit.
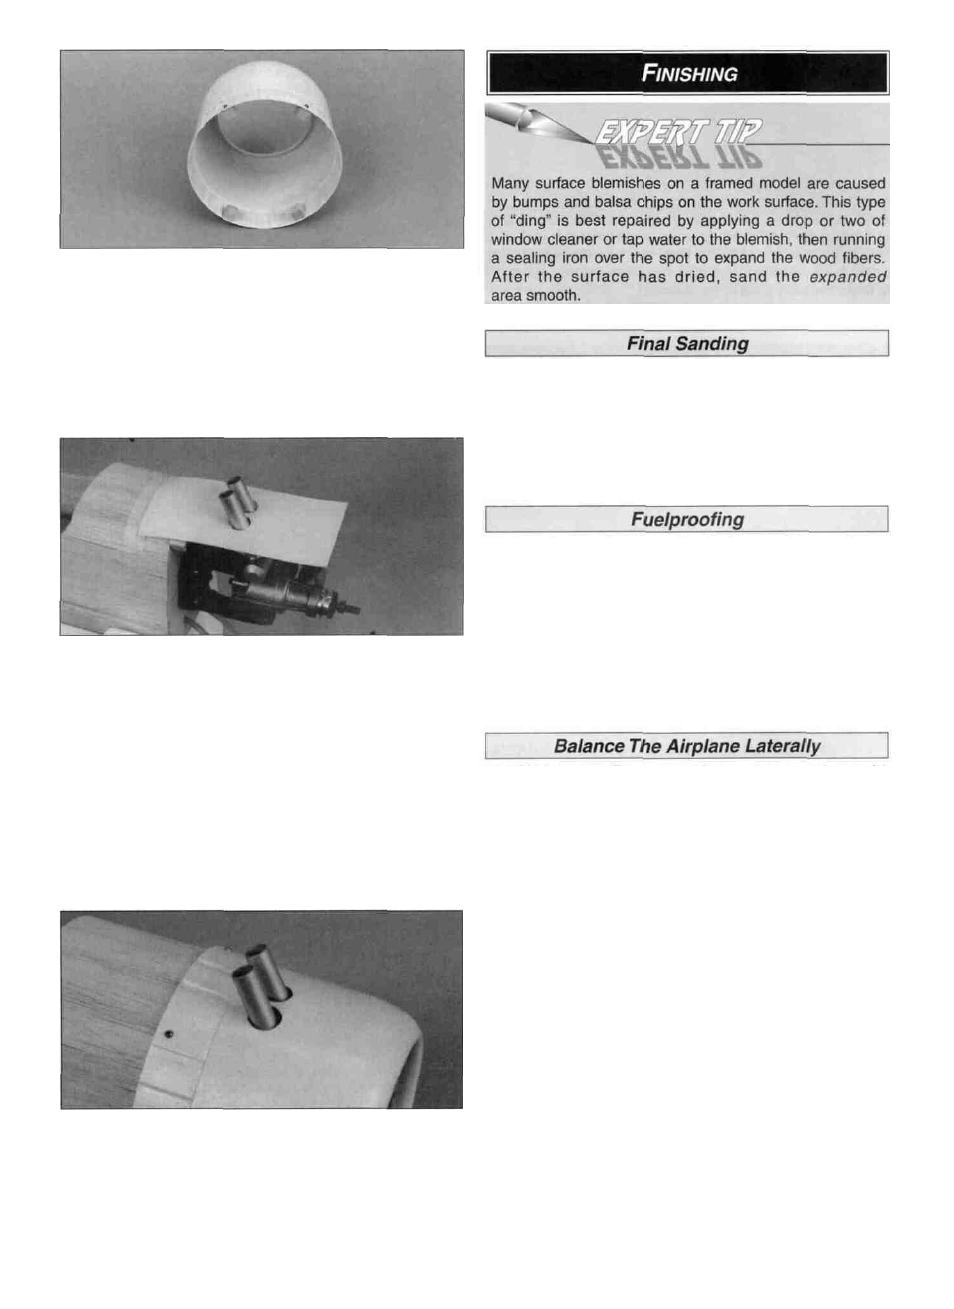
D 7. Remove the cowl and install Hie muffler. Cut a piece of
clear butyrate or thin card stock to use as a template (not
included) long enough to cover the engine. Tape the
template to the fuse and with a marker draw the outline of
any part that will protrude out of the cowl (for example, the
needle valve, glow plug and muffler). Trim the area from
inside the lines on the template. Test fit the template over
the engine and trim as needed. Carefully remove the
engine without disturbing the template and reinstall the
cowl. With the template still taped to the fuse, lay the
template on the cowl and mark the location where holes will
need to be cut. Remove the cowl and trim out the openings.
D 8. Reinstall the engine on the engine mount and trial fit
the cowl over the engine. Allow approximately 1/16" of
clearance around the muffler for cooling.
Fuelproofing may be done either before or after covering.
D 1. Fuelproof the engine compartment paying special
attention to the firewall. Top Flite LustreKote paint or
30-minute epoxy is recommended.
D 2. Fuelproof any external exposed wood.
SPECIAL NOTE: Do not confuse this procedure with
"checking the C.G." or "balancing the airplane fore and
aft." That very important step will be covered later in
the manual.
Now that you have the basic airframe nearly completed,
this is a good time to balance the airplane laterally
(side-to-side). Here is how to do it:
D 1. Temporarily attach the wing and engine (with muffler)
to the fuselage.
D 2. With the wing level, lift the model by the engine
propeller shaft and the fin post (this may require two
people). Do this several times.
D 3. If one wing always drops when you lift the model, it
means that side is heavy. Balance the airplane by gluing
weight to the other wing tip.
NOTE: An airplane that has been laterally balanced will
track better in loops and other maneuvers.
32