Automatic self calibration, One-touch calibration – A&D Weighing BM-20 User Manual
Page 34
32
BM
series
8.2.
Automatic Self Calibration
(For variation of ambient temperature)
Automatic self calibration due to changes in temperature
This
function
automatically calibrates the balance when the balance detects an ambient
temperature change. If GLP output is selected in the function table, the balance outputs the
calibration report or stores the data in memory. Automatic self calibration functions even if the
display is turned off (standby state). Refer to "
9.1. Permit Or Inhibit" for the operation.
Caution
Place nothing on the weighing pan during automatic self calibration.
If something is on the weighing pan, the balance decides that it is in use and does not
perform automatic self calibration.
When weighing a light sample, using a long term weighing or installing the balance in a
system, turn off automatic self calibration.
Note
When turning on the balance with nothing on the pan, if a sample heavier than 0.5 g is
placed on the pan, the balance detects the state that a sample is placed on the pan and
does not perform the automatic self calibration.
The
mark
is " prior notice indicator of automatic self calibration".
When the balance detects a change in ambient temperature, this indicator blinks
and automatic self calibration is required. If the balance is not used for several
minutes with this indicator blinking, the balance performs automatic self calibration.
The environment will affect the time that the indicator blinks.
The balance is measuring calibration data. Do not allow vibration or drafts to affect
the balance while this indicator is displayed. After calibration, the balance returns
to indicate the previous display.
Advise
The balance can be used while the indicator blinks. But, it is recommended that to maintain the
accuracy, stop using the balance and confirm that there is nothing on the pan and allow the
balance to perform self calibration.
8.3.
One-Touch Calibration
(For Common Use)
This function calibrates the balance using the internal mass.
The only operation required is to press the
CAL
key.
1 Connect the AC adapter and warm up the balance for at
least one hour with nothing on the weighing pan.
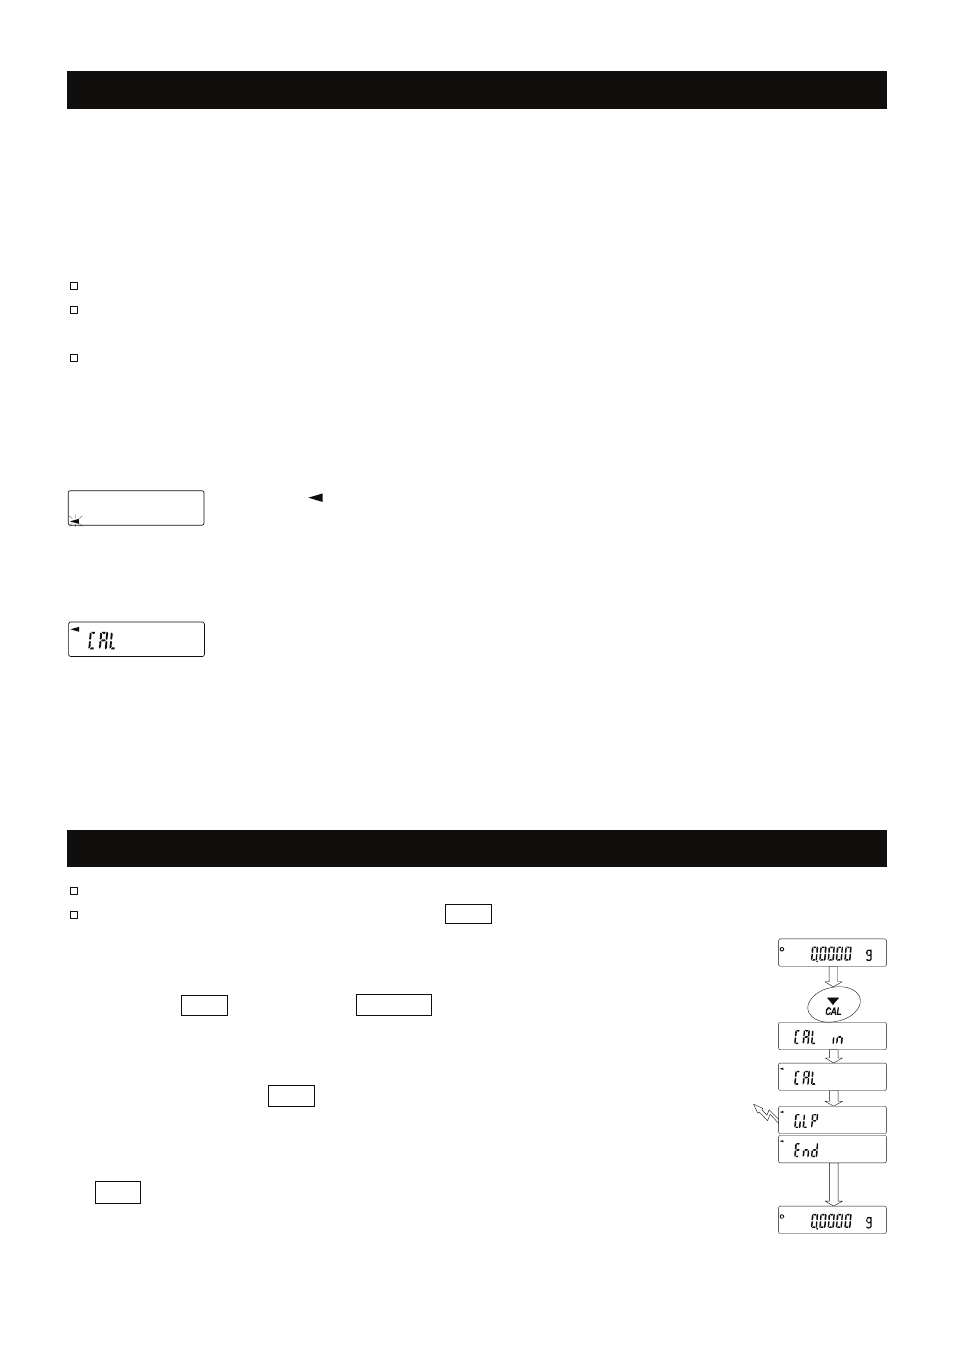
2 Press
the
CAL
key to display
Cal in
.
3 The balance performs calibration using the internal mass.
Do not allow vibration or drafts to affect the balance.
4
If
GLP output is set,
glp
is displayed, the calibration test report
is output to the RS-232C interface and is stored in memory. Refer
to "GLP output (
info
)" and "Data memory (
data
)" of the function
table, "
11.2. GLP Report" and "12. Data Memory".
end
is displayed after the calibration.
5 The balance will automatically return to the weighing mode after calibration.
6 Confirm
weighing
accuracy using calibration test (
CC in
).
GLP output