White balance, Auto white balance, Manual white balance adjustment – Panasonic NVG2E User Manual
Page 12: High speed shutter, For playback, Power zooming, Fade-in and fade-out, Fade-in, Fade-out, White balance •high speed shutter
Attention! The text in this document has been recognized automatically. To view the original document, you can use the "Original mode".
White Balance
Auto White Balance
This adjustment is necessary to assure natural colour rendition.
For continuous automatic White Balance adjustment, just turn the
Movie Camera on. This setting will automatically provide well-
balanced natural colour rendition under almost any shooting
condition.
Manual White Balance Adjustment
1
Attach the White Cap to the lens.
2
Keep pressing the “T” Button of the Power Zoom Control
Buttons until the screen in the EVF becomes completely white.
3
Slide open the cover on the lens part, then keep the White
Balance Button pressed for more than 1 second.
The “WHITE” Indication in the EVF informs about the state of
the adjustment;
Flashing slowly......................... Not set
Flashing rapidly ....................... During setting
The indication “W.SET’is lit ..... Setting is finished
• How to Use the White Cap
If there is only one light source, attach the White Cap to the
lens for the manual white balance adjustment. If there are
several light sources or if the illuminations is weak (indoor,
etc.), remove the White Cap from the lens and point the Movie
Camera at a purely white subject, such as white paper, and
then adjust the White Balance.
•Automatic Recall of Previous White balance Setting
When the Operation Switch of the Movie Camera is turned off
and later on again, the “WHITE" Indication will flash slowly,
however, the last previous white balance setting is still
maintained. However, to ensure best possible colour
reproduction, adjust the white balance anew as explained
above. It is also maintained during Playback, Rec Review and
Camera Search. However, the previous white balance
setting will no longer be maintained when the AC Adaptor is
turned off or the Battery Pack is removed from the Movie
Camera.
•When moving the Movie Camera from indoors to outdoors or
vice versa, be sure to adjust the white balance anew, as the
colour of the light has changed considerably.
High Speed Shutter
A range.of different shutter speeds make possible videographing of
scenes with fast movements.
1
Slide open the cover on the lens part.
2
By repeatedly pushing the High Speed Shutter Button, the
shutter speed can be changed as follows;
1/50 sec. (normal)
1/120 sec.
1/250 sec.
1/500 sec.
1/1000 sec.
1/2000 sec.
1/4000 sec.
(No indication):
1
/
120
:
1/250:
1/500:
1
/
1000
:
1
/
2000
:
1/4000:
For Playback
When scenes recorded with high shutter speed(s) are later played
back on a VTR equipped with the playback functions Super Still
and Super Fine Slow Motion, etc., still and slow motion pictures
with very sharp contours and full details can be obtained.
Note:
See page 24 for details.
Zooming
Power Zooming
To make
your zoom
shots
m ore im pressive and
give exactly the
desired effect, do it like the professionals: before recording,
mocked a trial run of the zooming.
Zoom Out (The subject
becomes smaller)
- *
Zoom In (The subject
becomes larger)
For wide-angle: Press the “W” Button.
For telephoto: Press the “T” Button.
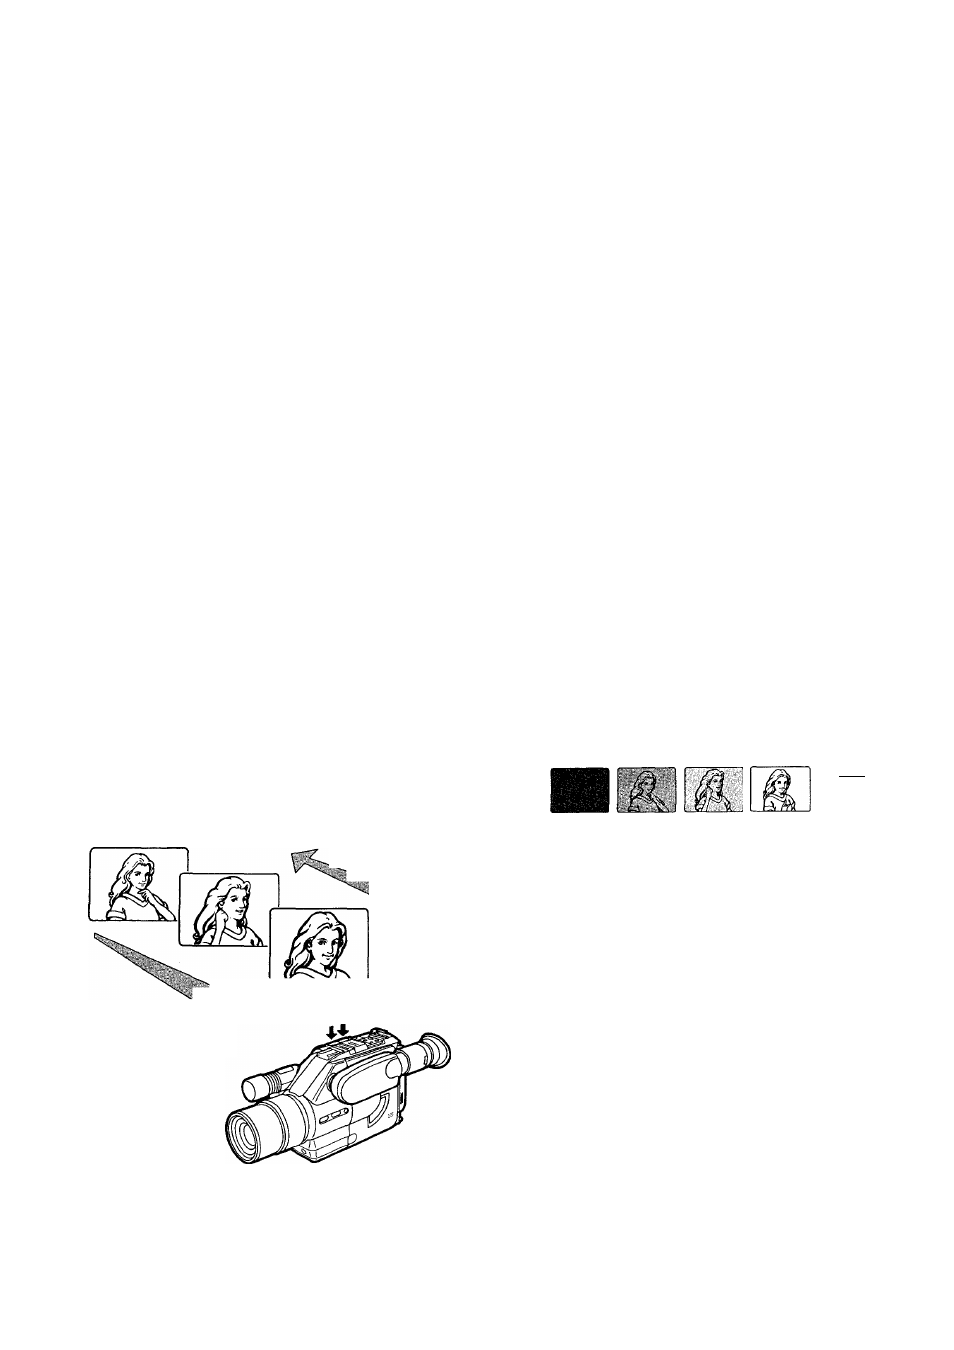
Fade-In and Fade-Out
Fade-In
FADE
Fade-Out
Fade-In
Fade-In is used, for example, at the beginning of a performance.
After recording the title, gradual fading-in of the first scene is very
effective.
1
With the Movie Camera in the recording pause mode, keep the
Fade Button pressed.
2
After the picture has disappeared in the EVF, press the Start/
Stop Button.
3
3 seconds later, release the Fade Button.
•The picture will appear gradually.
Fade-Out
Fade-Out is used to give a scene a soft ending or for a smooth
fade-out/fade-in transition from one scene to another.
1
2
3
Release the Fade Button.
During recording, keep the Fade Button pressed to the point
where you want to fade out.
After the picture has disappeared, press the Start/Stop Button
to stop the recording.
-12-