Panasonic CF-25 User Manual
Panasonic Notebooks
Attention! The text in this document has been recognized automatically. To view the original document, you can use the "Original mode".
Panasonic
Personal Computer
OPERATING INSTRUCTIONS
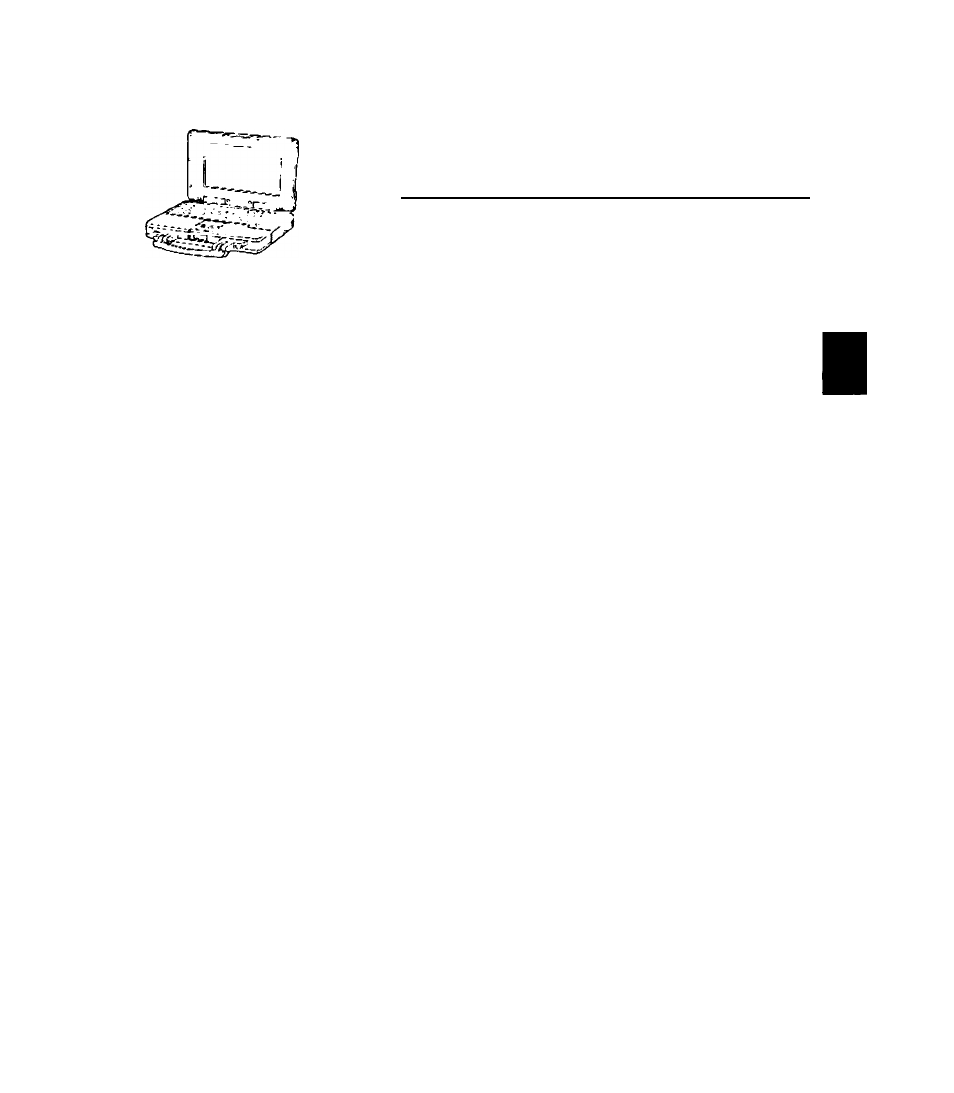
CF-25
Series
Contents
CF-25 Quick Guide
(On-linr maniul oo ihc honJ Oivki
«n the screen.
• • «V
-Contents-
• Key Combinations
• Indicators
Getting Started
Read Me First..........................................................5
First-time Operation................................................ 6
Operation
Starting Up/Shulling Down...................................... 8
Computing On the Road........................................12
Battery Power........................................................15
Security Measures................................................ 17
Infrared Data Communications.............................21
Hardware Expansion.............................................22
Usage. Carrying and Maintenance........................28
Troubleshooting
Computer Diagnosis..............................................29
Dealing with Problems.......................................... 30
Technical Information............................................ 33
Reinstalling Software.............................................34
Appendix
LIMITED USE LICENSE AGREEMENT............... 36
Windows
95
Setup Procedure.............................. 39
Setup Utility........................................................... 40
Names and Functions of Parts...................................42
Specifications.............................................................44
Index.......................................................................... 45
Document Outline
- Customer's Record
- Saving Data on the Hard Disk
- Saving Data on Floppy Disks
- Computer Viruses
- Other Precautions
- Starting Up
- Using the Touch Pad
- Shutting Down (power off your computer)
- Starting Up Your Computer Quickly
- Resuming Operation
- Conserving Power
- Things to Remember
- # Leave your computer off when it is not in use (opage io)
- Adjust the brightness (dark) with
- Before stepping away from your computer, press Q + @ to put your computer in the standby mode
- tn the power management mode, the setting of [Advanced] is recommended (opage 13)
- Setting the hibernation timeout (o-page 13)
- Setting Power Management
- (How to set [Advanced] and the hibernation timeout)
- 7 Run the Setup Utility (^ page 40)
- fusing 1^ and (§, select [Power Management], then press g
- 3 Using [§ and select [Power Saving], then set [Advanced] with Q
- 4 Using @ and ¡§, select [Power Switch], then set [Hibernation] with Q
- 5 Using @ and [§, select [Hibernation Timeout], set either [4 min] or [16 min] with then press
- Q Close the Setup Utility (q> page 40)
- ) Power Management settings
- Battery Status
- Use the Battery Indicator to Check on the Battery Status
- When the Remaining Battery Charge Becomes Low
- Precautions
- Replacing the Battery Pack
- When you do not want your computer to be used without permission
- Setting the Coffee break Password (enabling or disabling)
- Setting the Supervisor Password
- (enabling, changing, disabling)
- 1 Run the Setup Utility (c3= page 40)
- 2 Using [§ and (§, select [Supervisor Setup], then press
- 3 Using and O, select [Supervisor Password], then press
- 4 %To enable or change your supervisor password
- #To disable your supervisor password
- 5 Re-enter your password at the [Enter Supervisor Password Again]
- 6 Using @ and (§, select [Set Supervisor Password], then press
- 7 At the confirmation screen, press
- 8 Press r^T] to end the password setting procedure 8 Close the Setup Utility (c?* page 40)
- Preparations for Infrared Data Communications
- Running TranXit™
- Using a multimedia pocket device
- Installing/Removing a multimedia pocket device
- Using an External Display
- Power off your computer {^page 10)
- 3 Turn on the display, then turn on your computer
- #To display on both the LCD of your computer and the external display
- 1 Run the Setup Utility (cépage 40)
- 2 Using 1^ and select [System Setup], then press
- 3 Using [§ and (§, select [Display], set [Simultaneous] with (Q, then press fi^r]
- 4 Close the Setup Utility (o=page 40)
- 5 Select your external display
- Using a Printer
- Connecting a Port Replicator
- To change your hard disk, consult your nearest Panasonic Dealer or authorized Service Center
- Installing/Removing the hard disk
- Usage Environment
- Carrying
- Maintenance
- When flying
- CD-ROM
- List of Error Codes
- Using the Self-diagnosis Program
- y To run the program, insert the Firstaid FD you created into the floppy disk drive, then turn your computer on
- 2 When the display below is shown, select [1. Boot]
- 3 At the MS-DOS prompt (A:\WINDOWS\COMMAND>), input the following:
- • Starting Up
- Battery Indicator
- Character Input
- ^ Display
- Setup utility
- Connecting Peripherals
- Others
- Internet Explorer 4.0
- Reinstallation
- Power saving function in the sound chip
- Before Reinstallation
- Reinstalling
- Running the Setup Utility
- Closing the Proigram