Exemple), Advanced class 2: keyboard split, Fortgeschrittenenstufe 2: keyboard- unterteilung – Yamaha PSR-70 User Manual
Page 9: Classe avancée 2: séparation du clavier, Clase avanzada 2; separación del teclado, Using the built-in drummer, Choose a rhythm, Der eingebaute schlagzeuger, Pcm-rhythmus-teil, Wahl des rhythmus
Attention! The text in this document has been recognized automatically. To view the original document, you can use the "Original mode".
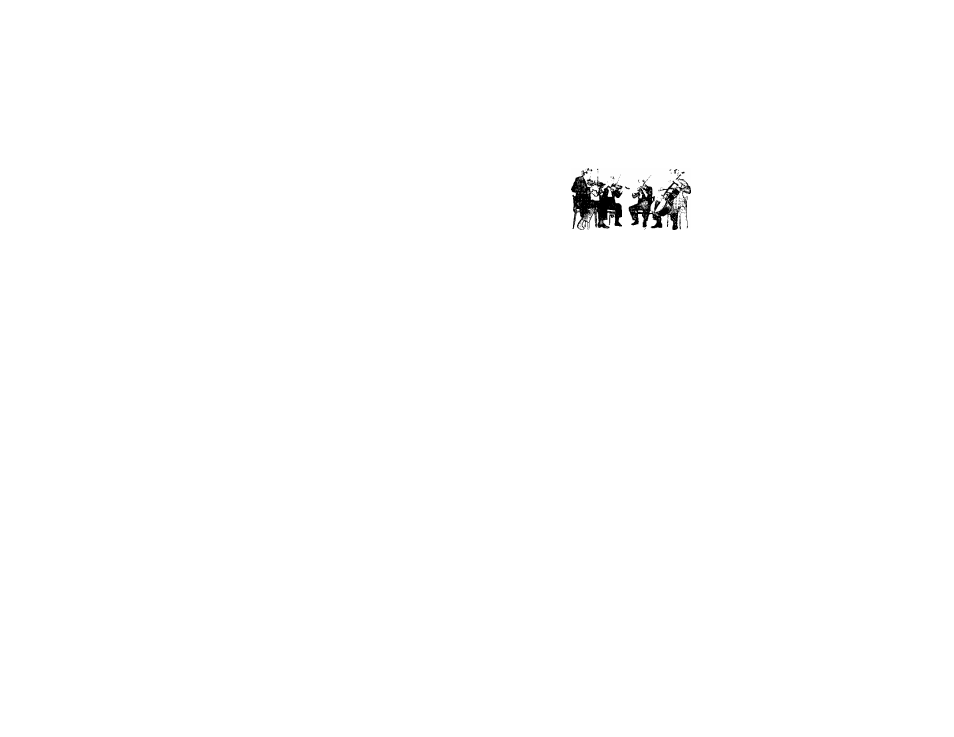
4. Now, if a chord is played a Solo voice is
added to the highest note of the chord,
resulting in a beautiful ensemble effect.
Try playing a chord!
(Example)
(ORCHESTRA) STRINGS + (SOLO) VIOLIN
4. Wenn Sie einen Akkord spielen, wird zu
der höchsten Note des Akkordes eine Solo
stimme hinzugefügt. Dadurch erhält man
einen wunderschönen Ensemble-Effekt.
Versuchen Sie es einmal!
(Beispiel)
(ORCHESTER) STREICHER(SOLO)
VIOLINE
4. Maintenant, si un accord est joué, une
voix Solo s’ajoute à la note la plus haute
de l’accord, produisant un effet d’en
semble particulièrement agréable.
Essayez donc un accord.
(Exemple)
(ORCHESTRE) CORDES H-(SOLO) VIOLON
4. Ahora, si se toca un acorde, se añade una
voz de Solo a la nota más alta del acorde,
resultando en un precioso efecto de con
junto. ¡Pruebe a tocar un acorde!
(Ejemplo)
(ORQUESTA) CUERDAS + (SOLO) VIOLIN
Í
Э
n:
Advanced class 2: Keyboard Split
Here is an explanation of how to use the
TO LOWER selector ® in the Orchestra
section. When this selector is pressed, the
keyboard is divided into two sections at the
split mark ▼. Orchestra voices can be
played to the left of this mark, Solo voices
to the right. There are three split locations;
select the desired one by pressing the KEY
SPLIT selector {||.
Notes:
1. Since Solo voices are monophonic, only one note
at a time can be played by yoar right hand.
2. There are many ways to effectively use keyboard
split. For example, try using Strings or Brass for
your left hand playing when you use Auto Bass
Chord (described later).
Fortgeschrittenenstufe 2: Keyboard-
Unterteilung
Durch Drücken des TO LOWER-Schalter ©
im Orchester-Teil kann das Keyboard an der
Markierung ▼ unterteilt werden. Links von
der Markierung werden die Orchester-, und
rechts von der Markierung die Solostimmen
gespielt. Die Unterteilung kann an drei ver
schiedenen Stellen erfolgen. Wählen Sie die
gewünschte Stelle durch Drücken des KEY
SPLIT-Schalters @.
Hinweise:
1, Da die Solostimmen nicht polyphon spielbar sind, kann
nur jeweils eine Taste mit der rechten Hand angeschlagen
werden.
2. Die Key board-Unterteilung eröffnet vielfältige Möglich
keiten: Beispielsweise können unter Verwendung der
später beschriebenen Baß-Akkord-Automatik Streicher
oder Blechbläserstimmen mit der linken Hand gespielt
werden.
Classe avancée 2: séparation du
clavier
Voici une explicaion qui vous permettra de
faire usage du sélecteur TO LOWER @de
la section orchestrale. Lorsque vous
appuyez sur ce sélecteur, le clavier est
divisé en deux sections au niveau du
repère ▼. Les voix orchestrales peuvent
être jouées à la gauche de ce repère et les
voix solo, à la droite. Il existe trois emplace
ments de séparation; en choisir un par
poussée sur le sélecteur KEY SPLIT (§).
Remarques;
1.
Comme
les voix solo sorti monophoniques, on ne
peut jouer qu’une seule note à la fois à la main
droite.
2. Il est possible d’utiliser à bon escient la séparation
du clavier. Par exemple, essayez d’utiliser les
cordes ou les cuivres pour le jeu de la main gauche,
lorsque vous employez les basses/accords auto
matiques. (Décrits ci-après)
4
Clase avanzada 2; Separación del Teclado
He aquí una explicación de cómo utilizar el
selector TO LOWER © de la sección de
Orquesta. Al pulsar este selector, el teclado se
divide en dos secciones por la marca de
separación T. Las voces de Orquesta pueden
tocarse a la izquierda de esta marca y las de
Solo a la derecha. Existen cuatro posiciones de
separación. Seleccione la que usted desee
pulsando el selector KEY SPLIT
Notas:
1. Como las voces de Solo son monofónicas, sólo puede
tocar una nota cada vez con su mano derecha.
2. Hay muchas formas de utilizar efectivamente la separa
ción del teclado. Pruebe a utilizar, por ejemplo.
Cuerdas o Metales para tocar con su mano izquierda
cuando utilice el Acorde y Bajo Automático (descrito
más tarde).
Using the built-in
drummer
PCM rhythm section
Now let’s add a dynamic rhythm accom
paniment to your melody.
1. Choose a rhythm
Pick the rhythm that best suits the music
you’re going to play and press the selector.
To change the rhythm from one side to the
other (e.g. from BIG BAND to SWING), press
the selector next to an illuminated lamp
again.
Der eingebaute
Schlagzeuger
PCM-Rhythmus-Teil
Ergänzen Sie nun eine dynamische Rhyth
musbegleitung zu Ihrer Melodie,
1. Wahl des Rhythmus
Wählen Sie den Rhythmus, der am besten
zu Ihrer Musik paßt, durch Drücken des
betreffenden Schalters. Um von den oben
angegebenen Rhythmen auf die unteren (z.B.
von BIG BAND auf SWING) zu schalten,
drücken Sie den betreffenden Schalter erneut.
Utilisation du
tambour incorporé
Section du rythme PCM
A présent, ajoutons un rythme d’accom
pagnement dynamique à votre mélodie.
1. Choisissez un rythme
Choisissez le rythme qui convient le mieux
à la mélodie que vous allez jouer et en
foncez le sélecteur. Pour changer d’un
rythme à l’autre (par exemple, pour passer
de “BIG BAND” à “SWING”) enfoncer de
nouveau le sélecteur le plus proche d’une
lampe illuminée.
Utilizando la “batería”
incorporada
Sección de ritmo PCM
Añadamos ahora un acompañamiento de
ritmo dinámico a su melodía.
1. Escoja un ritmo
Escoja el ritmo más apropiado para la
música que vaya a tocar y pulse el selector.
Para cambiar el ritmo de un lado a otro (por
ejemplo, de BIG BAND a SWING), pulse de
nuevo el selector próximo a la luz encendida.