Import & export – Welch Allyn VS100 Welch Allyn Vision Screener - User Manual User Manual
Page 17
P/N 20146 Rev A
Page 17
Import & Export
1.
From the “Tools” menu, select Import/Export and you will be directed to the Import/Export
screen.
Caution – USB port is electrostatic sensitive. Be sure to take proper precautions to avoid potential
ESD damage to the USB port.
2.
Insert a USB storage device into the USB port on the vision screener (Recommended USB size is
8GB or larger).
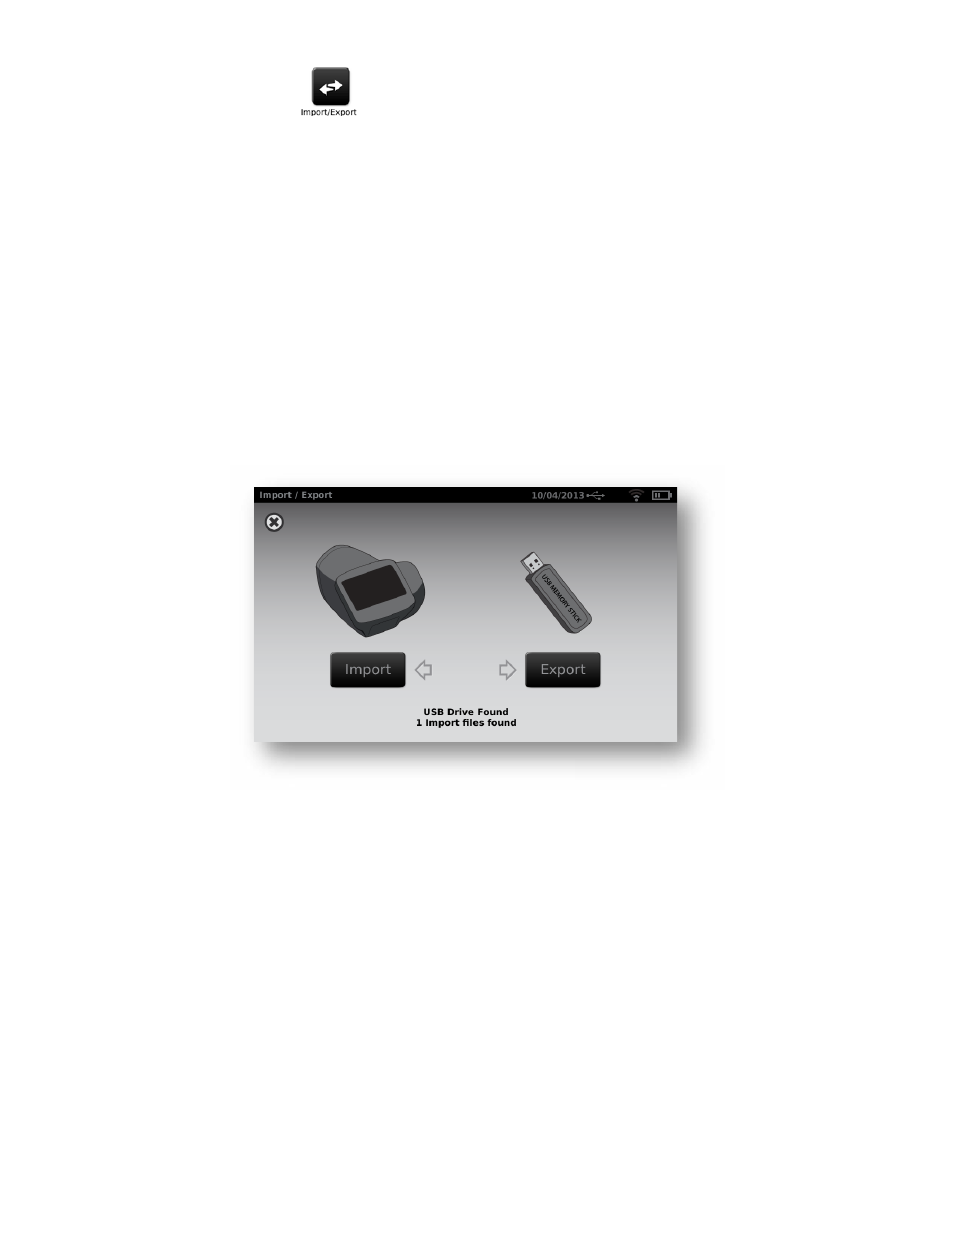
3.
Once the USB device is detected, the Import and Export buttons will be available for selection
and you will see the USB symbol in the upper right black bar next to the date. (Figure 16)
4.
The Import button will only become available if the vision screener recognizes a valid import file.
Number of import files found will be shown on the screen.
NOTE: If the buttons do not highlight within five seconds of inserting the USB drive, remove the
USB, insert it into your PC and remove all files from the drive before attempting to retry.
Export
Select the Export button. If you wish to export one file containing no subject specific data select
“Exclude Personal Data”. If you do not choose this option, then all data will be exported. Select
Export button again to begin the export process.
Wait until the message “Export Finished successfully” displays, select “ok” then you may safely
remove the USB drive from the vision screener.
The exported folder name on the USB will be “Spot_SerialNumber_YYYYMMDD_HHMMSS” (the
folder labeled “Spot_SerialNumber” will only contain screening data if inserted while screening
subjects). It will contain:
F i g u r e 1 6