AVer MOB1304 User Manual
Page 59
53
Name
Function
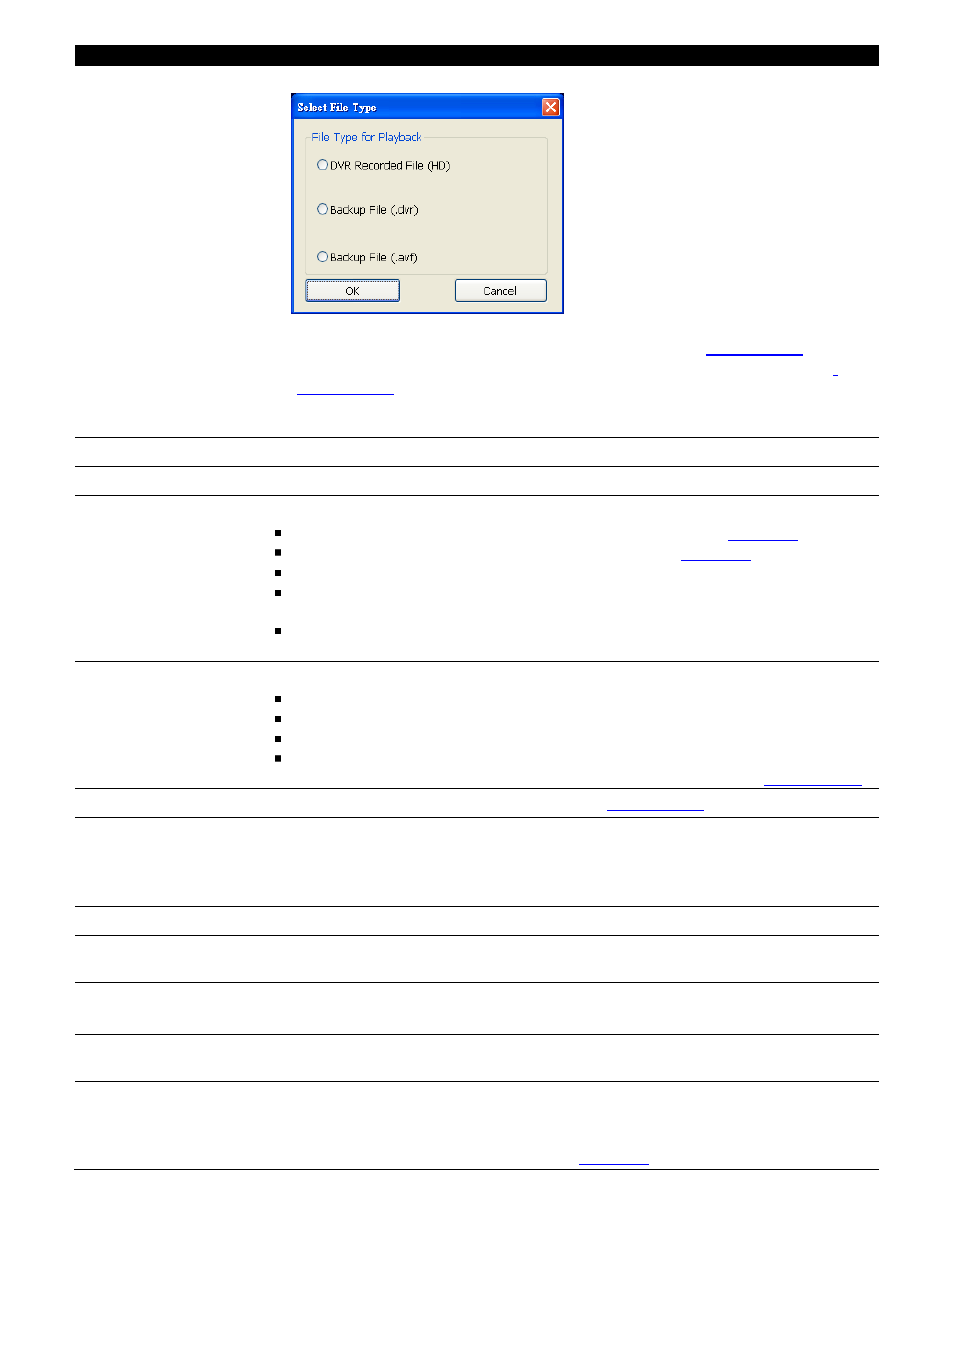
(6) Archive
To select the video file source for playing.
– DVR Recorded File (HD): To playback the recorded video from the hard disk
which was recording video on the DVR system. (see also
– Backup File(.dvr): The file is backup and save in *.dvr file format. (see also
– Backup File (.avf): The file is backup and save to external USB storage device in
*.avf format. Select the file source folder and click OK to playback.
(7) Status bar
Display the recorded date, time and play speed.
(8) Language
To switch DVR application UI language.
(9) Adv. Function
Advanced function is including :
HDD Backup: to call out HDD Backup application. (see also
iEnhance: to call out iEnhance application. ( see also
AVF to AVI:
save *.avf file format into *.avi file format.
Realtime GPS:
To view the GPS data of the DVR on the Google map (HD Eraser
function doesn
’t support in MOB1304).
HD Eraser: To recover the damage of recorded file (HD Eraser function doesn
’t
support in MOB1304).
(10) Export
Export includes Snapshot, Print, Output Video Clip, and Export KML function.
Snapshot: Capture and save the screen shot either in *.jpg or *.bmp format.
Print: Print the screen shot.
Output: Save the segmented video in *.avi format.
Export KML: Save the segmented video in *.KML format and use the Google
Earth to view the actually road direction from virtual map(see also
(11) Segment
Keep a portion of the recorded video (see also
(12) Full screen
Use the entire area of the screen to only display the video. To return, press the right
button of the mouse or ESC on the keyboard.
When you switch to full screen in multiple-screen mode, Left click to toggle to only
display one of the video in the multiple-screen mode or all.
(13) Event Log
To select the recorded file that listed in Event List windows.
(14) Camera ID
Show the number of cameras that are being viewed. When you are in single screen
mode, click the camera ID number to switch and view other camera.
(15) Sound /Sound bar
Turn on and off the sound
Increase and decrease the volume
(16) De-interlace
To enhance the video quality. Set the de-interlace mode to #1, if you are capturing
motionless picture and #2, if it captures lots of movement.
(17) Watermark
-
When playback *.dvr file, click watermark button to verify the correction of
playback video.
-
When playback file from hard disk and *.avf file, click watermark to call out
ImageVerification application. (see also