3 3.5-inch drive – Compaq DESKPRO 1000 User Manual
Page 68
5-26
Removal and Replacement Procedures
5.19.3
3.5-Inch Drive
Before beginning the removal procedure, ensure that all removal media have been removed from
the drive.
CAUTION: When servicing this computer, ensure that the cables are placed in their proper locations
during the reassembly process. Improper cable placement can damage the computer.
1. Perform preparation procedures (Section 5.4).
2. Remove the system unit cover (Section 5.5).
3. Remove the drive cage (Section 5.19.2).
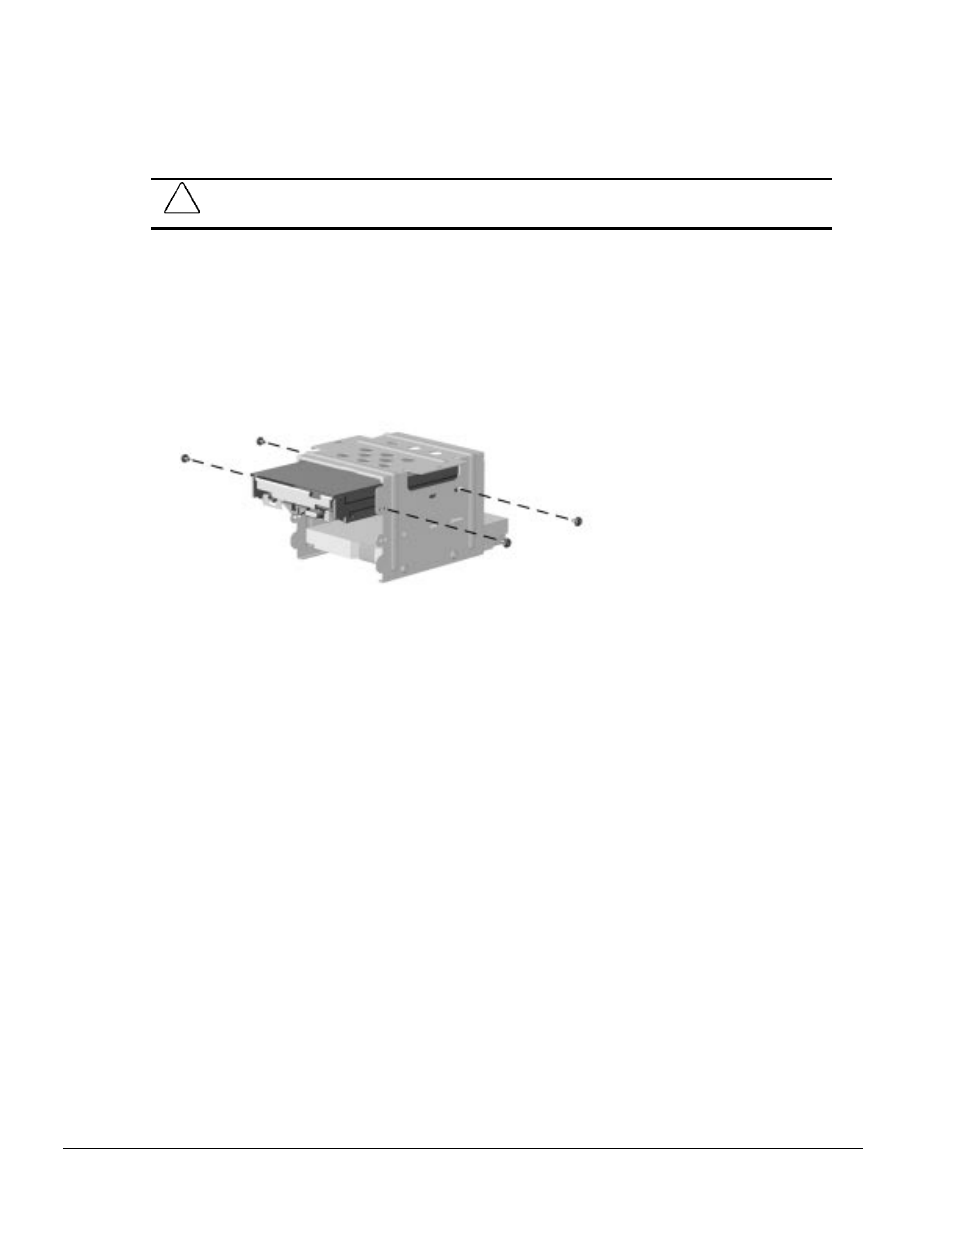
4. Remove the two screws on each side of the drive (four total) that secure the drive in the drive
cage.
5. Pull the 3.5-inch drive straight out of the drive cage.
Figure 5-22. Removing a 3.5-Inch Hard Drive from the Drive Cage
To replace the 3.5-inch drive, reverse the previous procedure.
- SR1602HM (2 pages)
- PROLIANT ML370 (152 pages)
- 228399-373 (73 pages)
- DA-10832 (20 pages)
- GS80 (184 pages)
- N1020V (219 pages)
- 1500 (204 pages)
- ProLiant DL585 G2 (46 pages)
- 277958-001 (74 pages)
- SR1010Z (1 page)
- DESKTOP 330 (20 pages)
- AERO 2100 (192 pages)
- Deskpro EN Series (31 pages)
- DL380 G2 (40 pages)
- 7000 (2 pages)
- 281862-002 (140 pages)
- 4000S (196 pages)
- EN Series (1 page)
- Presario PC (16 pages)
- Presario (96 pages)
- GS320 (290 pages)
- M700 (30 pages)
- 6000 (142 pages)
- 8000 (70 pages)
- 8000 (158 pages)
- Presario 7000 Series Internet PCQuick 470004-759 (1 page)
- AA-RHGWC-TE (362 pages)
- DS20 (82 pages)
- AP230 (31 pages)
- PROLIANT ML350 (89 pages)
- Professional Workstation AP200 (163 pages)
- Presario SR1610NX (2 pages)
- M300 (21 pages)
- EVO WORKSTATION W8000 (36 pages)
- S0000 (2 pages)
- DL580 (28 pages)
- 4-1 DA-10021-01-001 (20 pages)
- 160 (34 pages)
- Presario 6000 Series (2 pages)
- 505B (32 pages)
- Presario MyMovieSTUDIO (16 pages)
- Evo D510 e-pc (35 pages)
- Presario 7360 (214 pages)
- 4103TH (73 pages)