Appendix b - initial setup, Console installation, Initial marker setup – Great Plains NTA3007 Operator Manual User Manual
Page 187: Marker extension
2012-07-02
166-371M
Great Plains Manufacturing, Inc.
183
Appendix B - Initial Setup
Console Installation
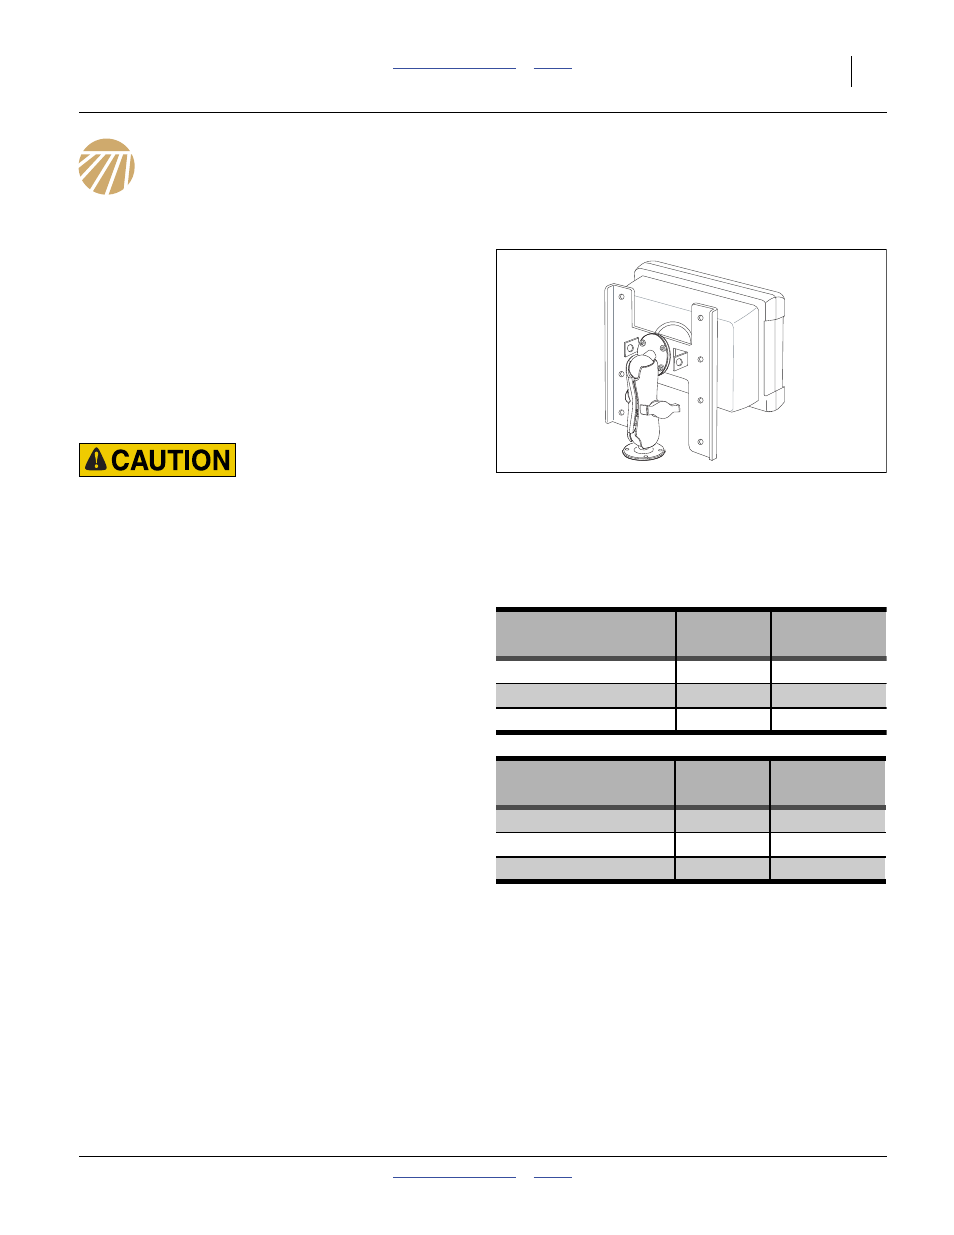
The drill’s standard seed monitor system includes a
virtual terminal that must be mounted in the tractor cab.
As supplied by DICKEY-john
®
, the kit includes a flat
bracket, and ball swivel.
The ball swivel includes four 10-32 screws. You or your
dealer must provide the mounting holes for the screws.
Your dealer may have alternate suction cup or clamping
brackets available if you prefer to avoid drilling holes.
Refer to the included DICKEY-john
®
manual for harness
connections.
Visibility Hazard:
Mount the console so that it is easy to monitor during planting,
but does not interfere with safe operation of the tractor in the
field or on public roads.
Initial Marker Setup
Marker extension is factory preset for drill shipping, not
planting, and needs to be set prior to first use. When
making this adjustment, also check chain length and
marker speed. Watch for signs that the marker hydraulic
system needs to be bled (page 133).
Review “Marker Safety Information” on page 73 before
operating or working on markers.
Marker Extension
Marker extension depends on drill size and row spacing.
Refer to table at right.
In the table, the extension values are measured from the
centre-line of the outside wing rows, to the mark left by
the marker disc.
Figure 171
IntelliAg
®
Terminal
26429
Row
Marker
Drill Model
Spacing
Extension
NTA907-3610
25.4 cm
469.9 cm
NTA907-4875
19 cm
473.0 cm
NTA907-6006
15 cm
461.9 cm
Row
Marker
Drill Model
Spacing
Extension
NTA3007-3610
10 in
185.0 in
NTA3007-4875
7.5 in
186.3 in
NTA3007-6006
6 in
181.9 in