Operating the at10.1 – Exide Technologies Section 94.20 User Manual
Page 47
OPERATING THE AT10.1
43
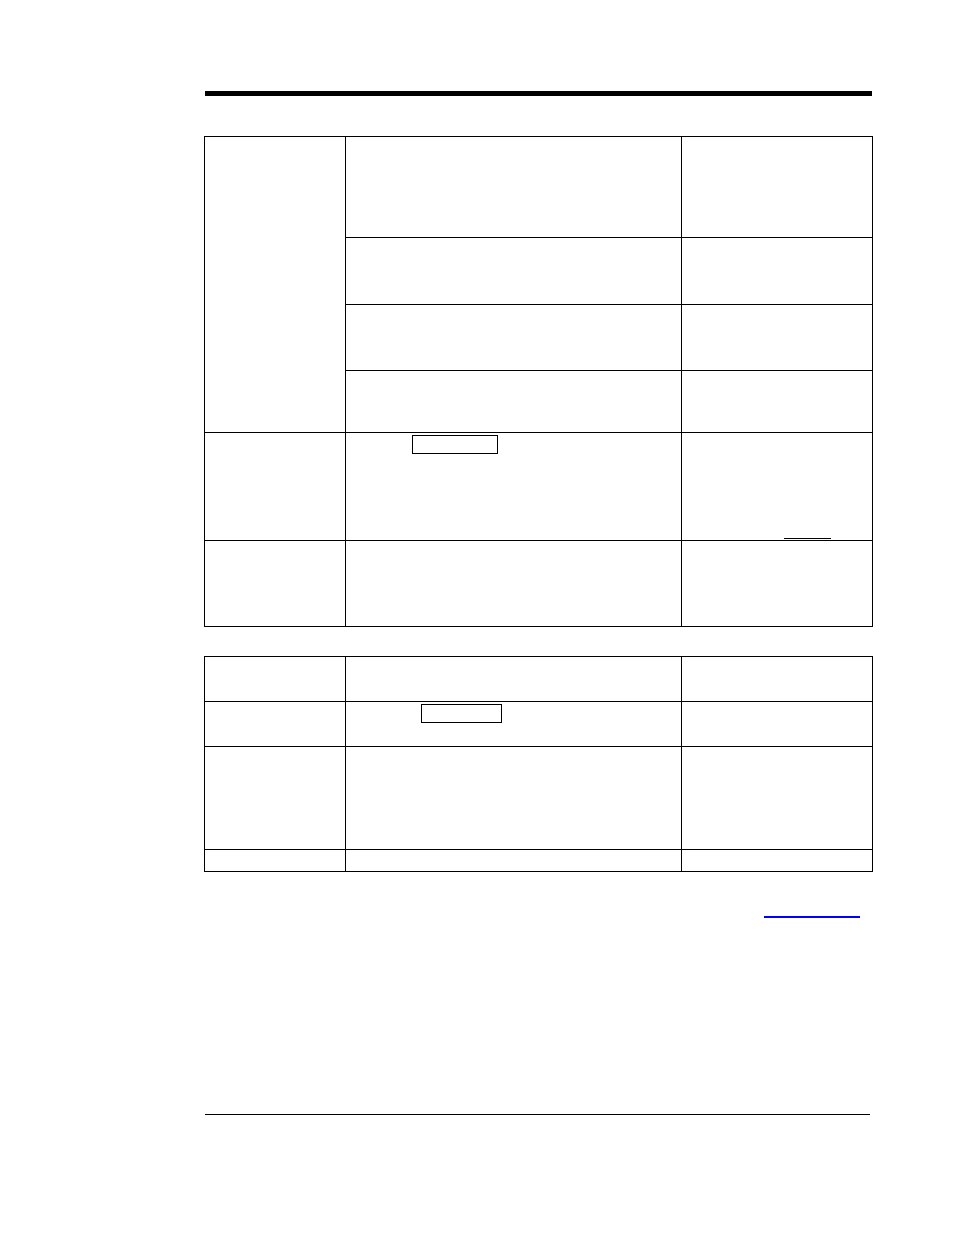
Exercise front
panel controls
• Switch from float to equalize, then back
to float.
• Turn off the dc circuit breaker. E 07 may
appear on display (requires at least 5% of
rated output current). Reset breaker.
OK
OK
• Cycle through meter modes.
VOLTS
OK
AMPS
OK
HOURS
OK
• Cycle through equalize methods.
MANUAL TIMER
OK
MANUAL EQLZ
OK
AUTO EQLZ TIMER
OK
• Turn off ac circuit breaker. The AC
INPUT FAILURE indicator should light.
Reset breaker.
Alarm OK
Check voltage
and alarm
settings
• Use
EDIT/ENTER
key to scroll through
FLOAT
OK
EQUALIZE
OK
HVDC
alarm OK
LVDC
alarm OK
Current limit Adc
Final checks
• Make sure plexiglas safety cover is in
place.
• Restore charger to normal operation.
• Close latch on front panel.
OK
OK
OK
Step
(optional features)
Instructions Results
Test auxiliary
alarm relays
• Press
LAMP TEST
key and hold for 4
seconds. Alarm relays will transfer.
OK
Check
integrity of
remote wiring
• Remote sense wiring. See page 16.
• Temperature compensation wiring. See
• Temperature compensation probe. See
OK
OK
OK
Final checks
• Close padlock or key lock.
OK
A downloadable worksheet of this Preventive Maintenance Procedure (
)
is available online.