Landing gear installation, Tail installation – E-flite RV-9 450 ARF User Manual
Page 4
4
E-flite RV-9 450 Assembly Manual
Landing Gear Installation
Required Parts
Fuselage assembly
Landing gear (left and right)
4-40 x 1/2-inch button head machine screw (4)
#4 washer (4)
Required tools
Hex wrench or ball driver: 5/64-inch
Threadlock
1. Attach the main landing gear to the fuselage
using four 4-40 x 1/2-inch button head machine
screws and four #4 washers. Use a 5/64-inch hex
wrench or ball driver (not included) to tighten each
of the screws. Make sure to use threadlock on all
four screws so they do not vibrate loose.
The main gear will angle back when
installed as shown in the photo.
tail Installation
Required Parts
Fuselage assembly
Vertical fin
Horizontal stabilizer 4-40 lock nut (2)
4-40 x 1/2-inch socket head bolt (2)
#4 washer (4)
Control horn (2)
Control horn backplate (2)
Required tools
Hex wrench or ball driver: 3/32-inch
Nut driver: 1/4-inch Threadlock
Thin CA
Thick CA
Rubbing alcohol
Paper towel
Felt-tipped pen
Hobby knife with #11 blade
Medium grit sandpaper
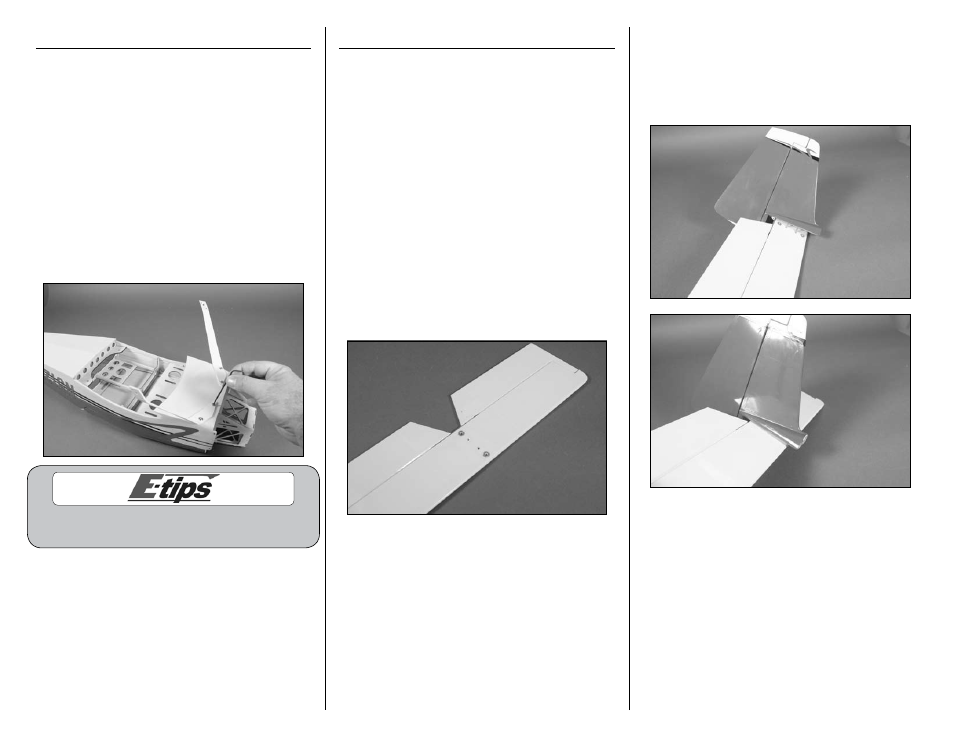
1. Locate the horizontal stabilizer. The top of the
stabilizer has the blind nut for attaching it to the
fuselage on the top side of the stabilizer.
2. Slide the stabilizer onto the threaded studs of the
vertical fin. Make sure the stabilizer is installed in
the correct direction by noting the position of the
blind nuts as described in the previous step. The
stabilizer should fit tightly against the vertical fin
when installed.