E-flite RV-9 450 ARF User Manual
Page 15
15
E-flite RV-9 450 Assembly Manual
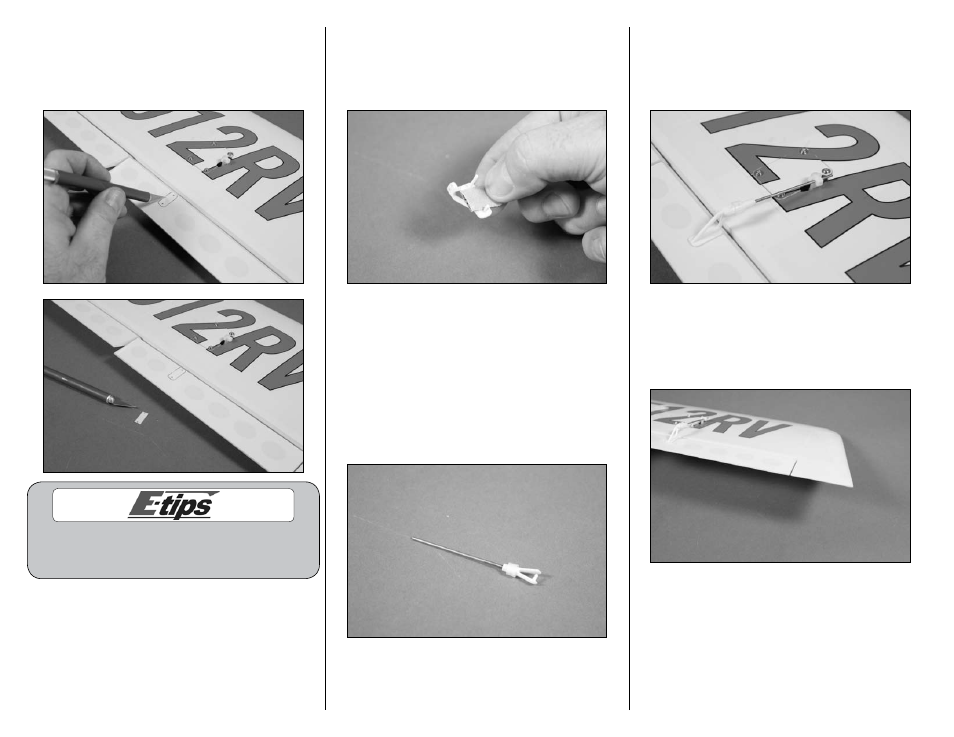
18. Remove the control horn. Use a hobby knife
with a new #11 blade to remove the covering from
inside the outline of the control horn drawn in the
previous step. Use care not to cut into the aileron
and damage the underlying wood.
Use rubbing alcohol and a paper towel to remove
the line drawn on the bottom of the aileron
before installing the control horn permanently.
19. Use medium grit sandpaper to roughen the
surface of the control horn that will fit against the
aileron. Use rubbing alcohol and a paper towel
to remove any residue to provide the best possible
bond between the control horn and bare wood.
20. Use medium CA to glue the control horn to
the aileron. Make sure to apply CA to both the
exposed wood on the aileron and to the legs of
the control horn. Press the horn tight against the
wing until the CA cures. Allow the CA to fully cure
before proceeding to the next step.
21. Slide a clevis retainer on a clevis, then thread
the clevis 16-turns onto a 2
3
/
8
-inch (60mm) aileron
pushrod wire.
22. Slide the pushrod wire through the connector
on the servo. Attach the clevis to the outer hole
of the control horn and slide the clevis retainer
over the forks of the clevis to keep it from
opening accidentally.
23. Align the aileron with the wing tip. With the
servo centered (you can use the radio to verify the
servo is still centered) use a 2mm x 5mm machine
screw and #1 Phillips screwdriver to secure the
pushrod wire to the pushrod connector.