Wheel and wheel pant installation – E-flite RV-9 450 ARF User Manual
Page 26
26
E-flite RV-9 450 Assembly Manual
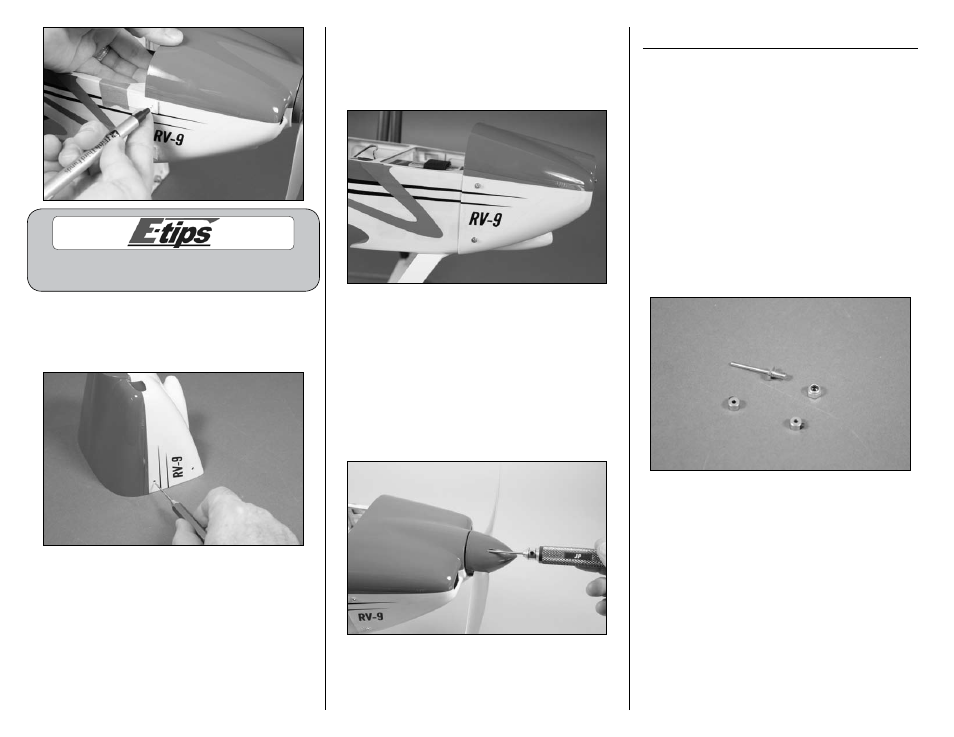
Make sure the trim on the cowl and fuselage
are aligned before marking the cowl.
5. Remove the propeller assembly from the motor.
Remove the cowling from the fuselage. Use a pin
drill and 1/16-inch (1.5mm) drill bit to drill the
four holes through the cowl for mounting screws.
7. Remove the tape and cardstock from the
fuselage. Use four 2mm x 8mm machine screws
and four 2mm washers to secure the cowl to the
fuselage. Use your #0 Phillips screwdriver to tighten
those screws.
8. Place the propeller adapter on the motor shaft.
Follow the instructions provided with your motor
to tighten the propeller adapter nut. Position the
spinner cone on the backplate. The cone will key
into the backplate when installed. Make sure there
is clearance between the openings of the cone and
propeller. If not it may be necessary to reposition
the propeller by loosening the nut and moving the
propeller. Use a #0 Phillips screwdriver to tighten
the spinner mounting screws.
Wheel and Wheel Pant Installation
Required Parts
Fuselage assembly
Wheel pant (right and left)
Wheel axle with nut (2)
Wheel, 1
3
/
4
-inch (42mm) (2)
5/64-inch (2mm) wheel collar with setscrew (4)
2mm x 8mm sheet metal screw (4)
Required tools
Adjustable wrench
Phillips screwdriver: #1
Hex wrench or ball driver: 1.5mm
Nut driver or box wrench: 7mm
1. Remove the wheel collars and nut from the axle.
You may need to use a 1.5mm hex wrench or ball
driver to loosen the setscrews that keep the wheel
collars attached to the axle.