E-flite RV-9 450 ARF User Manual
Page 22
22
E-flite RV-9 450 Assembly Manual
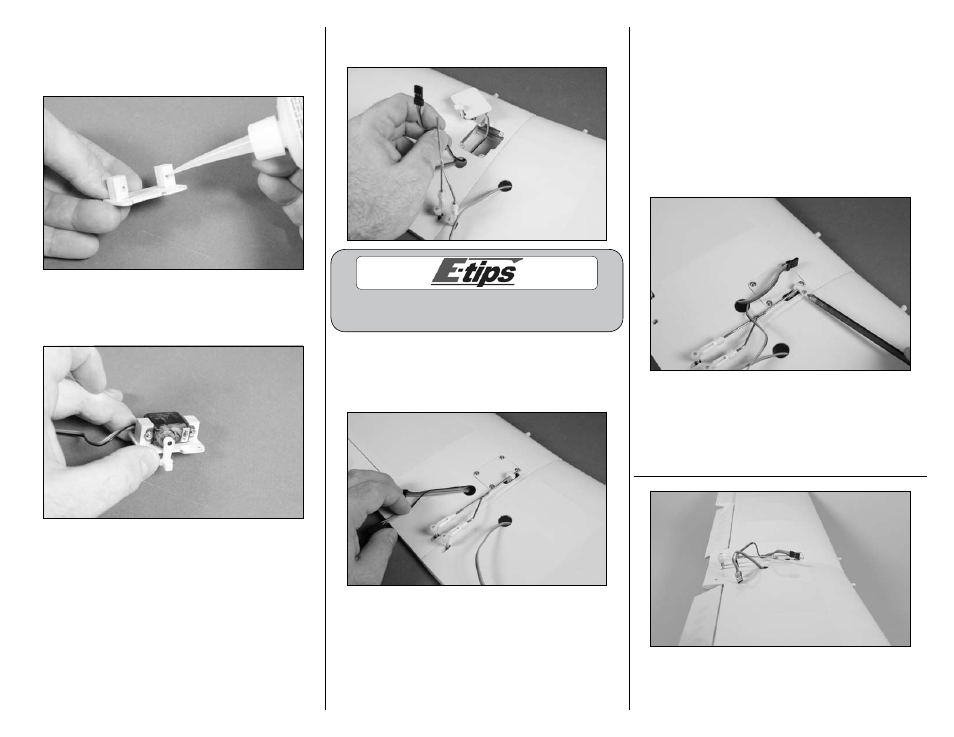
12. Apply 2–3 drops of thin CA into each hole
to harden the surrounding wood. This provides a
harder surface, making the screws more secure
when installed.
13. Use a #1 Phillips screwdriver and the screws
provided with the servo to secure it to the servo
mounting blocks.
14. Pass the lead from the flap servo through the
hole in the wing as shown.
Place a piece of tape on the flap servo lead so it can
be easily differentiated from the aileron servo lead.
15. Slide the linkage through the pushrod connector.
Position the servo cover and use a #1 Phillips
screwdriver to install the four 2mm x 8mm sheet
metal screws that secure the cover to the wing.
16. Use the radio to move the flap servo to the
up flap position. With the aileron in the neutral
position, place the flap linkage so the flaps are
aligned with the ailerons. Check both the left and
right flap, as it may be necessary to thread a clevis
in or out to align both flaps at the same time. Once
aligned, #1 Phillips screwdriver and a 2mm x 5mm
machine screw to secure the linkage to the pushrod
connector. Make sure to slide the clevis retainers
over the forks of the clevises to prevent them from
opening accidentally in flight.
17. Check the operation of the flaps at up, half and
down flap. You may need to use a computer radio
to set the positions according to the throws listed in
this manual.
FULL FLAP