Cowling installation – E-flite RV-9 450 ARF User Manual
Page 25
25
E-flite RV-9 450 Assembly Manual
Cowling Installation
Required Parts
Fuselage assembly
Cowling
Spinner cone
Spinner backplate
Propeller
Propeller adapter
Spinner screw (2)
2mm washer (4)
2mm x 8mm machine screw (4)
Required tools
Low-tack tape
Hobby knife with #11 blade
Felt-tipped pen
Pin drill
Card stock
Phillips screwdriver: #0
Drill bit: 1/16-inch (1.5mm)
1. Use a hobby knife and #11 blade to cut four
3/8-inch (8mm) wide and 2-inch (52mm) long
pieces of cardstock. Make a hole near the end of
each piece. Align the hole with the insert in the
fuselage and tape the cardstock to the fuselage
using low-tack tape.
Use a 2mm x 8mm machine screw to help in aligning
the hole in the cardstock with the insert in the fuselage.
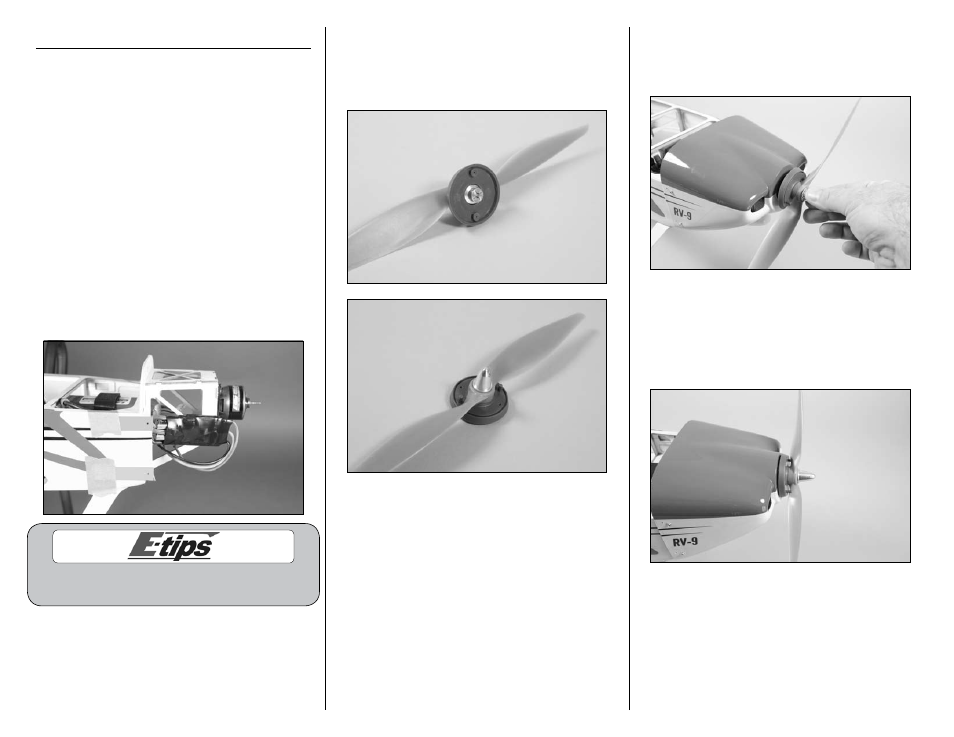
2. Slide the propeller adapter through the hole in
the spinner backplate. The propeller is then placed
on the adapter, then the propeller adapter nut
threaded on. Do not tighten the nut: It only needs to
hold the assembly together at this time.
3. Slide the cowling on the fuselage. Make sure
it fits the outside of the fuselage. The propeller
assembly from the previous step is then slid into
position on the motor shaft.
4. Position the cowling so there is a 1/16- to 1/8-
inch (2mm to 3mm) gap between the cowling and
spinner backplate. Also make sure the cowling is
aligned and centered with the backplate. Use a felt-
tipped pen to mark the locations for the four cowl
mounting screws on the cowl.