Motor installation – E-flite RV-9 450 ARF User Manual
Page 23
23
E-flite RV-9 450 Assembly Manual
HALF FLAP
UP FLAP
We have shown three positions for the flaps. If you
are using a transmitter with only a 2-position switch,
then the half flap position would not be used. Flap
throws are covered at the end of the manual.
Motor Installation
Required Parts
Fuselage assembly
Motor battery
#4 washer (4)
Hook and loop material
Motor with hardware Transmitter
Speed control
Hook and loop strap
4-40 x 3/8-inch socket head screw (4)
Required tools
Threadlock
Scissors
Phillips screwdriver: #1
Hex wrench or ball driver: 3/32-inch
The installation for the Power 450 and Power 480
motors follow the same procedure. Make sure to
use a 30-amp speed control for the Power 450
and a 40-amp speed control for the Power 480.
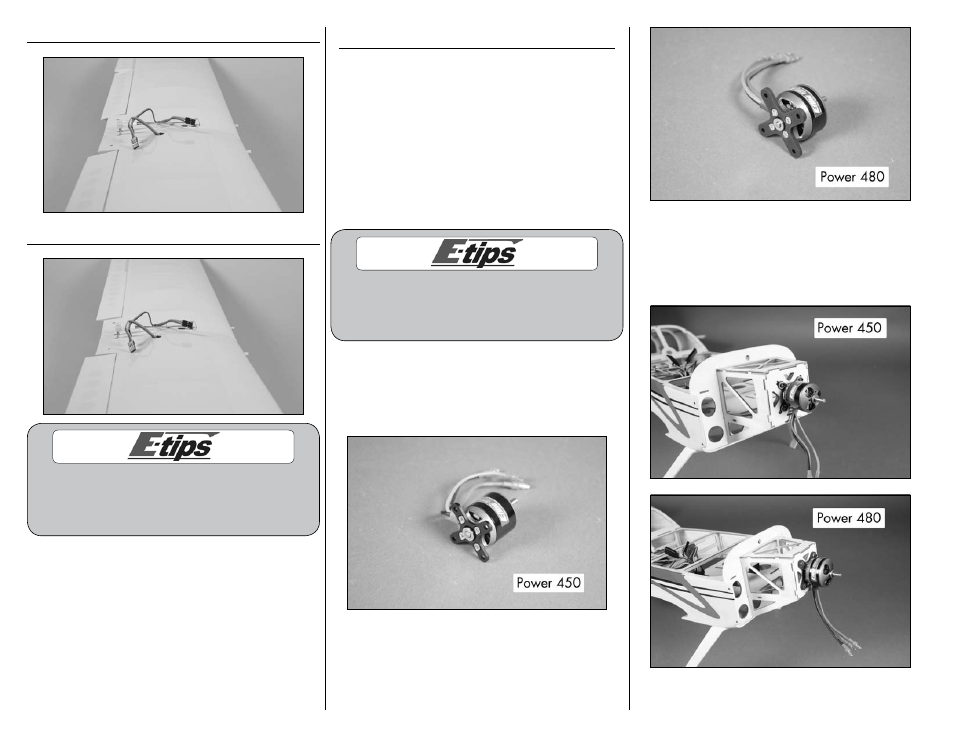
1. Attach the X-mount to the motor using the
screws provided with the motor. Use a #1 Phillips
screwdriver to tighten the screws after placing a
drop of threadlock on each screw to prevent it from
vibrating loose.
2. Attach the motor to the firewall using four #4
washers and four 4-40 x 3/8-inch socket head
screws. Use a 3/32-inch ball driver or hex wrench
to tighten the screws. Make sure to use threadlock
on the screws to prevent them from vibrating loose.