Replacing a sensor – RKI Instruments Gas Tracer 10,000 ppm User Manual
Page 99
10,000 ppm Gas Tracer Operator’s Manual
Replacing a Sensor • 92
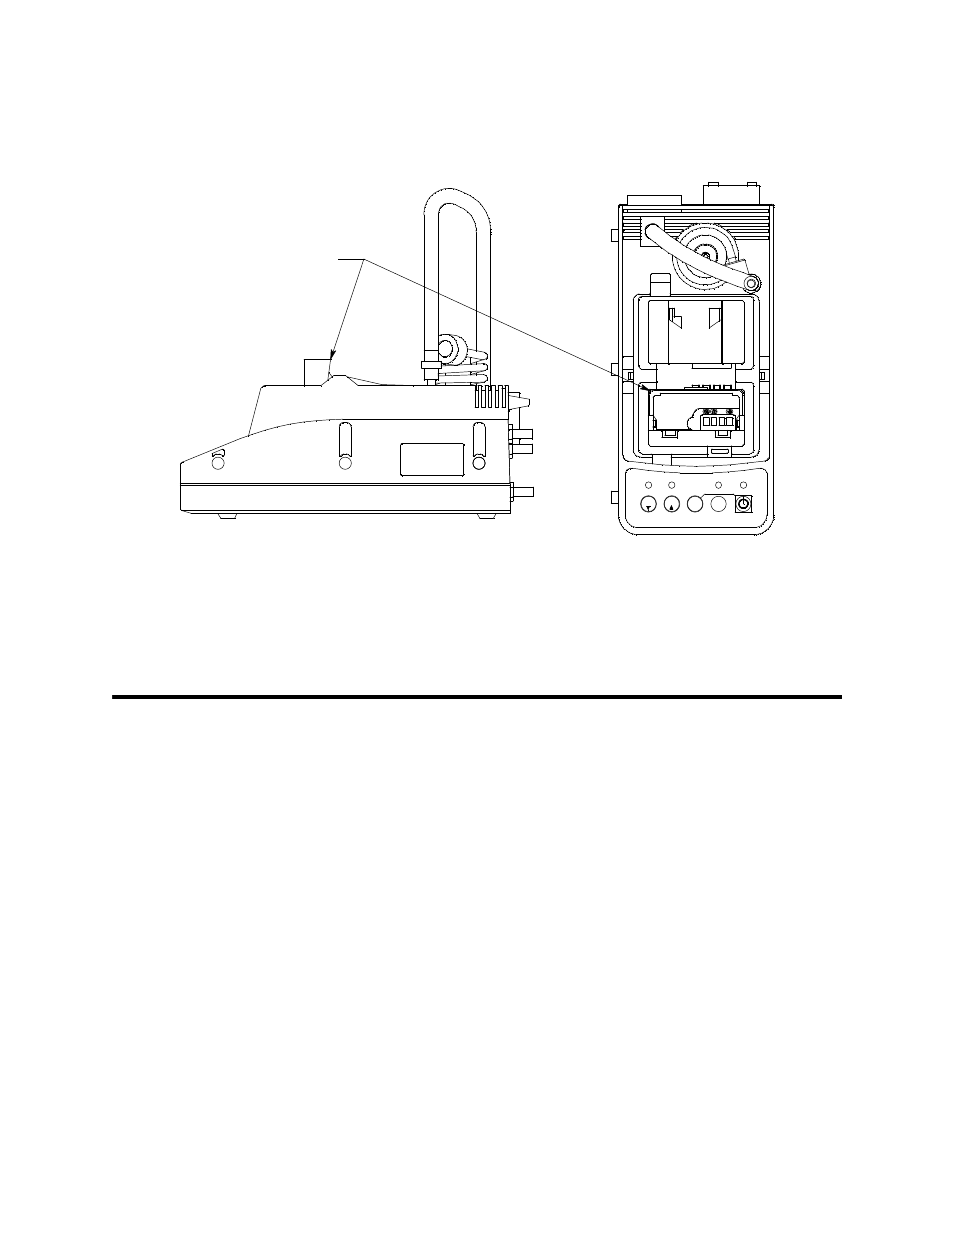
4. Insert the battery pack into the charging station as shown in Figure
20 below so that the metal contacts on the back of the battery pack
come into contact with the metal contacts in the charging station.
When proper contact has been made, the red LED on the charging
station will turn on.
Figure 20: Putting the Battery Pack into the Charging Station
5. When a full charge has been reached, approximately 4 hours, the
red LED on the charging station will turn off. Remove the battery
pack from the charging station and unplug the charging station’s
power cord from the AC outlet.
Replacing a Sensor
1. Verify that the Gas Tracer is off.
2. Use a screwdriver to remove the three screws holding the belt clip
to the back side of the instrument. Two of these screws also secure
the flow chamber.
3. Remove the belt clip and unscrew the remaining screw holding in
the flow chamber.
4. Grab the exhaust tube and pull it gently away from the unit to slide
the flow chamber out of the unit.
5. Gently pull on the knob of the sensor gasket to remove it. Be sure
not to lose any of the filters that are in it. The sensors will be
exposed.
6. Remove the ppm sensor from its socket. All other sockets have a
Battery Pack
SDM-2012
BUMP
GX-2012 OFF
COPY
POWER
CAL.
EDIT
ENTER
1SEC ON
3SEC OFF
CHARGE