Installation and startup – Opticon RFS 6000 User Manual
Page 6
The controller is powered directly from a DC
voltage. Herefor, use the 5V adapter as
supplied.
1. Plug the rounded end of the power cord
on the back side of the controller.
2. Plug the adapter into an 220V AC outlet.
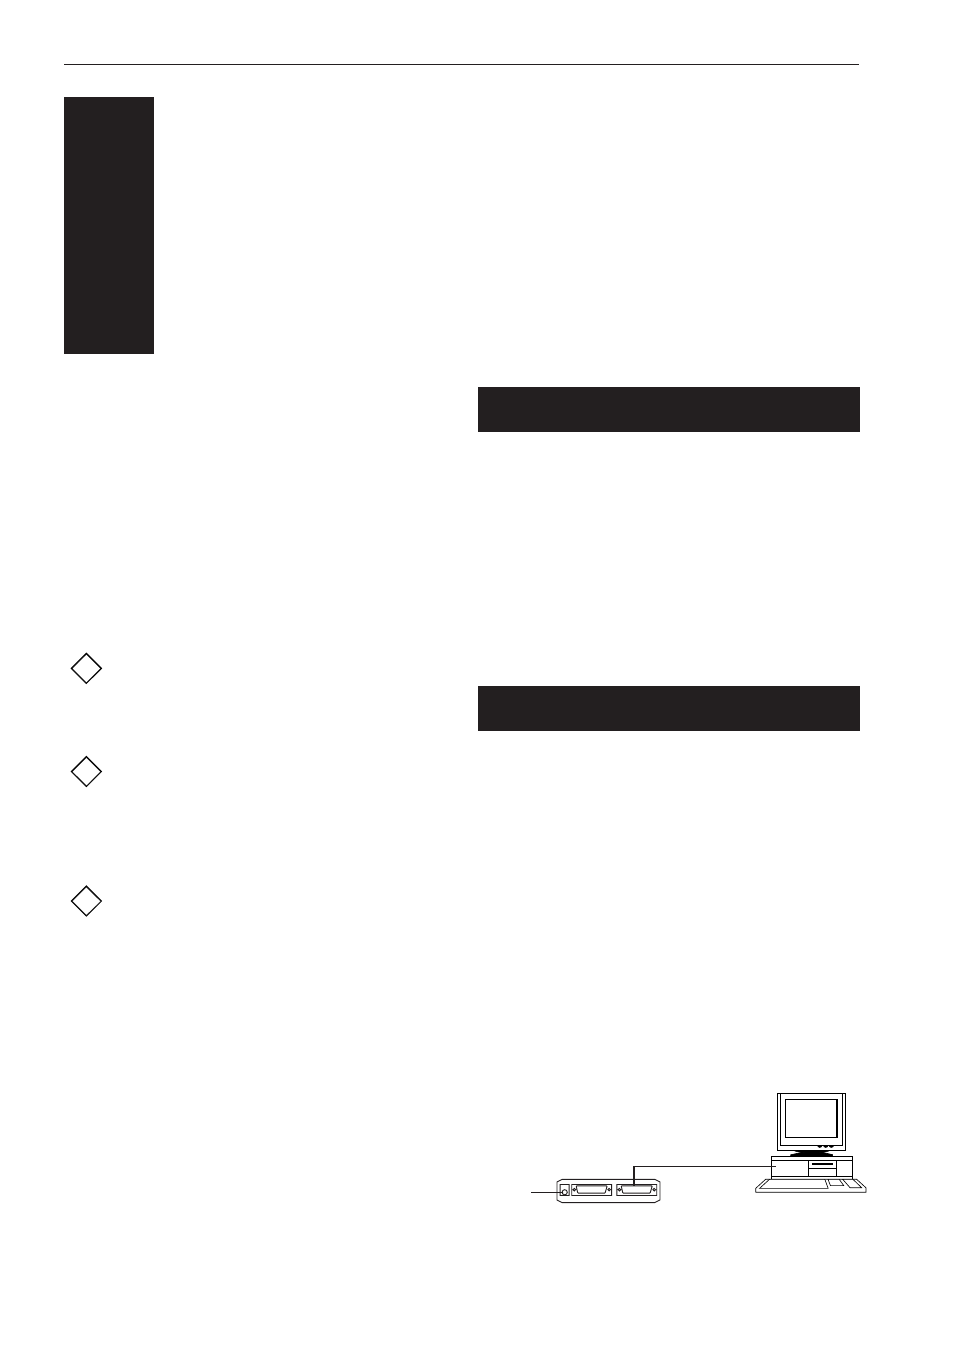
Installing controller in serial mode:
(see figure below)
1. Check if the power supply is connected.
2. Plug the DB25 connector of the RS232
interface cable on the back side of the
controller.
3. Plug the DB9 connector of the RS232
interface cable into the serial port of the
host computer.
RS 232
POWER
2.2 CONNECT TO COMPUTER
This chapter will provide instructions on how
to install the controller.
After the installation the terminal is ready for
receiving your application program. Please
refer to the documentation of the used
software.
Exercise caution at all times when
working with AC powered equipment.
Turn off your host computer before
installation.
Do not operate these devices before
reading this chapter.
Consult Appendix B for troubleshooting
information if you experience difficulties
after the installation.
Because of the special pin-out of the
connectors, use the cables supplied
by the manufacturer.
When you need another cable for a
certain device, that is not supplied,
contact your supplier to purchase the
right cable. In case another cable is
used, take notice of the pin-out
specifications further in this manual.
!
!
!
2.1 POWER SUPPLY
Figure 2.2.1 Serial mode
U
SER
’
S
& S
ET UP MANUAL
RFS 6000
6
INSTALLATION
AND
STARTUP
3
2