CounterPath eyeBeam 1.5 User Guide for Windows User Manual
Page 45
CounterPath eyeBeam 1.5 for Windows
41
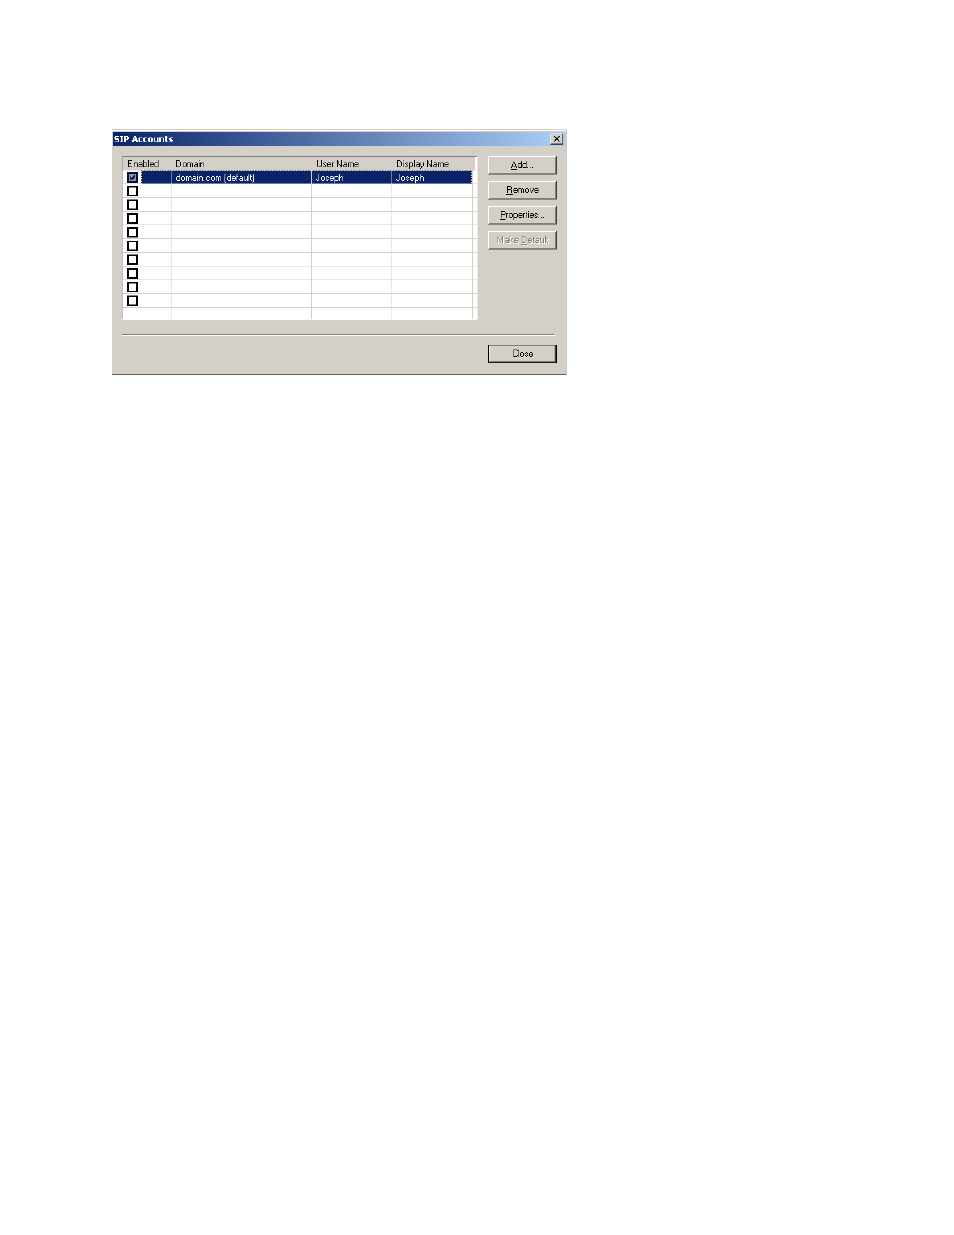
You can:
• Resize the columns in this window.
• Add an account.
• Remove an account.
• Enable one or more accounts. See below for details.
• Set one account as the default. See below for details.
• Set or change the properties of an account. Click the Properties button, then see the following pages for
details.
Enabling Accounts
You must enable an account in order to make and receive calls on that account. You can enable as many
accounts as you want. Click the Enable box beside each account.
The rules for enabled accounts are:
• When multiple accounts are enabled, you will be able to receive calls on all those accounts.
• You can never place a call on a disabled account (even if you enter the account prefix). If you place a call that
is only “known” to the service provider of a disabled account, it will fail with a “Not found” message.
• You can never receive a call on a disabled account. If another party phones you on a number that is only
known to a disabled account, the call will never appear on your phone.
• When multiple accounts are enabled, the account to use for an outgoing call is determined as follows:
• If you enter the account prefix before the number (for example, #1 for the first account) then that account
is used.
• If you have set up dial plans, then the rules of the dial plan determine which account is used. See “Dialing
• If you have not set up any dial plans, then the default account is used.
Setting the Default Account
When multiple accounts are enabled, one account is always the default. You can set any account as the default
account: click on the account and click the Make Default button.
The dial plan rules may select the default account may be selected by eyeBeam to use to place an outgoing call,
as described above.
The choice of default account may affect how presence (availability) works; for details, see “Account Properties
– Presence” on page 48.