Balancing a wheel – COATS 1100 Series Balancer User Manual
Page 18
14 •
Important: Always read and follow instructions.
Balancing A Wheel
A variety of wheel configurations can be balanced
using this wheel balancer. Read through this section,
it will help in determining which balancing mode and
options are best suited for certain wheel assemblies.
Remember: As with any balancing procedure, first
remove any weights attached to the wheel, inspect the
tire and wheel, and use the most appropriate balancer
mounting method before beginning.
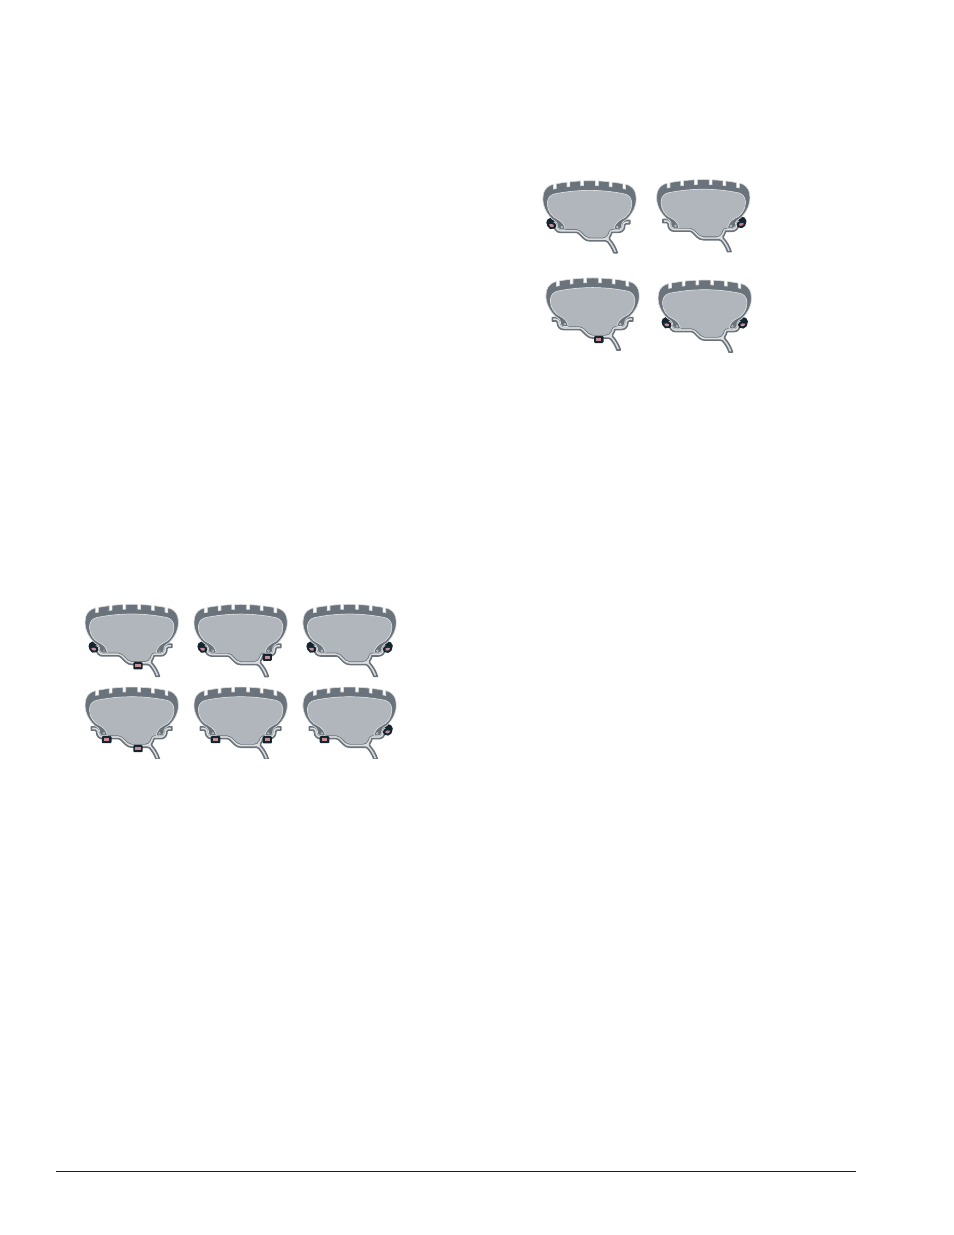
Dynamic Balancing
Choose a dynamic balance to balance a wheel using
two planes for correction. Select the weight option that
best fits the available weight locations on the rim.
Clip-on Weights - The standard default; used for most
passenger tire/wheel assemblies using the most com-
mon location for corrective weights. Clip-on weights
are placed on the inner (inboard) and outer (outboard)
rim flanges.
ALUS (Aluminum Wheels) - To balance aluminium
wheels you usually use a self-adhesive weight location
that is positioned differently from the clip-on weight
position(s) used in standard balancing. Be sure to use
the appropriate wheel data entry method since the
balancer calculates out of balance values based on the
wheel dimension measurements (DIM) entered for the
tire/wheel assembly.
Figure 20 - Dynamic Balance Weight Locations
Note: When the machine is switched on, a standard
dynamic balance using clip-on weight locations is the
default setting.
Static Balancing
Choose a static balance to balance a wheel using one
plane for correction. Place the single corrective weight
at top-dead-center (12 o’clock) on either flange, at the
center of the rim channel, placed inward either side, or
split on either sides.
Figure 21 - Static Balance Weight Locations
Note: When in static mode, you only need to input the
DIAMETER wheel measurement.
Important: If you decide to use the rim channel for
corrective weight placement, remember you may need
to adjust the DIAMETER measurement input. Typically
you would make it 2 or 3 inches less than the actual tire/
wheel diameter.