10 engine drive plate, 1 drive plate removal, 2 drive plate installation – JLG 4013PS Service Manual User Manual
Page 108: Engine drive plate, Drive plate removal, Drive plate installation
Engine: Perkins 1104-42 & 1104-42T
7-12
3508PS, 3509PS, 3512PS, 3513PS, 4008PS, 4009PS, 4012PS, 4013PS, 4017PS, 40.8, 40.9
• DO NOT steer or apply any pressure to the
steering wheel.
• Keep the transmission in (N) NEUTRAL.
32. Obtain and connect an appropriate engine analyzer
or tachometer. Check the engine rpm at full throttle.
If the rpm is not 2340 ±50 rpm, readjust the throttle
limit-stop screw at the throttle pedal within the cab.
33. Purge the hydraulic system of air by operating all
boom functions through their entire range of motion
several times. Check the hydraulic oil level.
34. Check for proper operation of all components.
35. Turn the engine off.
36. Install the engine belly pan.
37. Close and secure the engine cover.
38. Remove the Do Not Operate Tags from both the
ignition key switch and the steering wheel.
7.10
ENGINE DRIVE PLATE
7.10.1
Drive Plate Removal
1. Park the machine on a firm, level surface, level the
machine, fully retract the boom, lower the boom,
place the transmission control lever in
(N) NEUTRAL, engage the park brake and shut the
engine OFF.
2. Place a Do Not Operate Tag on both the ignition key
switch and steering wheel, stating that the machine
should not be operated.
3. Open the engine cover. Allow the engine to cool.
4. Properly disconnect the battery.
Note: In order to remove the engine drive plates, the
engine and transmission must be separated.
5. Refer to Section 6.5.1, “Transmission Removal,” or
Section 7.9.1, “Engine Removal.”
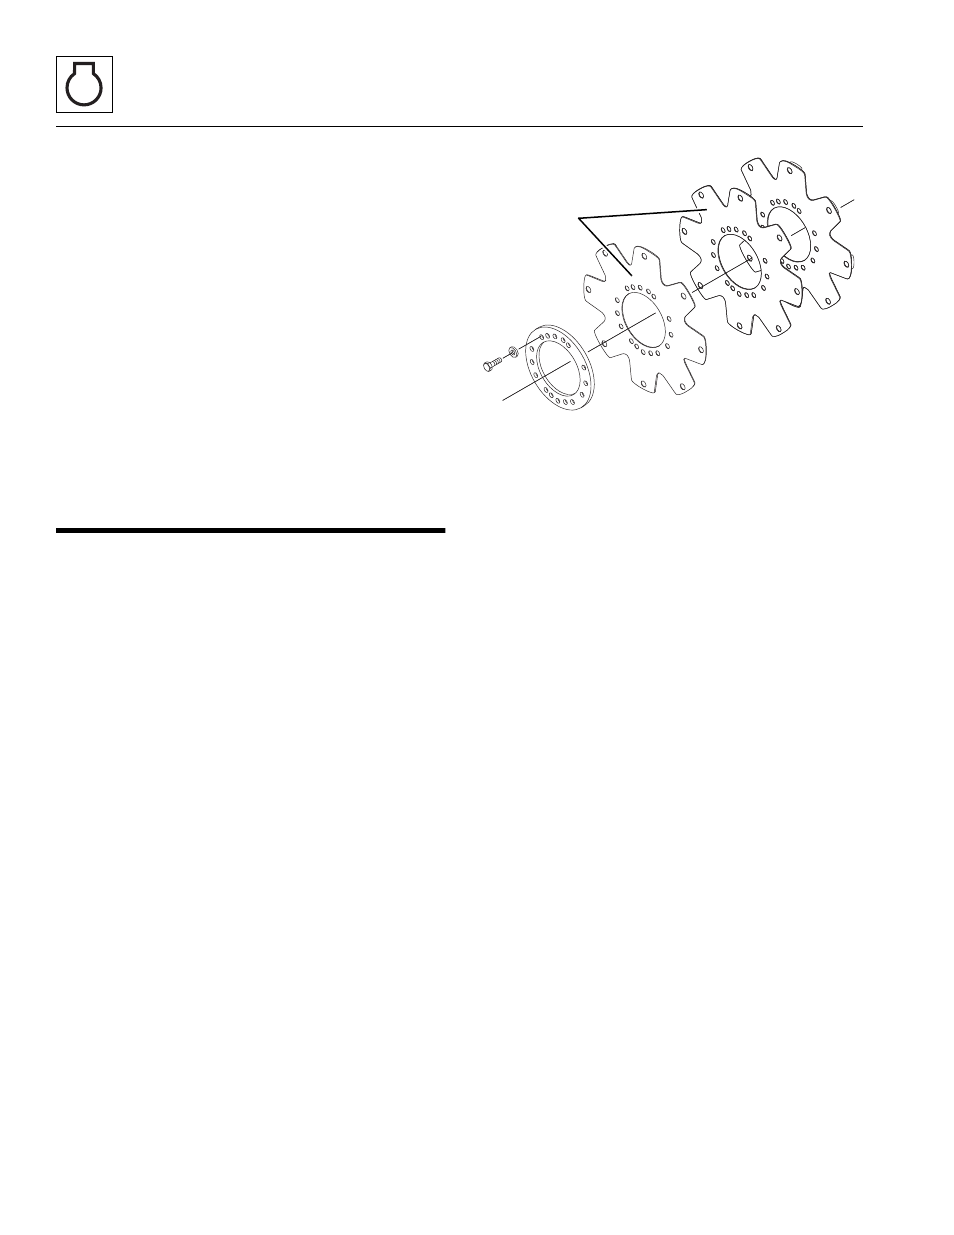
6. Remove the eight bolts holding the drive plates (15)
to the flywheel.
7. With the drive plates and torque convertor removed,
loosen and remove the six bolts and six lock
washers holding the three drive plates to the torque
converter.
8. Replace all three drive plates if damaged
7.10.2
Drive Plate Installation
1. Install the three new drive plates on the torque
converter and torque the six bolts with lock washers
to 35-39 Nm (26-29 lb-ft).
2. Mount the drive plate/converter assembly to the
transmission.
3. Refer to Section 6.5.3, “Transmission Installation,” or
Section 7.9.3, “Engine Installation,” for the
remainder of the installation.
4. Properly connect the battery.
5. Close and secure the engine cover.
6. Remove the Do Not Operate Tags from both the
ignition key switch and the steering wheel.
MZ0580
15