Step 9: create a volume, Step 9: create a volume – Apple Xsan 2 (Third Edition) User Manual
Page 46
Step 9:
Create a Volume
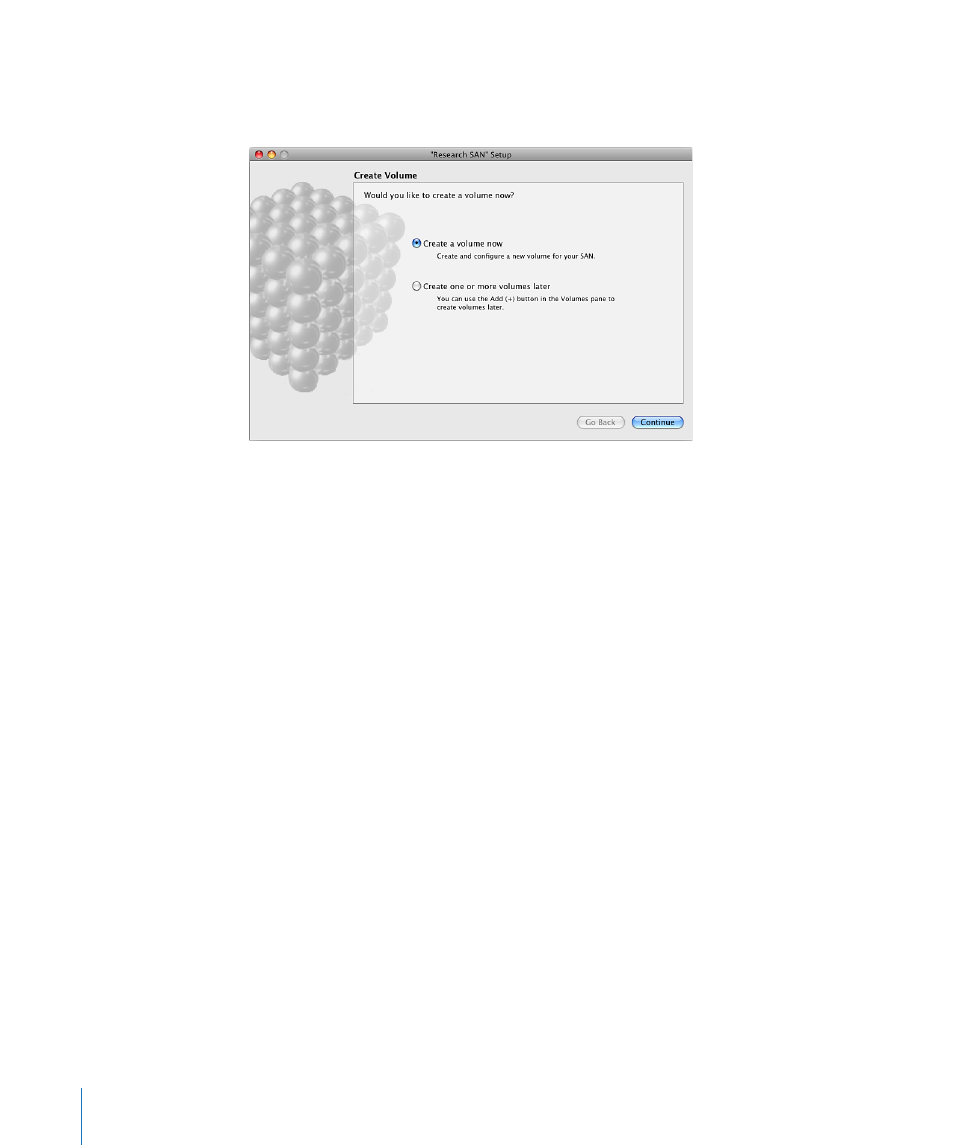
When the Xsan setup assistant finishes basic SAN configuration, it asks if you want to
create a volume.
To create a volume:
1
In the “Create Volume” pane, select “Create a volume now” and click Continue.
If you want to create volumes later, follow the instructions in “Adding a Volume to a
SAN” on page 53.
2
In the “Volume Name and Type” pane, enter a name for the volume and choose a
volume type that matches the type of work the volume will support.
For the volume name, use only uppercase letters (A–Z), lowercase letters (a–z),
numbers (0–9), and underscores ( _ ). Don’t include spaces or hyphens. The maximum
length is 70 characters.
The volume type you choose determines how the setup assistant configures affinity
tags and storage pools on the volume. For information, see “How Xsan Storage Is
Organized” on page 16.
Optionally, click Advanced Settings and adjust the following volume settings:
Block Allocation Size: If you’re not sure what value to use, use the preset size or see
“Setting the Block Allocation Size” on page 59.
Allocation Strategy: Choose how storage for files is allocated among the storage
pools that belong to the volume. If you choose Round Robin, each request for space is
assigned to the next available storage pool in turn. If you choose Fill, space is allocated
on the first storage pool until it’s full, then on the second storage pool, and so on.
If you choose Balance, space is allocated on the storage pool with the most free space.
For more information, see “Choosing an Allocation Strategy” on page 31.
46
Chapter 3
Setting Up a Storage Area Network