Step 8: configure the san, Step 8: configure the san – Apple Xsan 2 (Third Edition) User Manual
Page 44
To install Xsan software on a computer that has no keyboard or display:
1
Insert the Xsan Install Disc in the computer that doesn’t have a keyboard or display.
2
Log in to a computer that does have a keyboard and display.
3
In the Finder, choose Go > Connect to Server and enter vnc://address in the Server
Address field, replacing address with the IP address or DNS name of the target
computer.
4
Click Connect and enter the name and password of an administrator account on the
target computer.
5
In the screen sharing window, open the Xsan Install Disc icon, double-click the Install
Xsan icon, and follow the onscreen instructions.
To install only the Xsan file system, deselect Xsan Admin in the Custom Install pane.
You can also use the Apple Remote Desktop application (which you can purchase
separately) to install the Xsan software on remote computers. For information about
Apple Remote Desktop, go t.
From the Command Line
For information about installing the Xsan software by using command-line tools in
Terminal, see “Installing Xsan from the Command Line” on page 109.
Step 8:
Configure the SAN
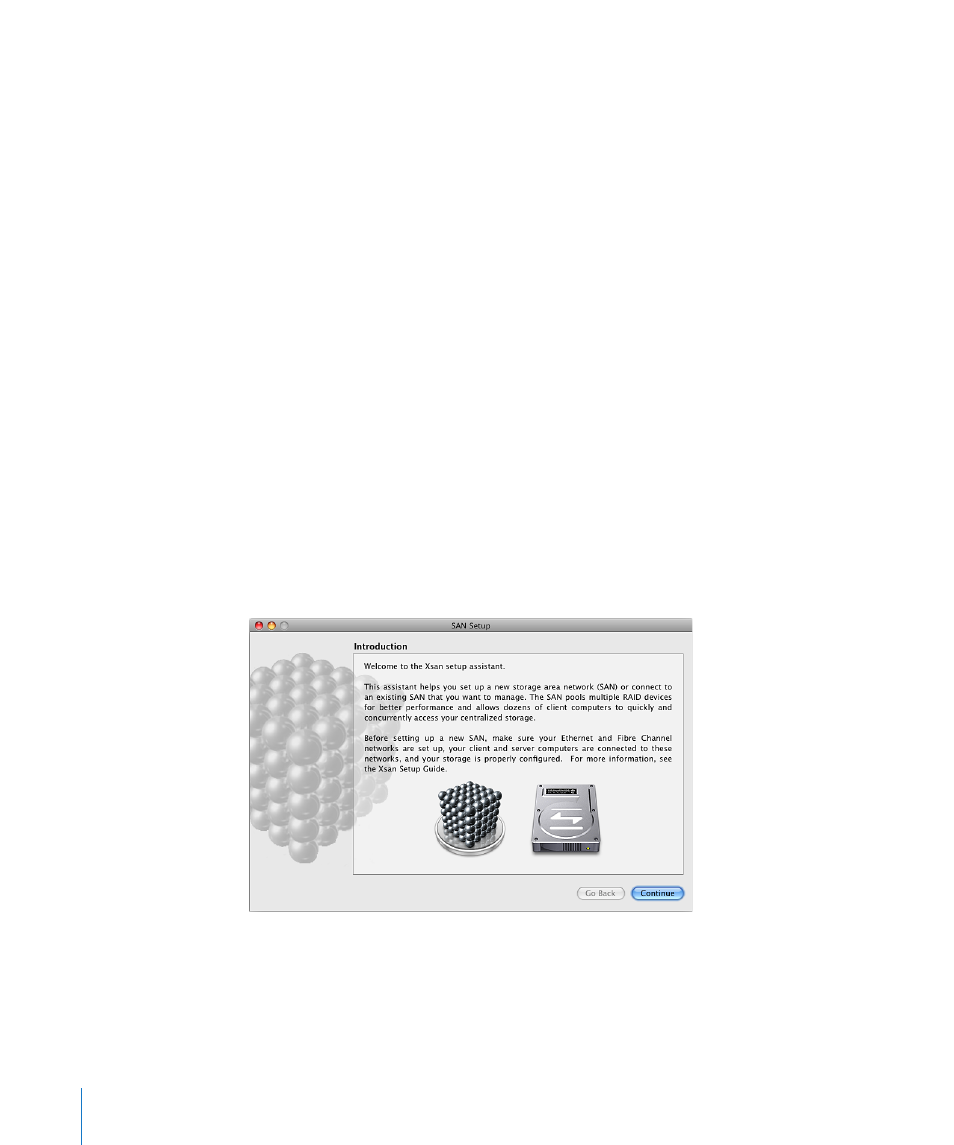
You use Xsan Admin to configure the SAN. The first time you use Xsan Admin on a
computer, it starts the Xsan setup assistant.
To configure the SAN:
1
Open Xsan Admin (in /Applications/Server/).
Xsan Admin opens when you finish installing the Xsan software on your primary
metadata controller computer.
44
Chapter 3
Setting Up a Storage Area Network