Brother DCP-9010CN User Manual
Page 117
Menu and features
109
D
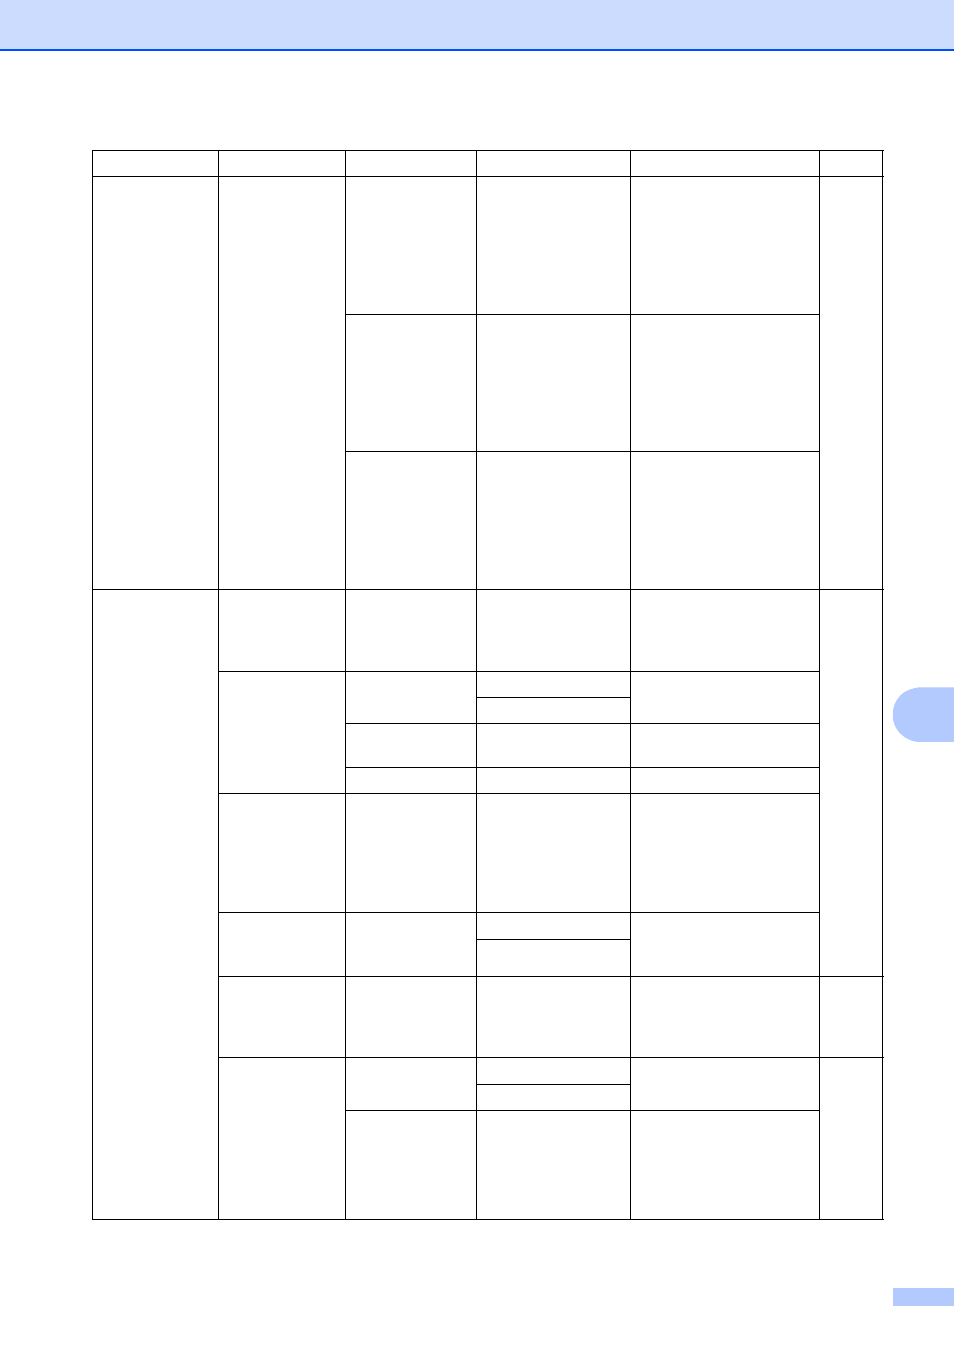
2.Copy
(Continued)
4.Color Adjust
1.Red
b
-nnnno+ a
b
-nnnon+ a
b
-nnonn+ a*
b
-nonnn+ a
b
-onnnn+ a
Adjusts the red colour for
copies.
2.Green
b
-nnnno+ a
b
-nnnon+ a
b
-nnonn+ a*
b
-nonnn+ a
b
-onnnn+ a
Adjusts the green colour
for copies.
3.Blue
b
-nnnno+ a
b
-nnnon+ a
b
-nnonn+ a*
b
-nonnn+ a
b
-onnnn+ a
Adjusts the blue colour for
copies.
3.Printer
1.Emulation
—
Auto*
HP LaserJet
BR-Script 3
Chooses the emulation
mode.
See
Software
User’s
Guide on
the
CD-ROM.
2.Print Options
1.Internal Font 1.HP LaserJet
Prints a list of the
machine’s internal fonts.
2.BR-Script 3
2.Configuration —
Prints a list of the
machine’s printer settings.
3.Test Print
—
Prints a test page.
3.Output Color
—
Auto*
Color
B&W
Chooses colour or black &
white printed documents.
If you choose Auto, the
machine selects a suitable
option for the document
(colour or B&W).
4.Reset Printer —
1.Reset
Restores the printer
settings to the original
factory default settings.
2.Exit
5.Calibration —
Calibrate
Reset
Adjusts the colour density
or returns the colour
calibration to the factory
settings.
6.Auto Regist.
1.Registration
1.Start
Adjust the print position of
each colour automatically.
2.Exit
2.Frequency
Low
Medium*
High
Off
Set the interval time you
want to carry out the auto
registration.
Main Menu
Submenu
Menu Selections Options
Descriptions
Page