Replacing a server board, Replacing, Server – Lenovo Secure Managed Client User Manual
Page 77: Board
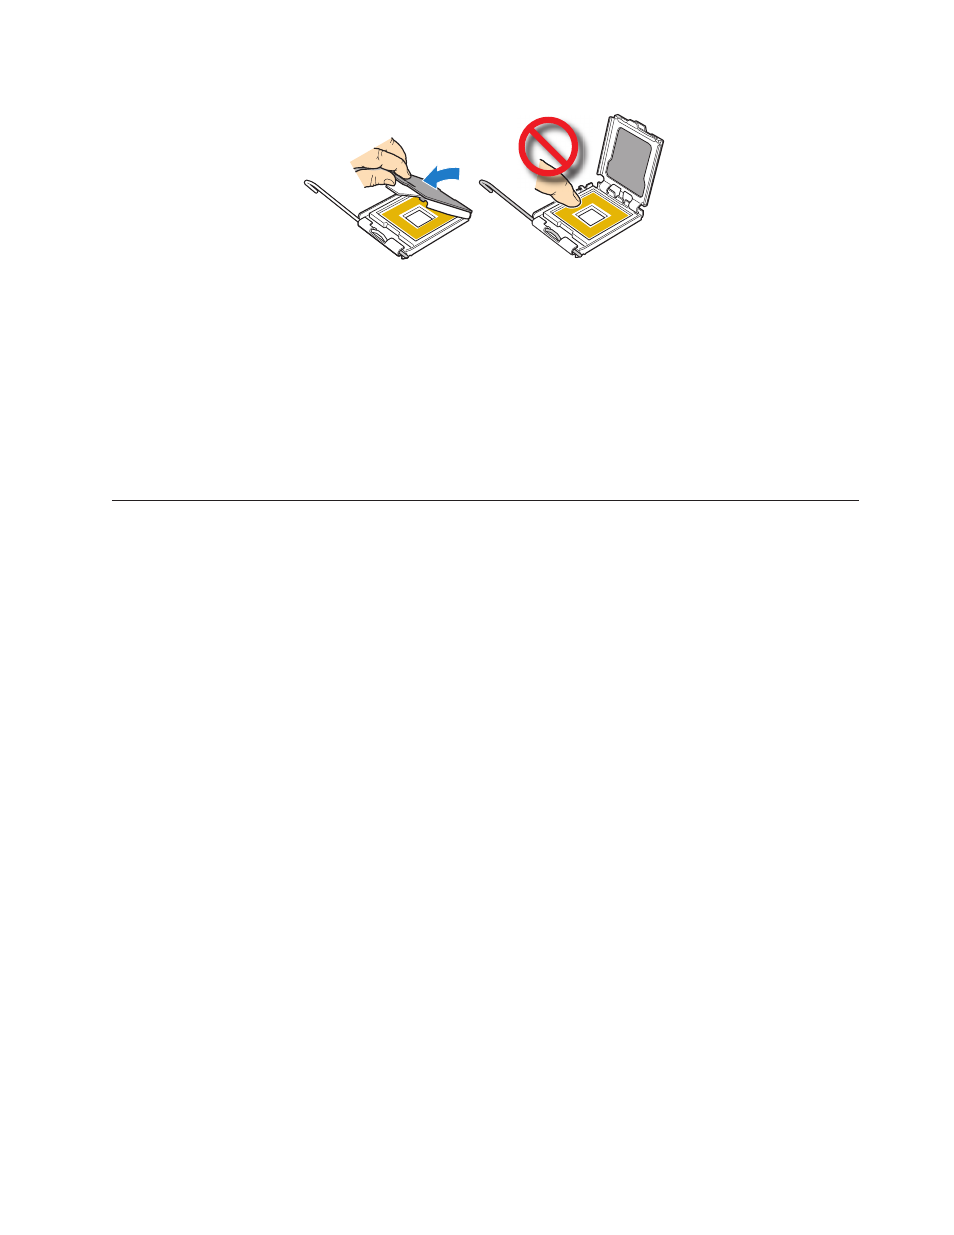
15.
Close
the
load
plate.
16.
Close
the
socket
lever.
Push
downward
on
the
socket
lever
while
pushing
it
toward
the
center
of
the
processor
socket
to
engage
it
under
the
hook
17.
Reinstall
the
processor
air
duct.
For
instructions,
see
“Installing
the
Processor
Air
Duct”
on
page
45.
18.
Reinstall
the
enclosure
cover.
For
instructions,
see
“Installing
the
Enclosure
Cover”
on
page
28.
19.
Reconnect
all
peripheral
devices
and
the
AC
power
cord(s)
to
the
storage
array.
20.
Turn
on
the
storage
array.
Replacing
a
server
board
To
replace
a
server
board,
complete
the
following
steps:
Attention:
Back
up
the
data
on
the
storage
array
before
performing
any
maintenance
procedures.
Note:
Before
installing
a
new
server
board,
ensure
that
the
server
board
has
the
correct
versions
of
the
BIOS,
FRU/SDR.
and
mBMC
installed.
Refer
to
the
Intel
support
site
at
http://
www.intel.com/support/motherboards/server/
ssr212mc2
for
the
appropriate
firmware
version
to
use.
1.
Observe
all
safety
and
ESD
precautions
in
the
Safety
and
Warranty
Guide.
2.
Turn
off
all
peripheral
devices
connected
to
the
storage
array.
3.
Turn
off
the
storage
array.
4.
Disconnect
the
AC
power
cord(s).
5.
Remove
the
enclosure
cover.
For
instructions,
see
“Removing
the
Enclosure
Cover”
on
page
26.
6.
Remove
the
processor
air
duct.
For
instructions,
see
“Removing
the
Processor
Air
Duct”
on
page
44.
7.
Remove
the
heatsink(s)
and
processor(s).
For
instructions,
see
“Removing
a
Processor”
on
page
54.
8.
Remove
the
memory
FBDIMMs.
For
instructions,
see
“Removing
FBDIMMs”
on
page
47.
9.
Loosen
the
two
captive
screws
1
securing
the
brace
assembly
to
the
enclosure.
Lift
brace
assembly
out
of
enclosure.
Chapter
8.
Features
71