Removing a processor, Removing, Processor – Lenovo Secure Managed Client User Manual
Page 75
18.
Reinstall
the
enclosure
cover.
For
instructions,
see
“Installing
the
Enclosure
Cover”
on
page
28.
19.
Reconnect
all
peripheral
devices
and
the
AC
power
cord(s).
Turn
on
the
storage
array.
Removing
a
processor
To
remove
the
processor,
complete
the
following
steps:
Attention:
v
Do
not
attempt
to
operate
your
system
without
a
heatsink
installed
over
each
installed
processor.
Doing
so
will
cause
your
system
to
overheat
and
may
cause
permanent
damage.
v
The
heatsink
has
Thermal
Interface
Material
(TIM)
located
on
the
bottom
of
it.
Use
caution
when
handling
the
heatsink
so
as
not
to
damage
the
TIM.
v
Do
not
touch
the
contacts
on
either
the
processor
or
the
processor
socket.
1.
Observe
all
safety
and
ESD
precautions
in
the
Safety
and
Warranty
Guide.
2.
Turn
off
all
peripheral
devices
connected
to
the
storage
array.
3.
Turn
off
the
storage
array.
4.
Disconnect
the
AC
power
cord(s).
5.
Remove
the
enclosure
cover.
For
instructions,
see
“Removing
the
Enclosure
Cover”
on
page
26.
6.
Remove
the
processor
air
duct.
For
instructions,
see
“Removing
the
Processor
Air
Duct”
on
page
44.
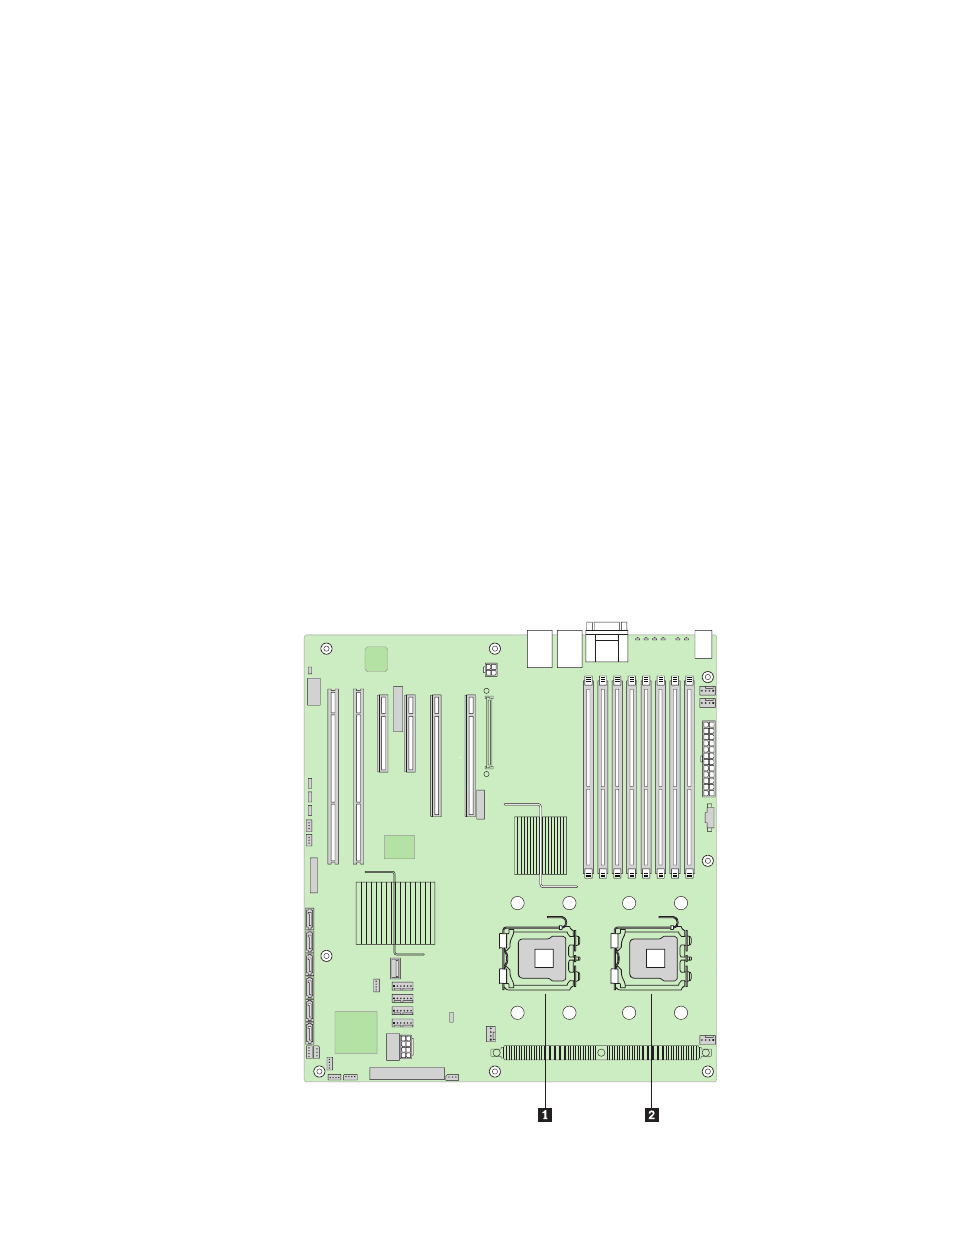
7.
Identify
the
processor
to
be
removed
( 1
or
2 ).
Chapter
8.
Features
69