1 internal tamper disable jumpers, 2 relay jumpers, 3 tamper (reader interface board) – HID EDGE EVO Solo ESH400-K Networked Controller Installation Guide User Manual
Page 6: Standard networked controller, 1 network defaults jumper, 2 internal optical tamper, 3 relay jumpers
Standard Networked Controller
EH400-K
82000-921, D.1
INSTALLATION GUIDE
6
©2009 - 2012 HID Global Corporation. All rights reserved.
3.1 Network Defaults Jumper
The Network Defaults Jumper requires physical access to the EDGE EVO controller. Physical access provides the
necessity to place a jumper over the debug port prior to the controller rebooting. The controller reconfigures the network
settings to the factory defaults when the jumper is on the debug port during a reboot. From this point, configuration (or
re-configuration) proceeds normally.
Use the Network Defaults Jumper to correct potential errors in an EDGE EVO controller Network Configuration or if the
admin password is forgotten.
A jumper is supplied with the EDGE EVO for the Hi-O termination; borrow this jumper to perform this process. Replace
the jumper to the Hi-O termination after restoring network defaults.
1. Remove the back plate on the EDGE EVO.
2. Loosen the Mylar cover.
3. Reboot the controller and place the supplied jumper over pins 3 and 5 of the Debug port after the beep. The
Debug port is an eight pin header, located above and to the right of the Ethernet connector, underneath the
Mylar.
Note: The network reset opportunity occurs for 30 seconds, while rebooting the controller. On an EDGE
EVO, a second beep occurs to signal the end of the 30 second period.
4. After 30 seconds, the beeper stays on constantly to indicate success. When an error occurs, you receive a
single beep.
5. Remove the jumper; return it to the Hi-O termination header and cycle power. The controller resets in
approximately 60-seconds. Once the reset is complete, you hear the single beep. After the 30-second window,
you hear the second beep. The controller is fully functional during this time.
CAUTION: During the controller rebooting process, all network configuration information is overwritten
and returned to the original defaults.
6. Configure the controller for your installation parameters.
7. Reinstall the back plate of the EDGE EVO.
3.2 Internal Optical Tamper
To disable the internal optical tamper sensor for the right side PCB (reader interface board), attach a jumper wire from
P2 pin 10 to P2 pin 5.
To disable the internal optical tamper sensor for the left side PCB (door interface board), attach a jumper wire from P3
pin 1 to P3 pin 2.
CAUTION: The EH400-K ships from HID with these jumpers pre-installed on the connectors. Removing
these jumpers causes false tampers to trigger.
Note:
If desiring an external tamper, wire an unsupervised Normally Closed contact, replacing one of
the pre-installed jumpers.
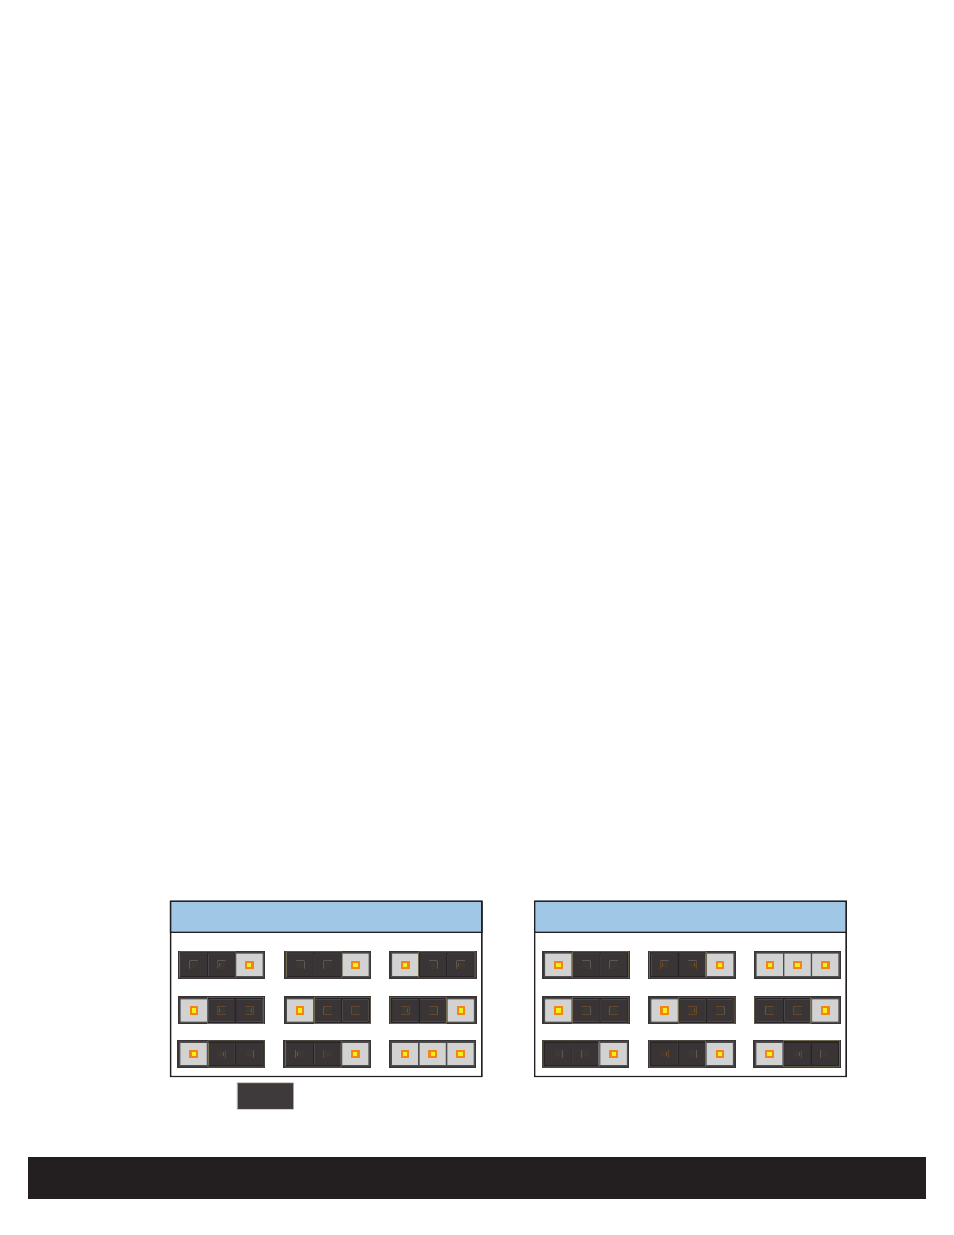
3.3 Relay Jumpers
AUX Wet
CAN V+
AUX Wet
+12VDC
AUX Dry
DS Wet
CAN V+
DS Wet
+12VDC
DS Dry
3
1
P9
P5
P8
3
1
3
1
3
1
P6
P4
P7
3
1
3
1
JUMPER =