Swiftech H20 120 PREMIUM User Manual
Page 20
Copyright Swiftech 2005 – All rights reserved – Last revision date: 09-22-06 - Information subject to change without notice – URL:
http://www.swiftnets.com
Rouchon Industries, Inc., dba Swiftech – 1703 E. 28
th
Street, Signal Hill, CA 90755 – Tel. 562-595-8009 – Fax 562-595-8769 - E Mail: [email protected]
PAGE 20 of 26
3 P
REPARING THE TUBING
Now that your radiator, water-block, pump and reservoir are in place, it is
time to cut segments of tubing and connect the devices together.
In addition to the supplied high quality vinyl tubing, your kit also comes
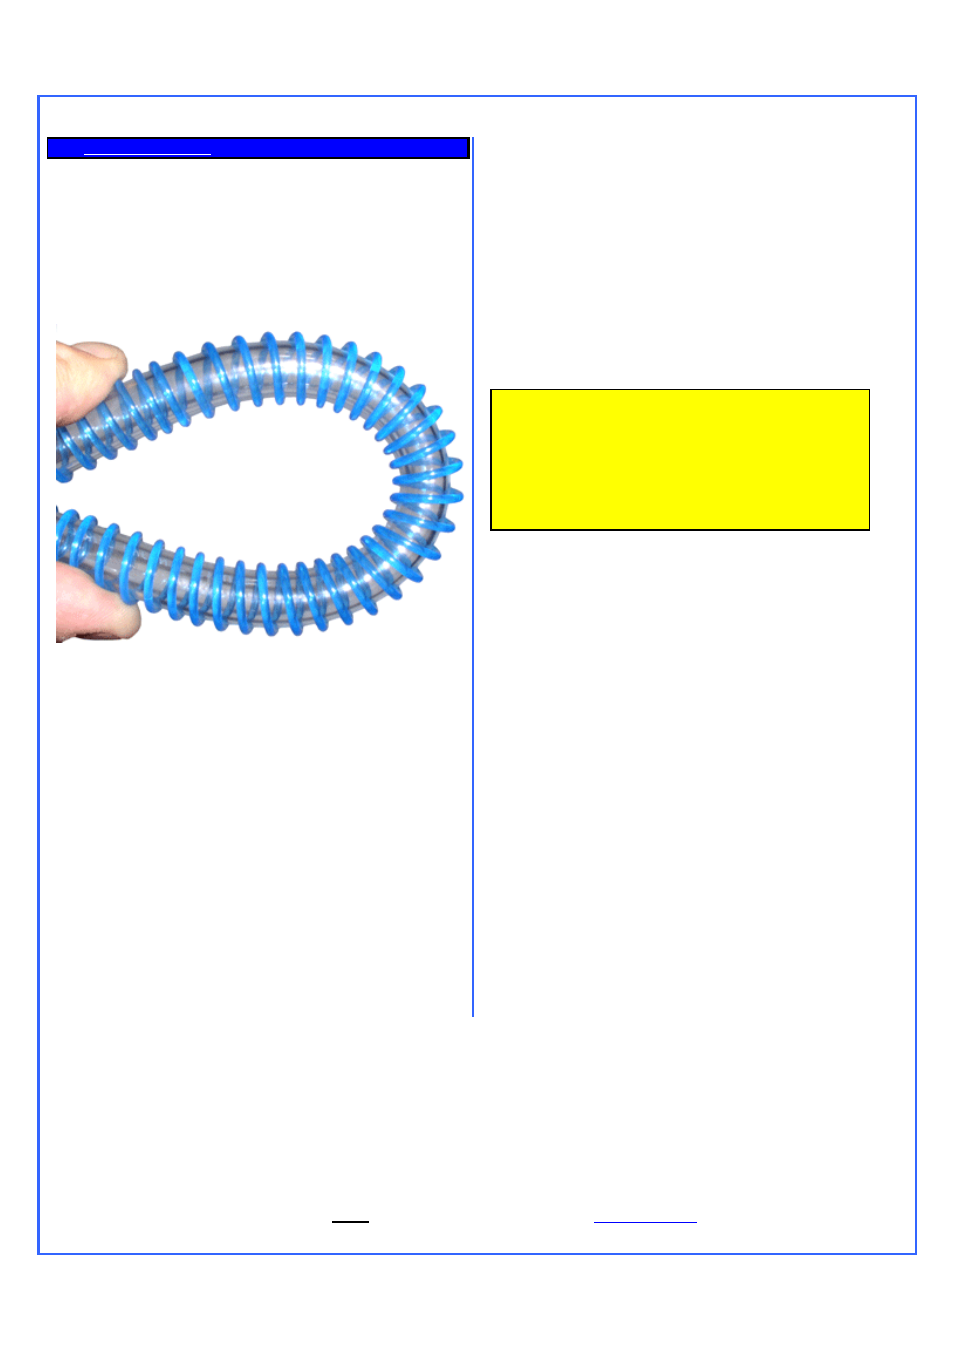
with a 40” length of Smartcoils which, when extended provides a sufficient
length to wrap 6 feet of tubing. Use of these coils is mandatory in order
to prevent kinking and flattening of the tube over time.
Example of wrapping for a tight bend. (shown with the blue version for
picture clarity – The kit actually comes with clear coils).
Tight radii sections require that coils be close to each other (1/8” spacing
coil to coil). In straight sections, coils can be spaced up to ¼” or more,
coil-to-coil.
Gather the Smartcoils towards the center of the tubing, and then pull on
the ends of the tubing. This will allow the coils to expand to their natural
pitch.
Another technique to evenly spread the coils along the tubing consists in
pushing one of the extremities of the coil clockwise. This will loosen the
coils from around the tube, and allow you to spread them easily.
Then, with one end of a tube connected to a startup component such as
the water-block for example, roughly estimate the length that you will
need to the next component, and cut the tube and coil squarely with a
pair of scissors. Work your way through the entire circuit in the same
fashion, until you are satisfied with the tube routing.
Once everything is connected, you should then adjust the
Smartcoils coil spacing: adjust to a wide space between
each coil (up to ¼” or more if needed) when the tube is
straight, and very close to each other in tight bends
(approximately 1/8
th
of an inch or less).
With everything in place, carefully double-check each
connection. If it all looks tight and secure proceed to the next
step.
TIP! Verify that each cooler will ‘hang’ naturally in very close
to its mounted position. If the stiffness of the tubing, or the
tight radius of the necessary bend, will not permit such, then
it may be necessary to externally support the tubing: typically
some strategically placed cable ties will facilitate this
restraint. This precaution is particularly important with AMD®
K7 class processors, but less so with Intel® Pentium® 4,
Xeon, or AMD® K8 class processors.