Installing the switch on a desktop – Allied Telesis AT-8288XL/SC User Manual
Page 34
Installation
34
Installing the Switch on a Desktop
The Ethernet switch can be installed in a standard 19-inch rack or on a
table or desktop. To install the switch in a rack, go to the section
‘Installing the Switch in a Rack’ on page 36. To install the switch as a
table or desktop, perform the following steps:
1. Remove all components from the shipping package and store the
packaging material in a safe location.
2. Locate a level, secure surface for the switch.
3. If you purchased an expansion module for the switch, install the
module by following the instructions in the section ‘Installing an
Expansion Module’ on page 38.
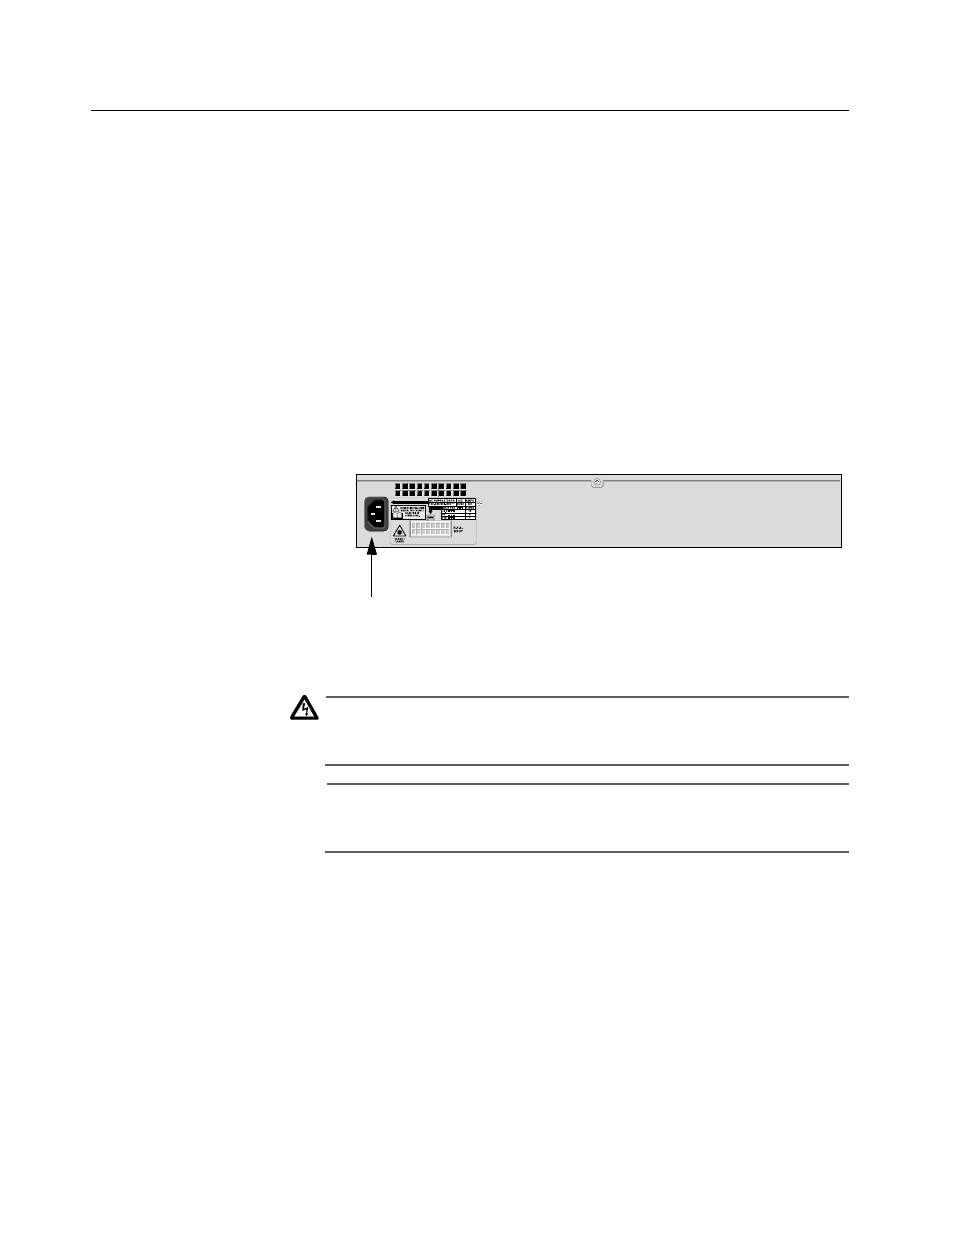
4. Apply AC power to the switch by plugging the power cord into the AC
power connector on the back panel of the unit (shown in Figure 11)
and plugging the other end into a wall outlet.
Figure 11 Switch Rear Panel
Warning
The power cord is used as a disconnection device. To de-energize
equipment, disconnect the power cord.
"10
Note
If you purchased an AT-D8224XL switch, refer to Appendix C for
instructions on connecting the switch to a DC power source.
AC Power Connector