DAVIS SensorLink for Weather Monitor and Wizard User Manual
I n k
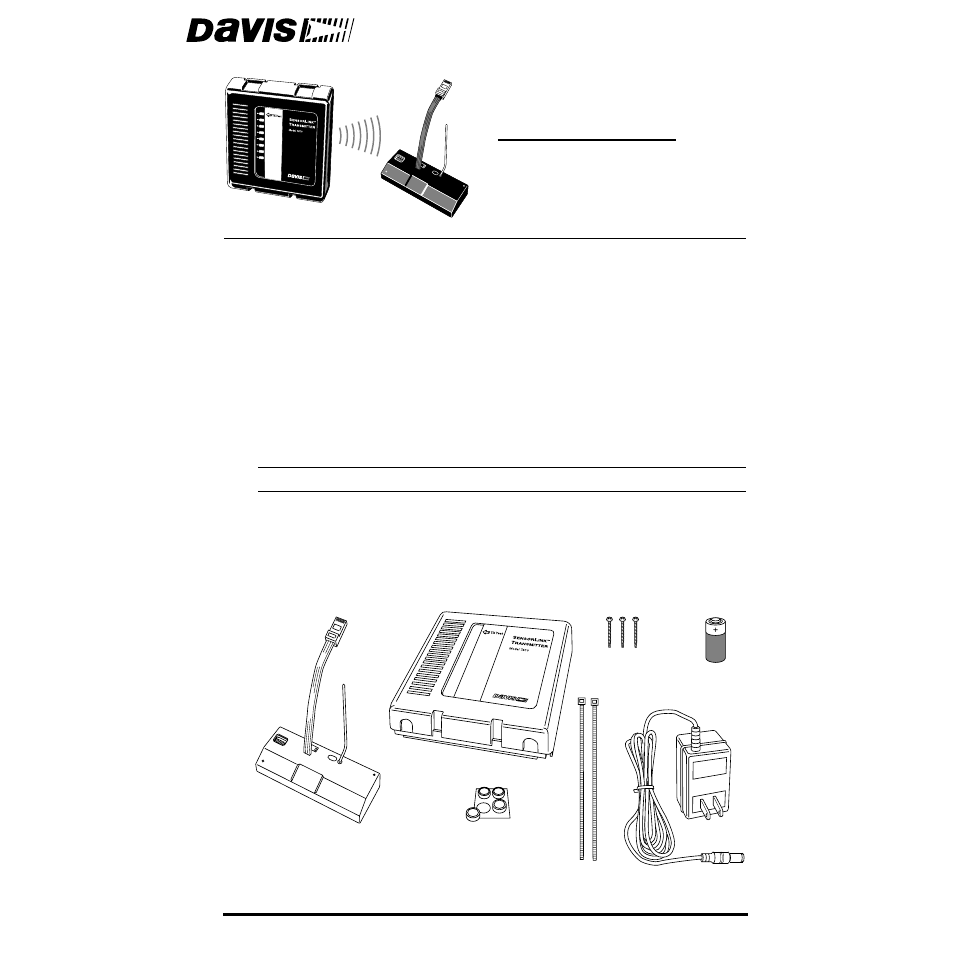
Table of contents
Document Outline
- SensorLink™
- The SensorLink Transmitter (#7610) and SensorLink Receiver (#7611) are designed to work with Da...
- Components
- Tools and Materials Needed
- Configuring Transmitter/Receiver Pair
- ID Code
- Dip Switch 1
- Dip Switch 2
- Dip Switch 3
- Silent Operating Mode
- Test Mode
- Installation
- The instructions below will take you through the process required to install the transmitter and ...
- Choosing a Location for Transmitter and Receiver
- Installing Transmitter and Receiver
- 1. Remove the cables from your existing junction box.
- 2. Remove the cover from the transmitter by pushing down on the tabs at the top until you can rem...
- 3. Attach the base to the mounting surface using the #6 x 1” screws.
- 4. Insert the sensor cables in the appropriate jacks, as shown below.
- 5. Gather the sensor cables and secure them to the cable tie lug using a cable tie.
- 6. Apply power to the transmitter using one of the options indicated below.
- 7. Test the transmitter by setting dip switch #4 to the “Test” position, as shown below.
- 8. Install the receiver into the console base and apply power as shown below.
- Testing Reception
- 1. Move dip switch #4 on the receiver to the position opposite its starting position.
- Troubleshooting
- Specifications
- FCC Part 15 Class B Registration Warning
- This equipment has been tested and found to comply with the limits for a class B digital device, ...
- If this equipment does cause harmful interference to radio or television reception, which can be ...
- Shielded cables and I/O cords must be used for this equipment to comply with the relevant FCC reg...