Body mount location diagram – JKS 9904 User Manual
Page 4
JKS part number
JKS DESCRIPTION Installation
4 Page
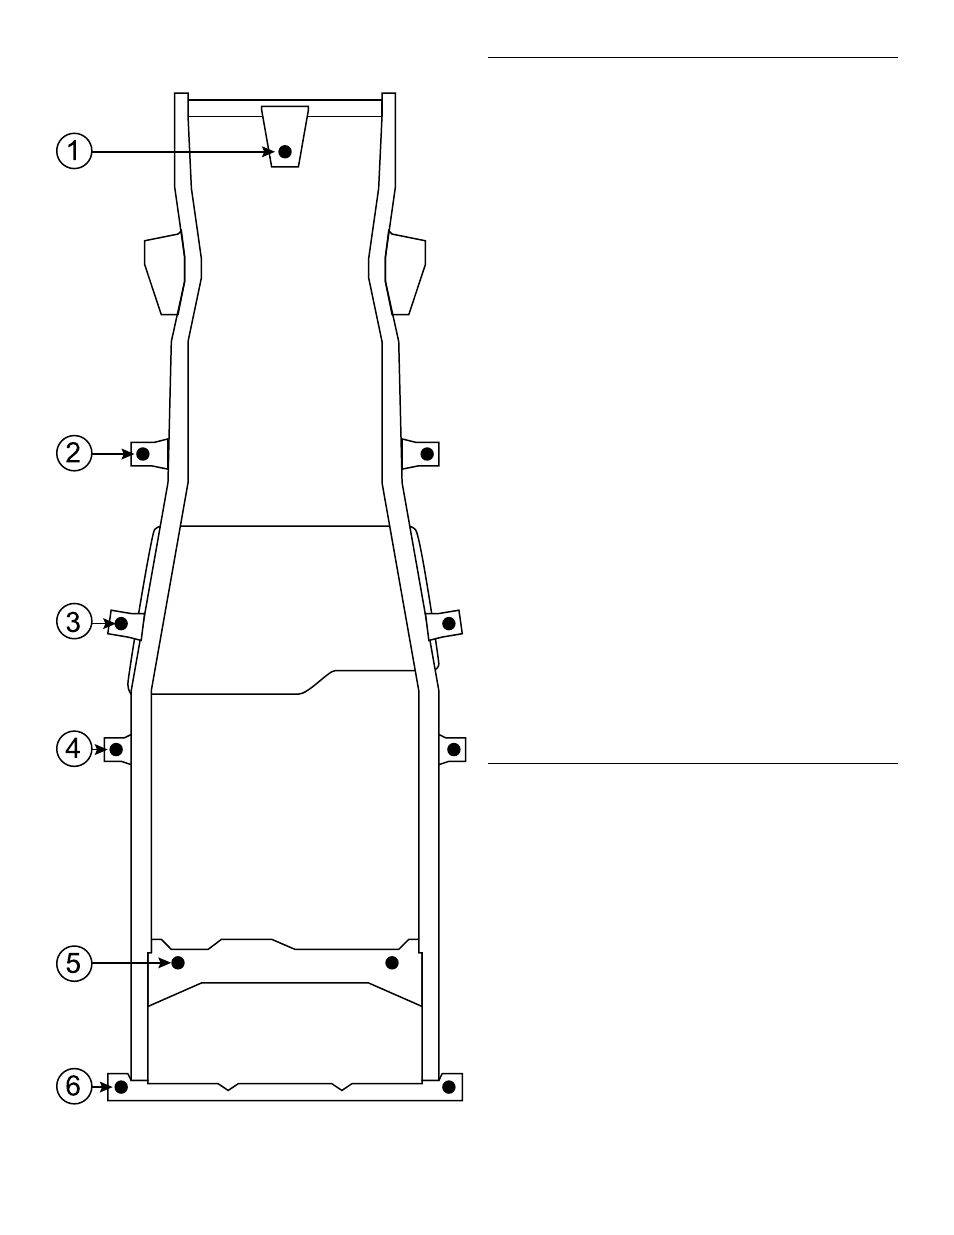
BODY MOUNT LOCATION DIAGRAM
5. MODIFY RADIATOR
Locate the four fan shroud mounting holes on the
radiator.
Measure exactly 1” below the factory mounting
holes and mark the location with a center punch.
NOTICE: The lower passenger side hole will line up
with an existing factory hole and will not require mark-
ing with a center punch.
Drill a new 1/4” hole through the three center
punched marks.
6. MODIFY FAN SHROUD
It will be necessary to trim the fan shroud to clear the
lower radiator hose before mounting.
Test fit the fan shroud to the radiator by aligning
with the new mounting holes.
Mark the location where the lower radiator hose inter-
feres with the fan shroud.
Trim the fan shroud until it completely clears the
radiator hose when mounted to the radiator.
Check for interference between the fan shroud
and fan blades, or any other objects, and trim the
fan shroud accordingly.
Re-install the fan using the original hardware, and
mount the fan shroud to the new mounting holes in
radiator.
Secure the fan shroud to the radiator with four of
the 1/4” Nylock Nuts (H) provided. Use the sup-
plied 1/4” x 1” Fender Washer (G) at the existing
lower passenger side hole in radiator.
7. MODIFY T-CASE SHIFT LINKAGE
It will now be necessary to modify the transfer case
shift linkage bracket that you removed in step 2.
Remove the pivot bushing from shift linkage
bracket by removing the two mounting bolts.
Install the supplied Pivot Bushing Drop Plate
(I) to the shift linkage bracket using the original
pivot bushing mounting bolts as shown.