BMR Suspension TAS005 User Manual
Page 2
2
CROSS-MEMBER INSTALLATION (Cont.)
7) Thread the supplied bolt into the body and snug the bolt allowing the frame bracket to
rotate around the axis of the bushing.
8) Repeat steps 4-7 for the passenger side. At this stage both mounts should be installed and
you can mount the cross-member. Lift the cross-member into place and insert the
supplied ½” x 4.5” bolts, stainless washers, and nuts.
9) Tighten the body mount bolts to 150 ft/lbs.
10) Center the cross-member to the driveshaft then tighten the (4) cross-member bolts.
TORQUE ARM INSTALLATION:
1. Lift vehicle and support with stands under
the frame, allowing the rear end to hang.
2. Remove the rear wheels/tires.
3. If the vehicle has exhaust installed,
remove it at this time.
4. Remove the rear shocks using a 9/16”
socket.
5. While not necessary, the installation is
simpler if the fuel tank is removed. If you
do not wish to remove the fuel tank, skip
steps 6-8 and proceed to step 9.
6. Drain the tank using a drill pump or
siphon.
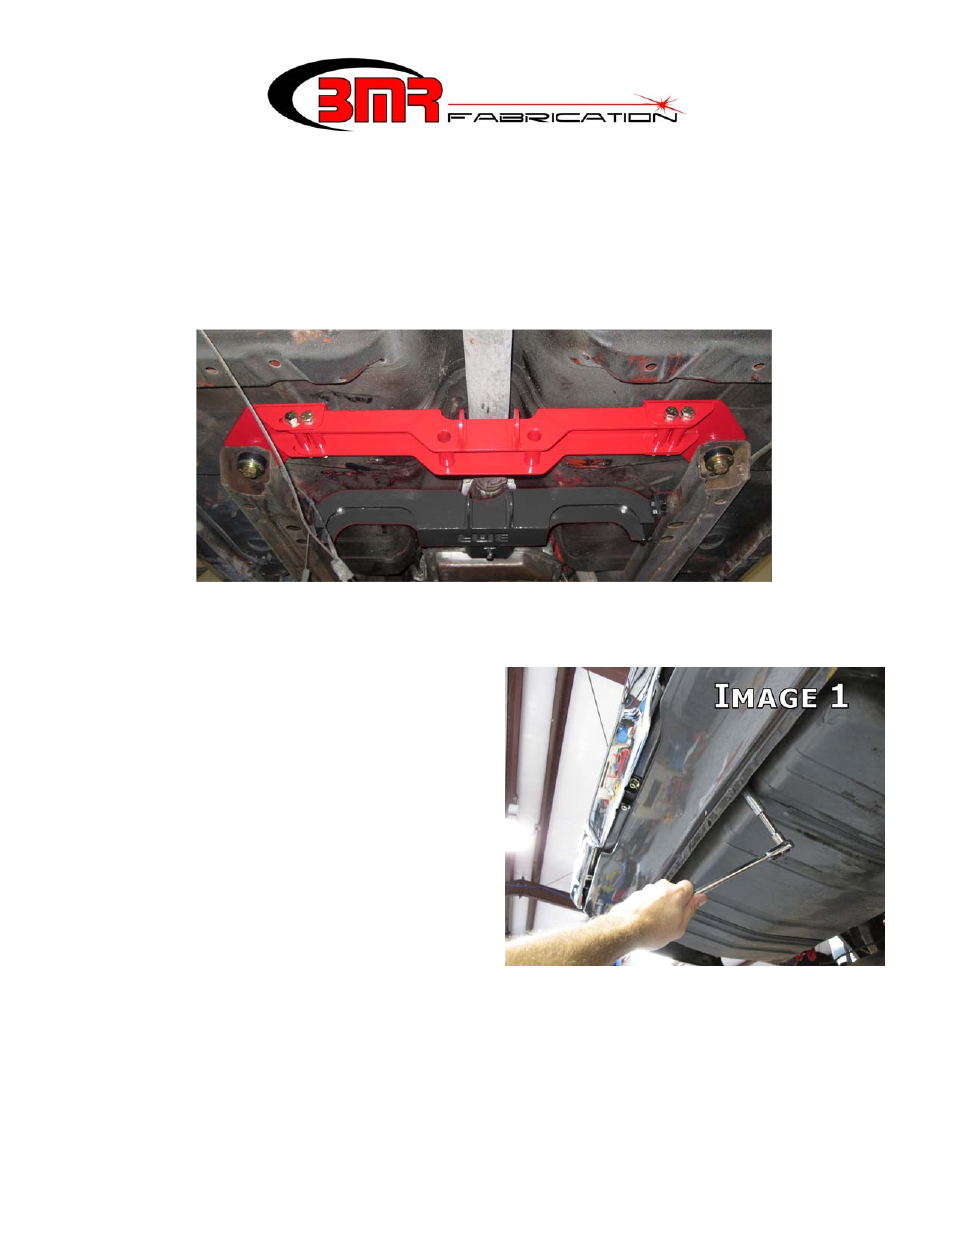
7. Support the tank and then remove the two
mounting nuts using a 9/16” deep socket.
Pull the tank support straps down, allowing the tank to be lowered. (Image 1)
8. Lower the tank far enough to access the fuel lines and electrical connectors. Disconnect
and cap the fuel lines. Lower and remove the fuel tank.