Set photo print options, Use the photo menu to set photo print options – HP PSC 1610v All-in-One Printer User Manual
Page 43
2.
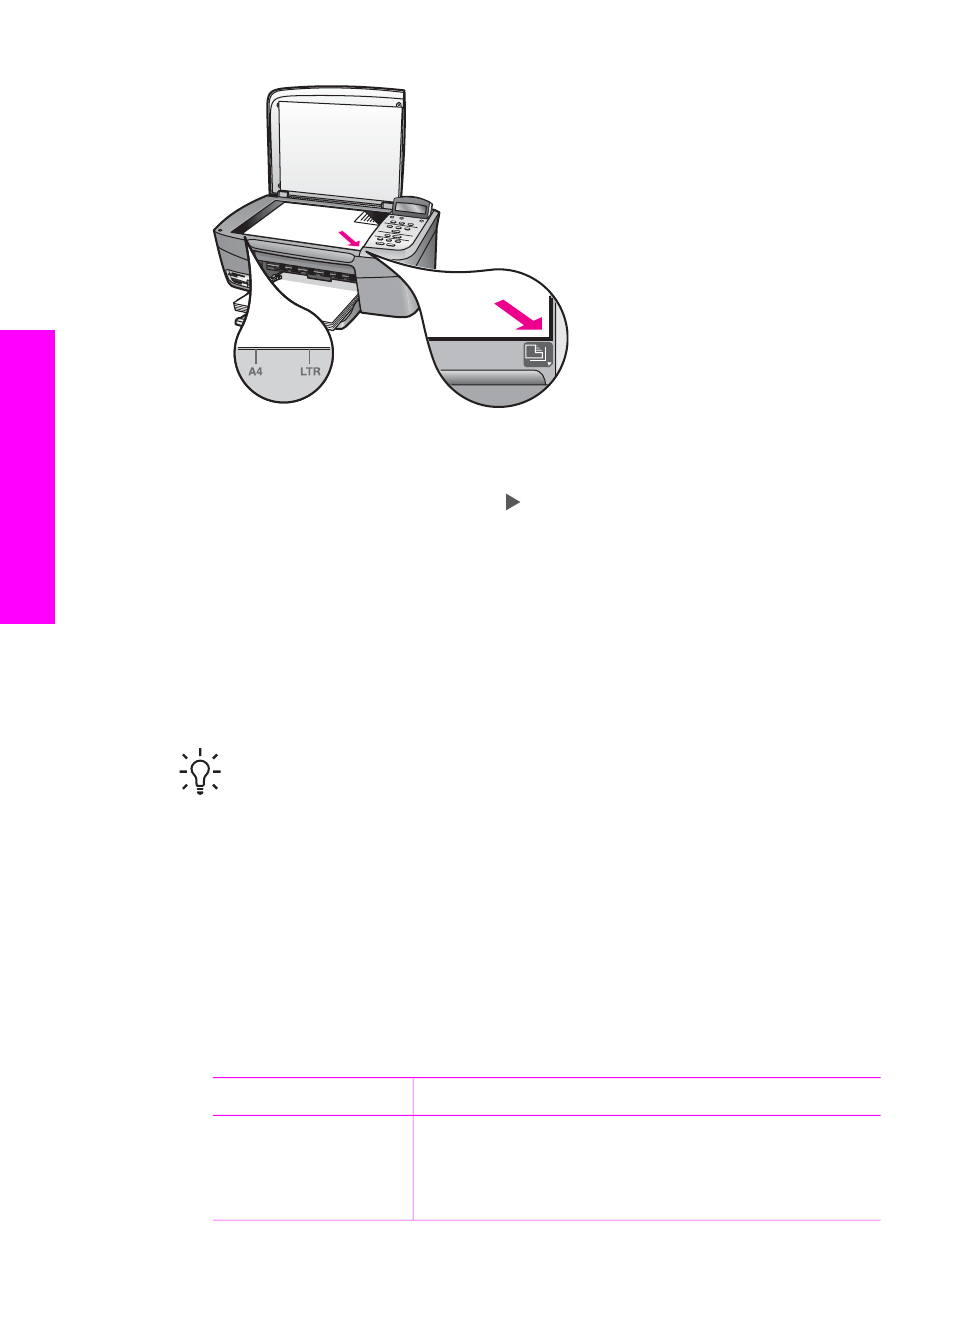
Load photo paper in the paper tray. Make sure the same memory card you used
to print the proof sheet is still in the slot when you scan that proof sheet.
3.
Press
Proof Sheet
, and then press to select
Scan
.
4.
Press
OK
.
The HP All-in-One scans the proof sheet and prints the selected photos.
Set photo print options
From the control panel, you can control how your HP All-in-One prints photos,
including paper type and size, layout, and more.
This section contains information on the following topics: setting photo print options,
changing print options, and setting new photo print option defaults.
Tip
You can also use the HP Image Zone software when printing photos. For
more information, see the HP Image Zone Help.
Use the Photo menu to set photo print options
The
Photo
menu gives you access to a variety of settings that affect the way photos
print, including number of copies, paper types, and more. The default measurements
and sizes vary according to country/region.
1.
Insert a memory card into the appropriate slot on your HP All-in-One.
2.
Press
Photo Menu
.
The
Photo
menu appears.
3.
Press
Photo Menu
repeatedly until the setting you want to change appears on
the control panel display:
Setting
Description
Select Photos
Lets you select the photos you want to print.
All
selects all photos on the memory card, and
Custom
allows you to manually select each photo you want to
print.
Chapter 6
40
HP PSC 1600 All-in-One series
Memory
Card
and
PictBridge