HT instruments MACROTEST G3 User Manual
Page 68
MACROTESTG3 - COMBIG3
EN - 67
5. After the insertion of the value of the first rod it will be not possible to transfer the
eventually measrements saved inside the T2100 by means the
key. Perform the
same procedure for each rod of the network in question. At the end of the
measurements, press the GO/STOP key on the instrument. The following screen
appears on the display
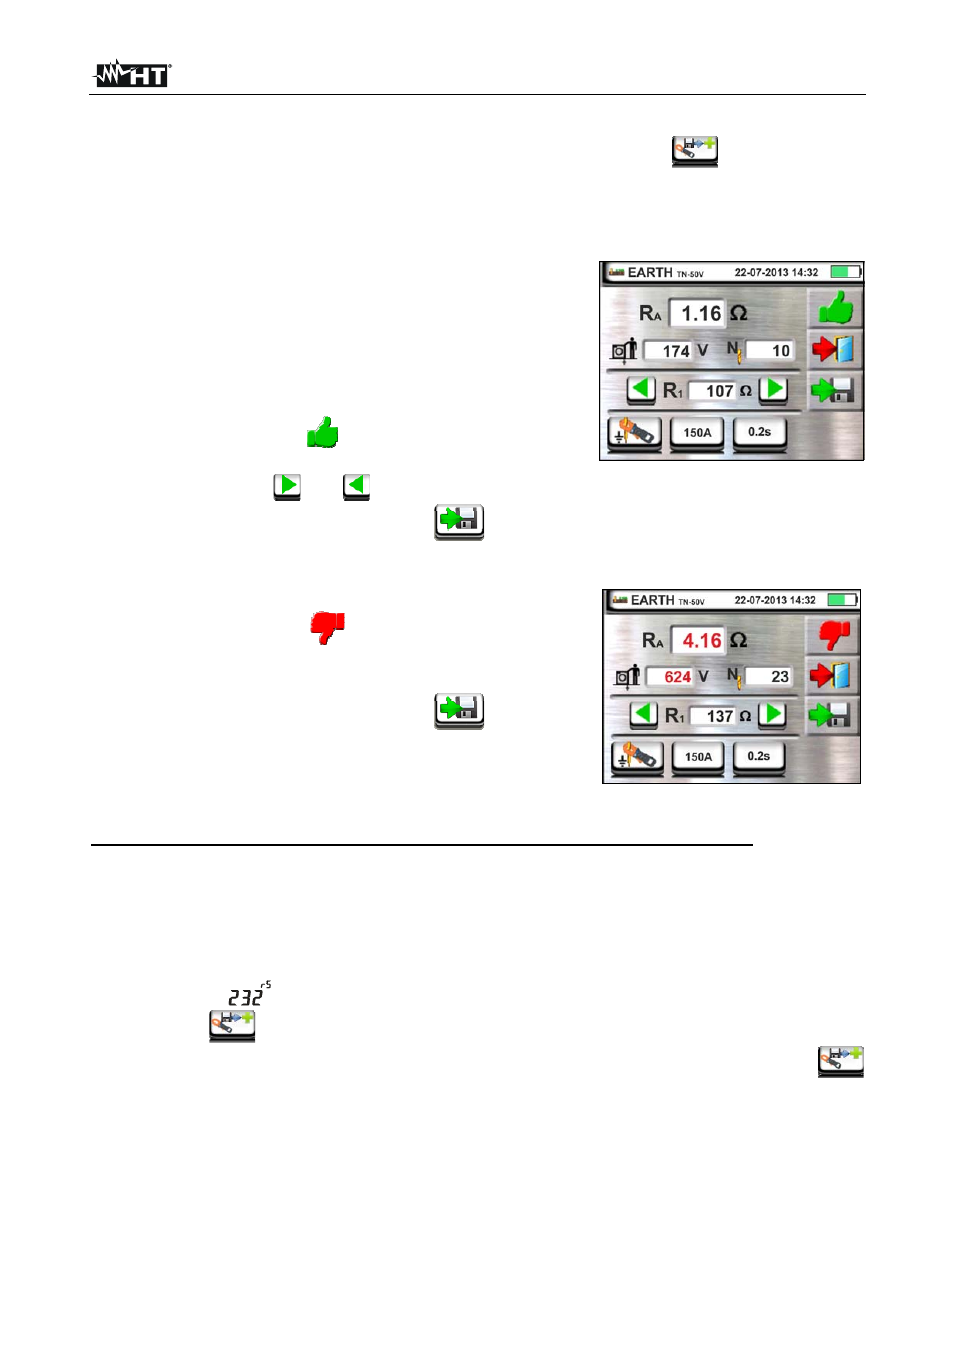
6. The R
A
field shows the value of the resistances in
parallel performed on each rod of the earth network
considered. This value is compared with the maximum
limit value calculated by the instrument according to the
selections made on the parameters of the protections.
In case of positive result (see § 12.7 and § 12.11), the
instrument shows the
symbol and it is also possible
to scroll through the values of partial resistances by
touching the keys
and
Press the SAVE button or touch the
icon to save
the measurement (see § 7.1).
7. In case of negative result (see § 12.7 and § 12.11), the
instrument shows the
symbol and the result value
appears in red like in the screen to the side.
Press the SAVE button or touch the
icon to save
the measurement (see § 7.1).
Rods resistance measurement with clamp T2100 used in an independent way
1. Turn the clamp T2100 on, perform the measurements on each rod of the earth network
considered by saving the results in its internal memory (see the user manual of clamp
T2100).
2. At the end of the measurement, connect the clamp T2100 to the instrument by inserting
the connector into input In1 and put it in "RS232" mode (see the user manual of clamp
T2100). The
symbol appears on the display of the clamp.
3. Touch the
icon. Any data stored in the memory of the clamp is downloaded in the
instrument and slides in sequence on the display. At the end of the operation, the
symbol disappears from the display
4. With the clamp connected to the instrument is possible to perform and add other
measurements according to the actions described in the previous point 4
5. Press the GO/STOP key on the instrument and observe the positive or negative results
of the measurement as shown in points 6 and 7 of the previous mode.