Deleting array / virtual disk, Deleting the virtual disk, Deleting the array – LT Security LTN8600 Series NVR (V2.3.2) User Manual
Page 162: 4 deleting array / virtual disk, 1 deleting the virtual disk, 2 deleting the array
User Manual of 9600/8600/7700/7600 Series NVR
162
10.4 Deleting Array / Virtual Disk
Note:
Before deleting the array, the virtual disk(s) existing under this array must be deleted first. Deleting array
and virtual disk will cause to delete all the data saved in the disk.
10.4.1 Deleting the Virtual Disk
Steps:
1.
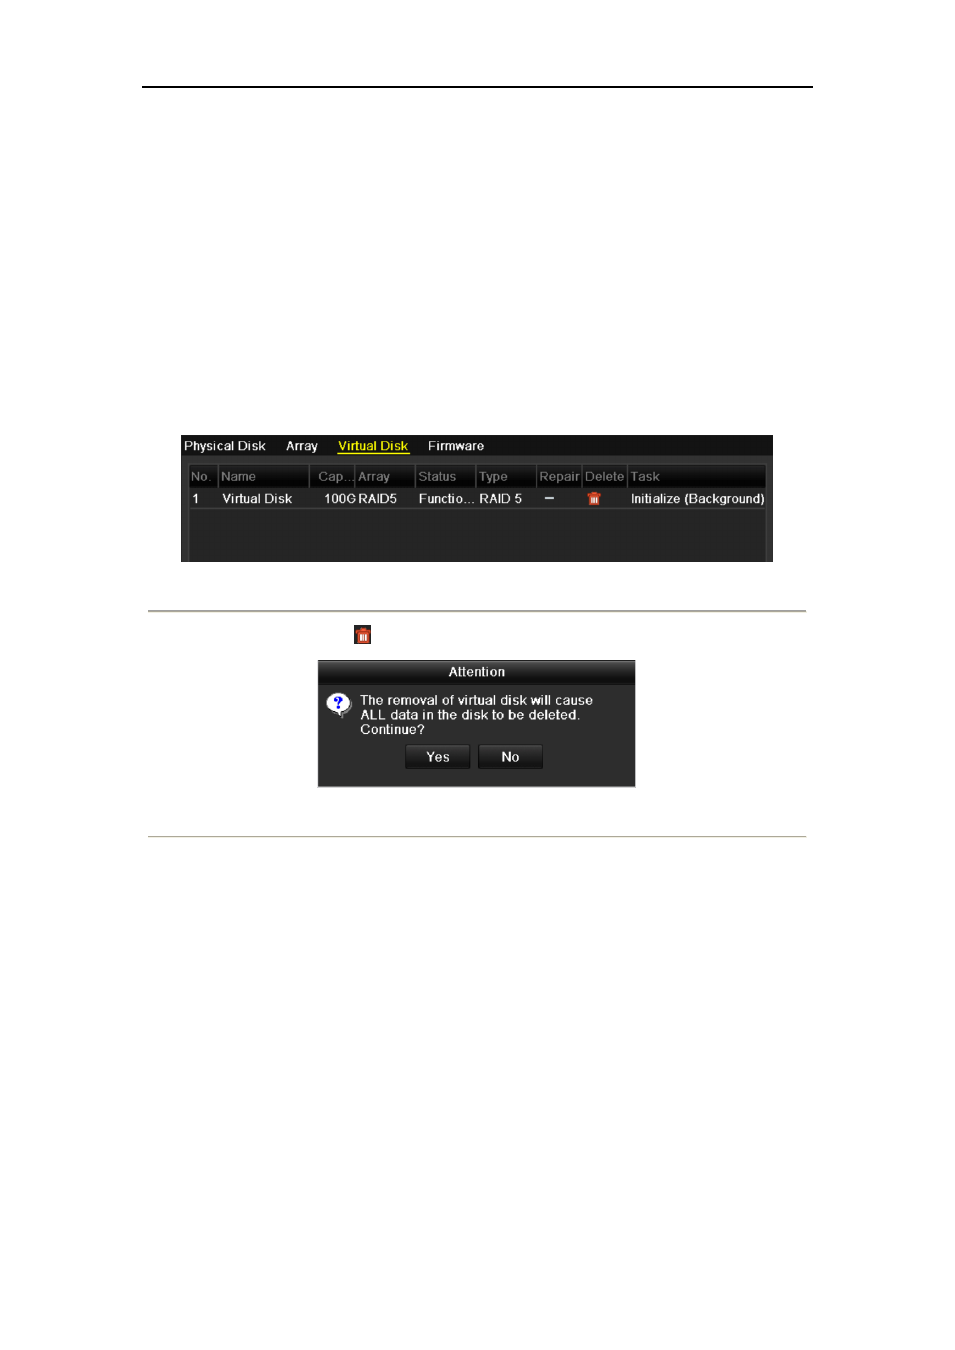
Enter the Virtual Disk interface.
Menu>HDD>RAID>Virtual Disk
Figure 10. 25 Virtual Disk Interface
2.
Select a virtual disk and click
to delete the virtual disk.
Figure 10. 26 Confirm Virtual Disk Deletion
3.
In the pop-up message box, click Yes button to confirm the virtual disk deletion.
Note:
Deleting virtual disk will cause to delete all the data saved in the disk.
10.4.2 Deleting the Array
Note:
If all the virtual disks existing under an array have been deleted, then you can delete that array.
Steps:
1.
Enter the Array Settings interface.
Menu>HDD>RAID>Array