Replacing a qsfp transceiver, Cable routing table, Figure 29 – Brocade VDX 8770-8 Hardware Reference Manual User Manual
Page 104: Table 19, Cable, Routing table, N in
84
Brocade VDX 8770-8 Hardware Reference Manual
53-1002564-04
Cable routing table
5
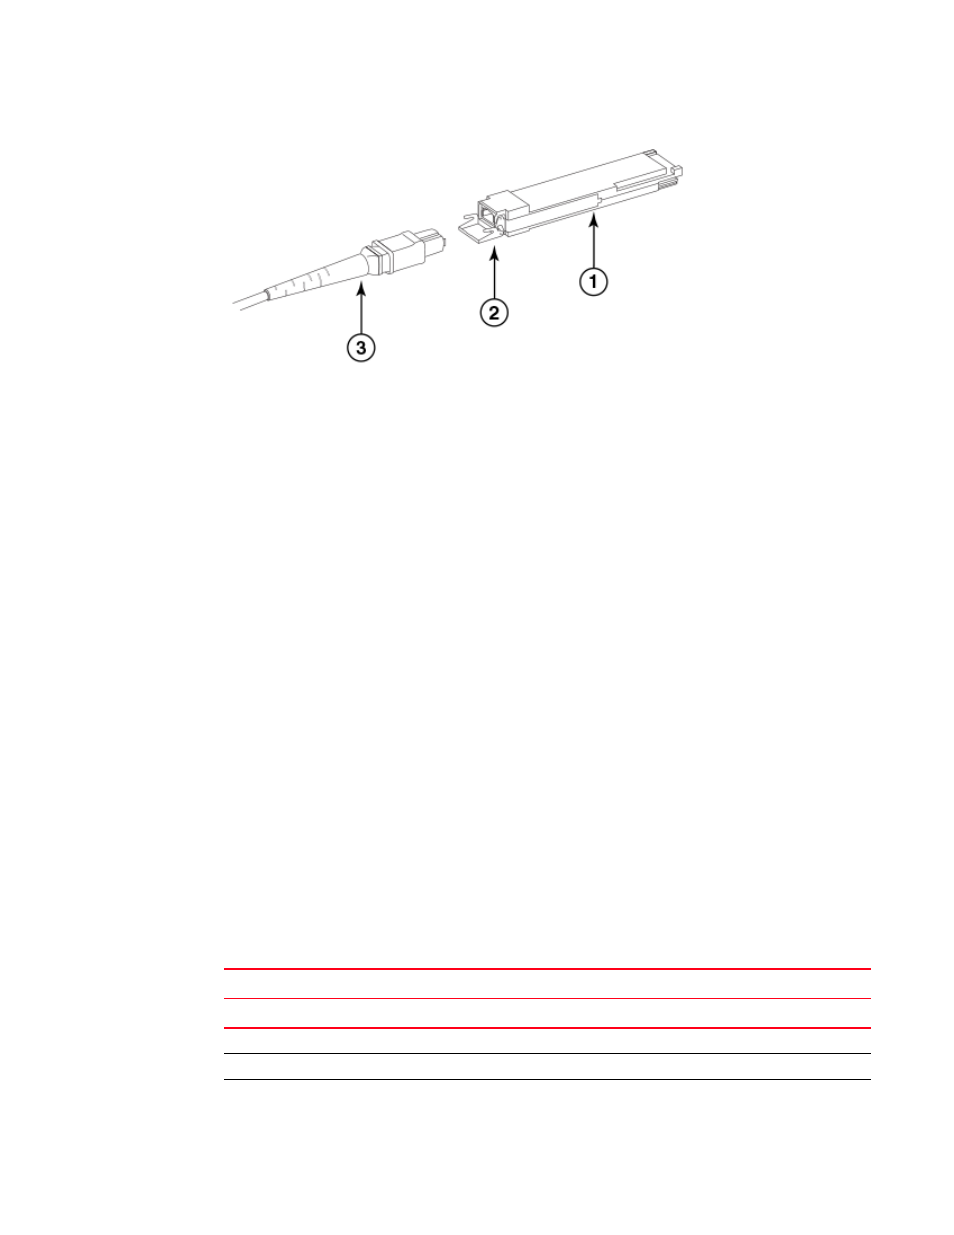
FIGURE 29
QSFP cable and transceiver with bail open
Replacing a QSFP transceiver
Complete the following steps to replace a QSFP transceiver.
1. Position the new QSFP transceiver so that the key is oriented correctly to the port.
2. Grasping the edges of the transceiver, gently push it into the port until it is firmly seated and
the latching mechanism clicks. If your transceiver has a bail release, pull the bail up to lock the
transceiver in place.
Transceivers are keyed so that they can only be inserted with the correct orientation. If a
transceiver does not slide in easily, ensure that it is correctly oriented.
3. Remove the protective plug from the transceiver.
4. Position the cable so that the key (the ridge on one side of the cable connector) is aligned with
the slot in the transceiver. Insert the cable into the transceiver until the latching mechanism
clicks.
Cables are keyed so that they can be inserted in only one way. If a cable does not slide in
easily, ensure that it is correctly oriented.
Cable routing table
is a 48-port template for a cable routing table. Make copies of the table to cover the total
number of ports in the Brocade VDX 8770-8.
1
Transceiver
2
Fiber optic cable
3
Bail
TABLE 19
Cable routing table for the Brocade VDX 8770-8 (48 ports shown)
Slot/port
Cable labels
Connected device
Slot/port of device
Slot
Port
Switch end
Device end
1
2
3