Pro-Cut Warthog User Manual
Page 21
WWW.PROCUTUSA.COM
PG /
Ø21
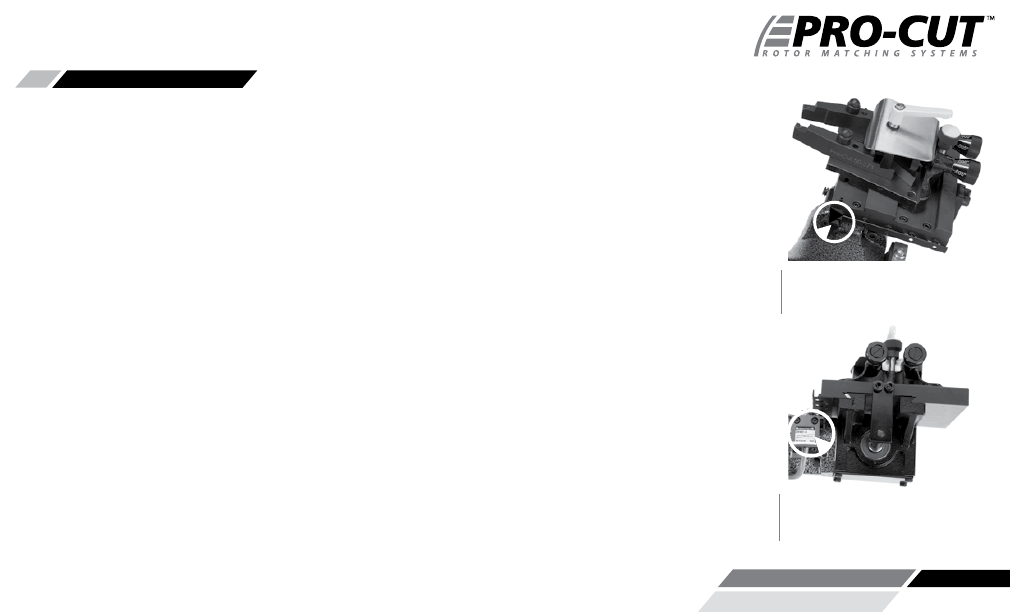
Note the Automatic Shut-Off Switch
Above. The shut-off cam will depress the
stop button when the cutting tips clear
the rotor.
Set the shut-off cam (circled) by loosening
the thumbscrew and positioning on the rail
so that the cam will depress the stop button
when the cutting tips clear the rotor.
MACHINING ROTORS
CONTINUED
The new Speed-Lock Cutting Head has two lock levers, one closer to the brake rotor
(Forward) to release the tool arms, and one farther from the brake rotor (rear) that allows
you to lock the cutting head in position once centered over the rotor. The cutting head
can slide laterally but is limited by two roll pins; one on either side of the leading edge
of the
50-496 plate.
C.
Position Cutting Head and Set Shut-off Cam
STEP 2: SET UP THE LATHE
(2 Minutes)
(CONTINUED)
Loosen the forward lever and the rear knob. Slide the cutting head laterally and adjust
the tool arm depth knobs (at the rear of the cutting head) so the tool arms are evenly
spaced and will clear the rotor. Once centered over the rotor, tighten the rear lock knob
to secure the cutting head. If the cutting-head lock knob is not secure, a poor surface
finish will result; over-tightening is not required.
NOTE: The Pro-Cut will mount cutting head up on one side and cutting head down on the other.
Always start right-side up; this way, when you proceed to the other side of the vehicle, the offset
of the cutting head, and the shut-off cam will already be set.
Next you will set the shut-off cam. Crank the feed knob in until the tips clear the out-
side edge of the rotor. Loosen the cam screw and slide the cam back until it contacts
the automatic shut-off switch plunger. Tighten the cam screw. The cam will press the
shut-off switch when the tips clear the rotor.