Reinstall the drive bracket, 7 reinstall the drive bracket, Figure 4-10: 3.5” disk drive retention screws – IEI Integration RPC-6010G User Manual
Page 42
RPC-6010G Rackmount LCD Workstation
Step 4:
Step 5:
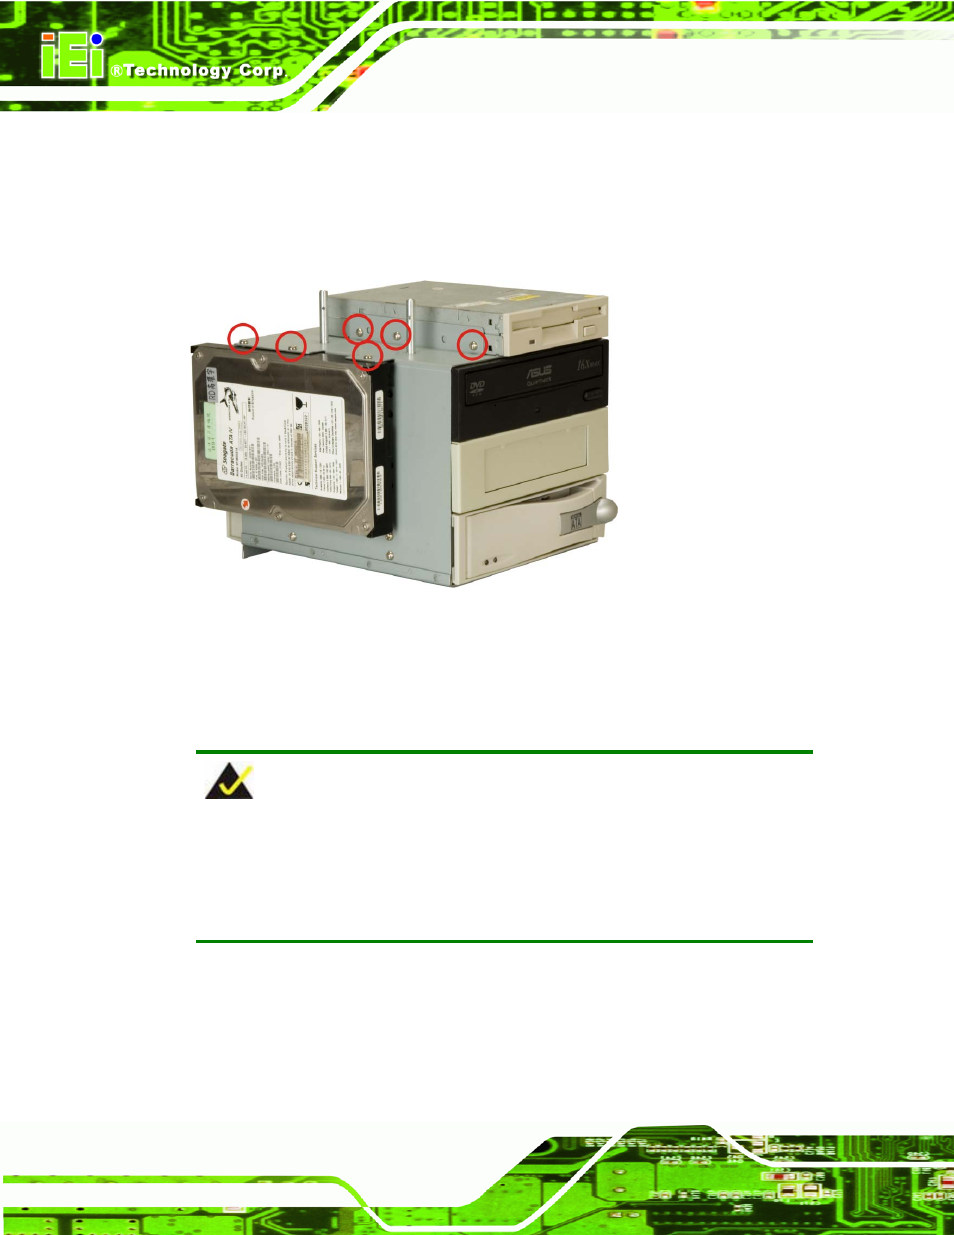
Slide a 3.5” disk drive into one of the 3.5” drive brackets. Make sure the
connectors of the drive are facing the rear of the drive bracket.
Insert the appropriate number of retention screws into each side of the 3.5” disk
drive through the 3.5” drive bracket (Figure 4-10).
Step 0:
Figure 4-10: 3.5” Disk Drive Retention Screws
4.5.7 Reinstall the Drive Bracket
After the drives have been installed, reinstall the drive bracket into the chassis.
NOTE:
It might be easier to connect the disk drive IDE/SATA connectors to the ribbon
cables and the disk drive power connectors to the PSU before the drive bracket
is reinstalled into the chassis.
Step 1:
Step 2:
Step 3:
Remount the drive bracket in the original position it was removed from.
Make sure all drive bracket retention screw holes are properly aligned with the
corresponding retention screw holes in the workstation.
Reinsert all drive bracket retentions screws.
Step 0:
Page 32