Burkert Type 2036 User Manual
Page 13
13
Assembly
Type 2036
6.3.1 installing the body
Welded body
→
Weld valve body in pipeline system.
other body designs
→
Connect body to pipeline.
6.3.2 installing the actuator (welded body)
→
Move the actuator to the upper actuator position (CFA, NC: by
applying pilot pressure; CFB, NC: by removing the pilot pressure).
→
Put the actuator / diaphragm on the body with correct alignment
(so that the markings made previously align). In the case of RV110
the four spacer sleeves must be inserted in the designated body
holes (see "Fig. 7: Spacer sleeve").
→
Tighten the diagonally opposed body screws / nuts until there
is visible, uniform mechanical contact between the valve body,
diaphragm and actuator.
→
Switch the diaphragm valve twice.
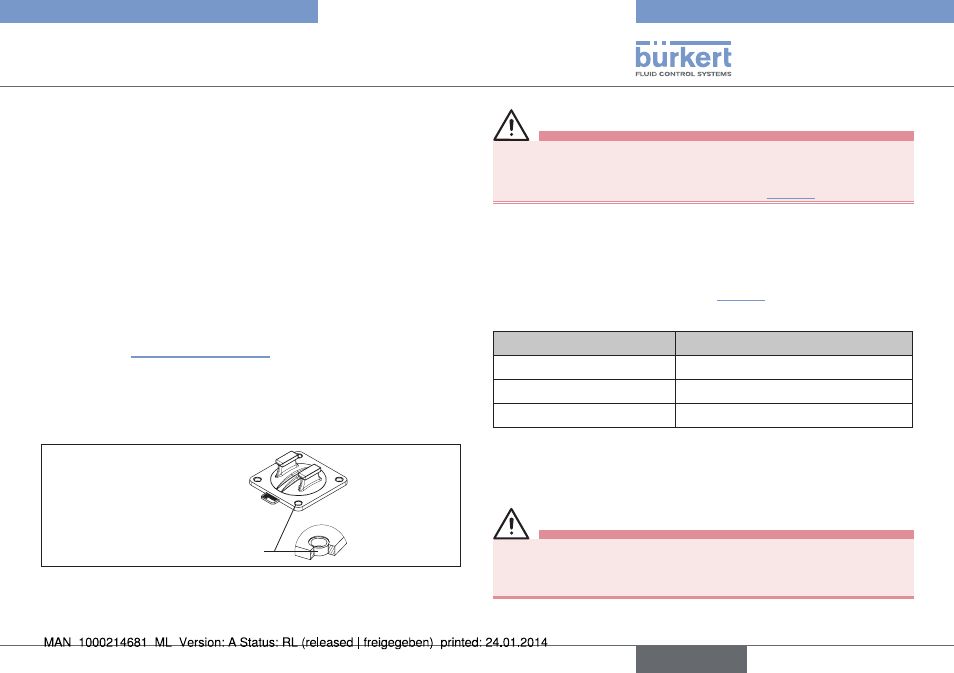
Spacer sleeve
Fig. 7:
Spacer sleeve
Warning!
risk of injury from discharge of medium and release of
pressure.
▶ Tighten the body screws sufficiently (see "Tab. 2").
→
Move the actuator to the lower actuator position (CFA, NC: by
removing pilot pressure; CFB, NO: by applying the pilot pressure).
→
Without applying pilot pressure, tighten the body screws to the
permitted tightening torque (see "Tab. 2").
size
tightening torque [nm]
RV50
6
RV70
17
RV110
30
Tab. 2: Tightening torque
6.4 Pneumatic connection
Danger!
risk of injury from high pressure in the system.
▶ Before disconnecting lines and valves, turn off the pressure and
vent the lines.
english