5 record schedule, 2 modify group, 3 remove groups – eLine Technology iVMS-2000 V2.0.2 User Manual
Page 87: 1 add recording schedule
iVMS-2000 User Manual
82
Figure 6-16 Add Group
Users can modify the auto-generated group name and duration interval, and also can
select between different screen split modes by clicking the appropriate icons. Click on a
camera in camera list and drag it into the desired display screen position, and click [OK] to
save the configuration. Users can click
on the upper-right of each screen to delete the
added camera.
6.4.2 Modify Group
Select a group and click [Modify] or double click on the group, and then the Group
Modification dialog box will prompt and users can modify the group settings accordingly. The
operation steps are same as when adding a group.
6.4.3 Remove Groups
Select the group(s) on the group list, click [Delete] and then click [OK] on the prompt
message box (Figure 6-17) to delete settings of the selected group(s).
Figure 6-17 Delete Group Message Box
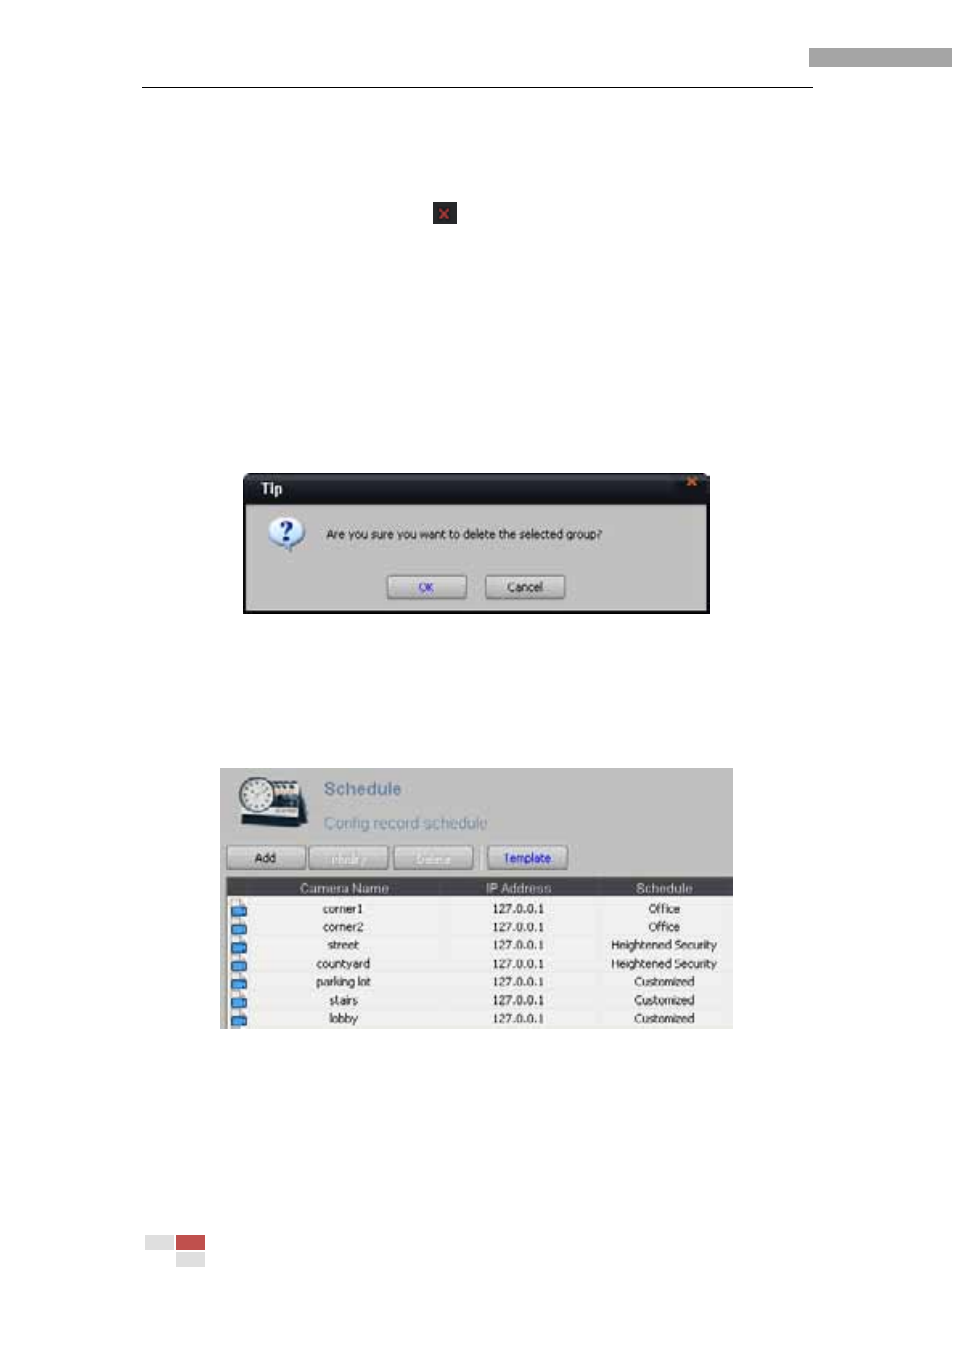
6.5 Record Schedule
Click [Schedule] to enter record schedule configuration interface (Figure 6-18) and
configure record schedule for each camera.
Figure 6-18 Record Schedule Configuration Interface
6.5.1 Add Recording Schedule
All the cameras are configured in 24-hour arm and motion recording mode by default. If
any of the record schedule as been deleted, users can click [Add] to re -configure the
recording schedule (Figure 6-19).