AVTECH Room Alert 4ER Monitor (RA4E-ES1-RAS) User Manual
Page 10
AVTECH Software Inc.
Installation
Room Alert 4E
units will cause the action selected to be performed on multiple units (i.e. all selected units) simultaneously.
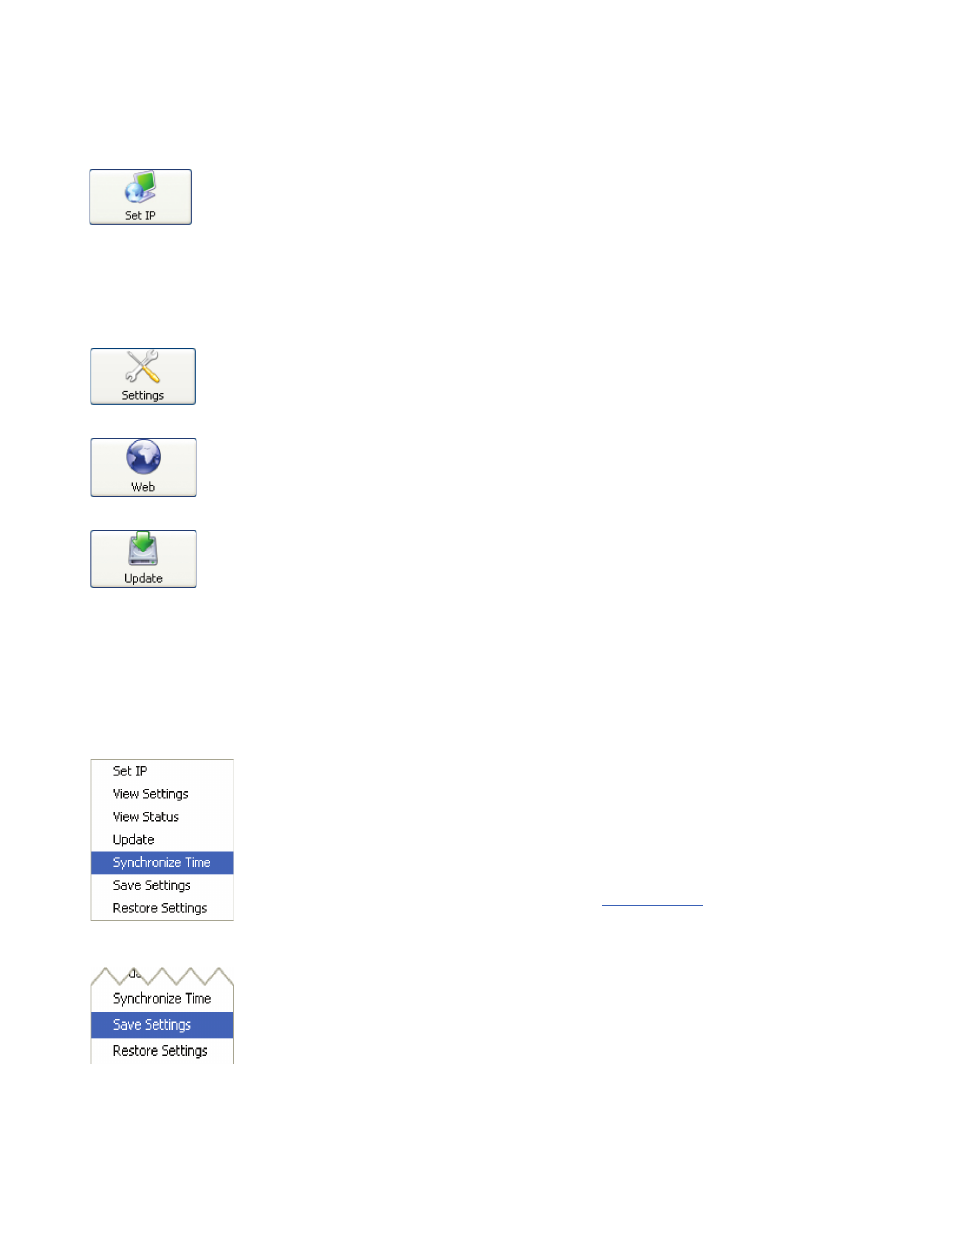
The ‘Set IP’ button is used to assign a static IP address, gateway IP address, subnet mask
and DNS server IP address or to set the Room Alert 4E unit back to DHCP (0.0.0.0). If
the ‘Set IP’ button is pressed without a specific Room Alert 4E unit selected in the
AVTECH Device Discovery Utility, a prompt will display asking for the MAC address of the unit. This
option can be used in conjunction with the MAC address listed on the bottom of the Room Alert 4E unit
to attempt IP address assignment of a unit that cannot be located or has previously been obtained or
assigned an incorrect IP address.
The ‘Settings’ button opens the default web browser and displays the ‘Settings’ screen of the Room
Alert 4E web interface. The ‘Settings’ screen allows for further configuration of the Room Alert 4E
unit and is where alerts, email, SNMP and other settings are configured.
The ‘Web’ button displays the main ‘Status’ screen of the Room Alert 4E web interface which
shows current sensor data and alarm status in the default web browser for the system you are using.
Be sure to bookmark the link that loads for quick and easy reference in the future.
The ‘Update’ button initiates the firmware upgrade process of the AVTECH Device
Discovery Utility. If a Room Alert 4E unit is not selected before left clicking this button,
a dialog will display asking for the IP address of the unit to upload firmware to. Please
see the ‘Upgrading Firmware’ section of the ‘Advanced Topics’ chapter for important instructions on the
‘Update’ feature.
The AVTECH Device Discovery Utility offers additional features accessible via a right click context
menu. This menu is accessible only when a located Room Alert 4E unit has been selected and the right
mouse button has been clicked. These menu options are described below.
The ‘Synchronize Time’ option instructs the Room Alert 4E unit to synchronize with the time
server specified in the ‘Time Server IP’ field on the ‘Advanced’ tab of the ‘Settings’ screen. The
time displayed on the Room Alert 4E ‘Status’ screen and included in email alert notifications
can only be updated by linking with a network time server (NTP) on UDP port 123. If a time
server is not available on your network and access to a time server on the internet is not possible,
AVTECH has various help files available that explain how to configure a computer on the local
network to act as a time server for other devices. Visit
AVTECH.com
to learn more and see
AVTECH’s Frequently Asked Questions (FAQs).
The ‘Save Settings’ feature can be used to download the current configuration
settings on a Room Alert 4E unit for backup purposes. This feature can also be used
to quickly configure multiple Room Alert 4E units by configuring one unit,
selecting it, clicking the ‘Save Settings’ option, then selecting multiple units and
clicking the ‘Restore Settings’ option.