2 ring door installation, And ro, Installation – Grain Systems Tanks PNEG-1095 User Manual
Page 55
6. Installation
PNEG-1095 FCDL 4.00" Corrugation Externally Stiffened Grain Bin
55
2 Ring Door Installation
Before starting to install, be sure the correct door has been received.
Note that
1 ring door are standard with some sizes of bins/silos. Refer to
for round access door
installation instructions.
2 Ring Door Installation Instructions
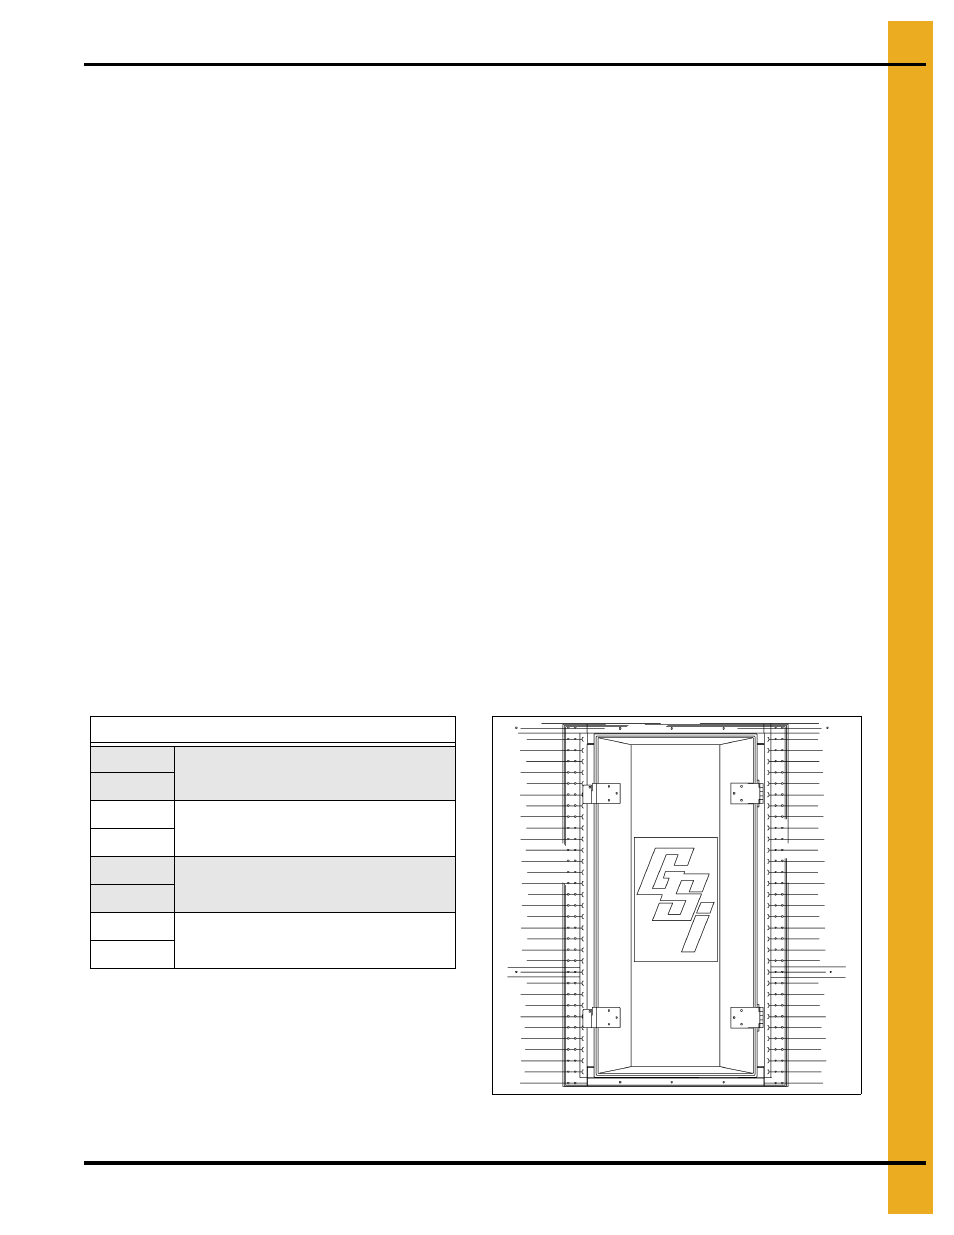
1. Remove inner door panels and outer door cover. Apply double row of rope caulk along door flanges,
noting how door and bin sheets lap. The top of the door frame goes to the inside of the sidewall and
the bottom of the door frame goes to the outside of the sidewall sheet. With inner door panels and
outer door cover removed, set door frame into opening. Insert a bolt at the four (4) corners of door
frame and sidewall, but do not tighten until completing
.
2. Re-install inner door panels at original locations. Close latch bars to lock panels in place. Be sure that
panels are fully seated over all bearing pins. Install inner panel hinge assemblies per illustration
instructions with hinges.
NOTE: Do not distort door frame with use of alignment or drift punches - if necessary, drill or ream
holes to insert bolts in door frame. Now tighten frame bolts starting at center and working
toward top and bottom on each side.
3. Keep inner panels latched and loosen all bearing pin bolts. Re-tighten all bearing pin bolts. This
makes loading on pins uniform for easier operation of panels.
4. If some latch bars are loose or require excessive force to lock, loosen hex socket cap screws and
adjust in or out until latch bars operate smoothly. Check that the panels are fully seated over all
bearing pins.
5. Re-install outer door cover. Adjust outer door hinges and latches as required.
6. Assemble door hold back as shown on next page.
Open door cover
until it approaches the bin wall. Hook retaining bracket over lower latch mount and position the door
hold back bracket against bin wall in a valley. Drill a 3/8" hole through the bin wall and bolt the door
hold back bracket to the bin. If needed, install the door hold back extension to door hold back bracket.
Figure 6M 2 Ring Door Installed
4.00" Corrugation
WD-6241
12'-27' Bins/Silos
WD-6245
WD-6242
30'-48' Bins/Silos - Maximum height of 9 rings
WD-6246
WD-6244
30'-48'-Bins/Silos - 10 rings and taller and 54'-60'
Bins/Silos
WD-6248
WD-6243
12'-24' Bins/Silos - with auger hood panel
WD-6247