Rough Country 770S User Manual
Page 5
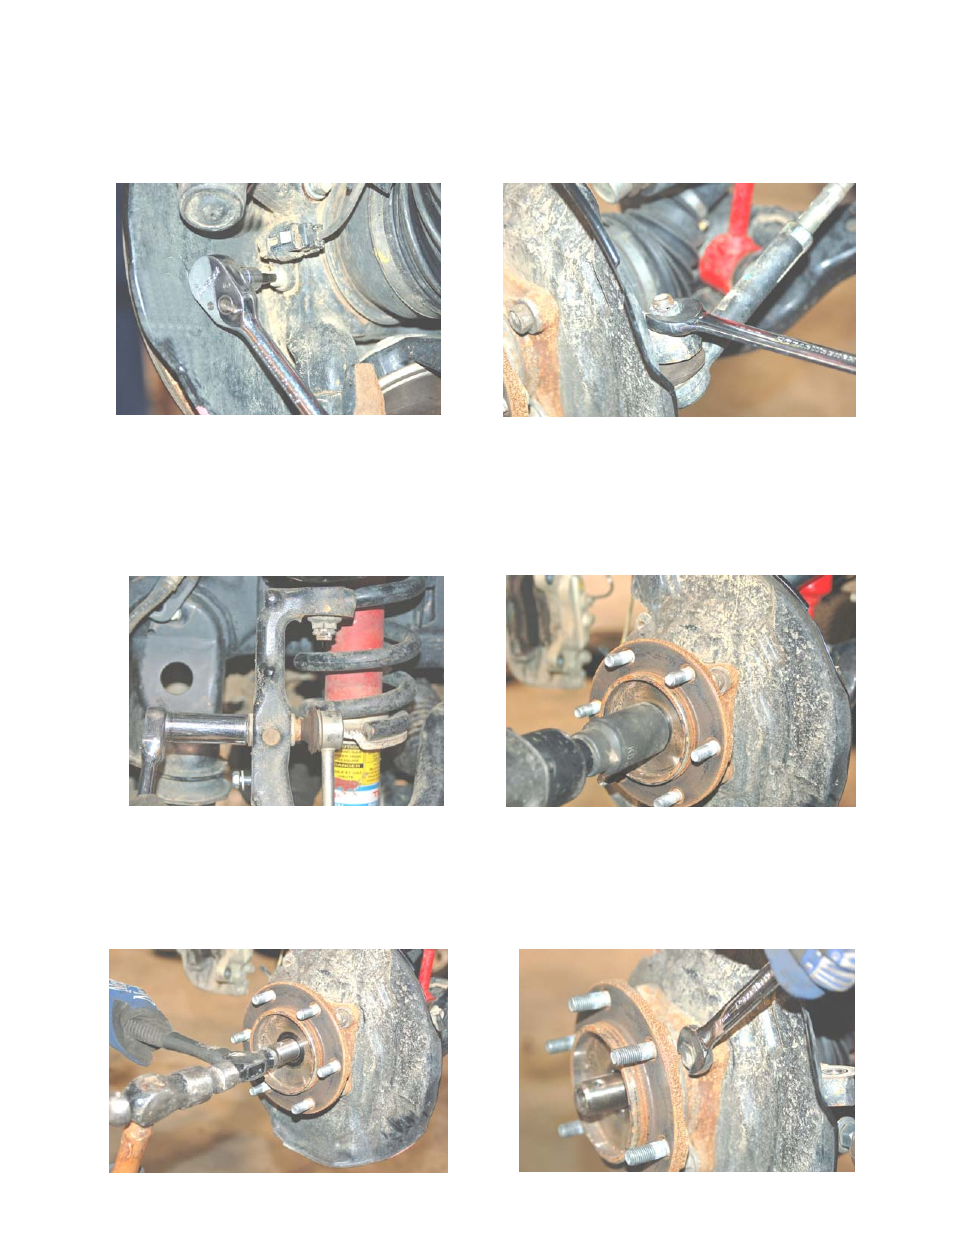
PHOTO 10
8. Using a 10mm socket remove the ABS bracket from the upper control arm.
9. Remove the ABS sensor from the knuckle using a 5mm allen wrench. Retain factory hardware for reuse. See
PHOTO 5.
10. Using a 19mm wrench, remove the outer tie rod end nut and separate from the knuckle. Retain stock nut for reuse.
See PHOTO 6.
PHOTO 5
PHOTO 6
11. Using a 17mm socket, remove the sway bar links from the knuckle. See PHOTO 7
12. Using a 17mm socket, remove the brake caliper, and rotor. DO NOT let the caliper hang from the brake line. If al-
lowed to hang, damage may occur to the brake lines. Use a zip tie or wire to hang the caliper to the frame, out of
harms way.
13. Using a flat screwdriver remove the dust cap from the knuckle.
14. Remove the cotter pin and pal nut from the axle. Using a 35mm socket, remove the axle retaining nut. Retain stock
hardware for re-use. See PHOTO 8.
PHOTO 7
PHOTO 9
PHOTO 8
15. Using 2 hammers as shown in PHOTO 9, remove the CV shaft from the knuckle. Do not directly strike the end of
the axle-shaft. Using zip ties or wire, be sure to support the CV axle before removing the lower control arm. Do not
allow the axle to hyper-extend or damage to the CV axle may occur.
16. Using a 17mm wrench, remove the 4 bolts that hold the hub flange and dust cover to the knuckle. Remove the hub,
and cover. Retain stock hardware. Note: You will not be able to remove the bolts from the hub assembly after the
hub is removed from the knuckle. See PHOTO 10.