EVS IP2Archive Configurator Version 1.0 - July 2013 User Manual User Manual
Page 40
8. Click Save.
Adding a Remove Hires Filter
Depending on your user rights, you will be able to add an remove hires filter or not. If you
don't have the necessary rights, the Remove Hires icon will not be visible.
To add a remove hires filter, proceed as follows:
1. Click the Remove Hires icon to open the Remove Hires pane.
2. Enter and/or select the desired filter criteria.
3. Click the Add button.
A new remove hires filter is added to the remove hires filter list. By default, New
Remove hires filter is entered as name for the filter.
4. (Optional) Enter a new name for the filter.
5. (Optional) Select the Auto remove check box. If selected, the hires file of clips that
correspond to the selected filter criteria will be automatically removed by Deep
Archive Manager after a certain period of time from the nearline storage.
6. In the Retention period field, enter the time (in days) after which Deep Archive
Manager will automatically remove the hires file of the clips. The retention period
starts from the moment when the clip is dropped in the Request Archive bin in
IPDirector (displayed in the Deep Archive Manager as Creation date).
7. (Optional) Edit the other filter data.
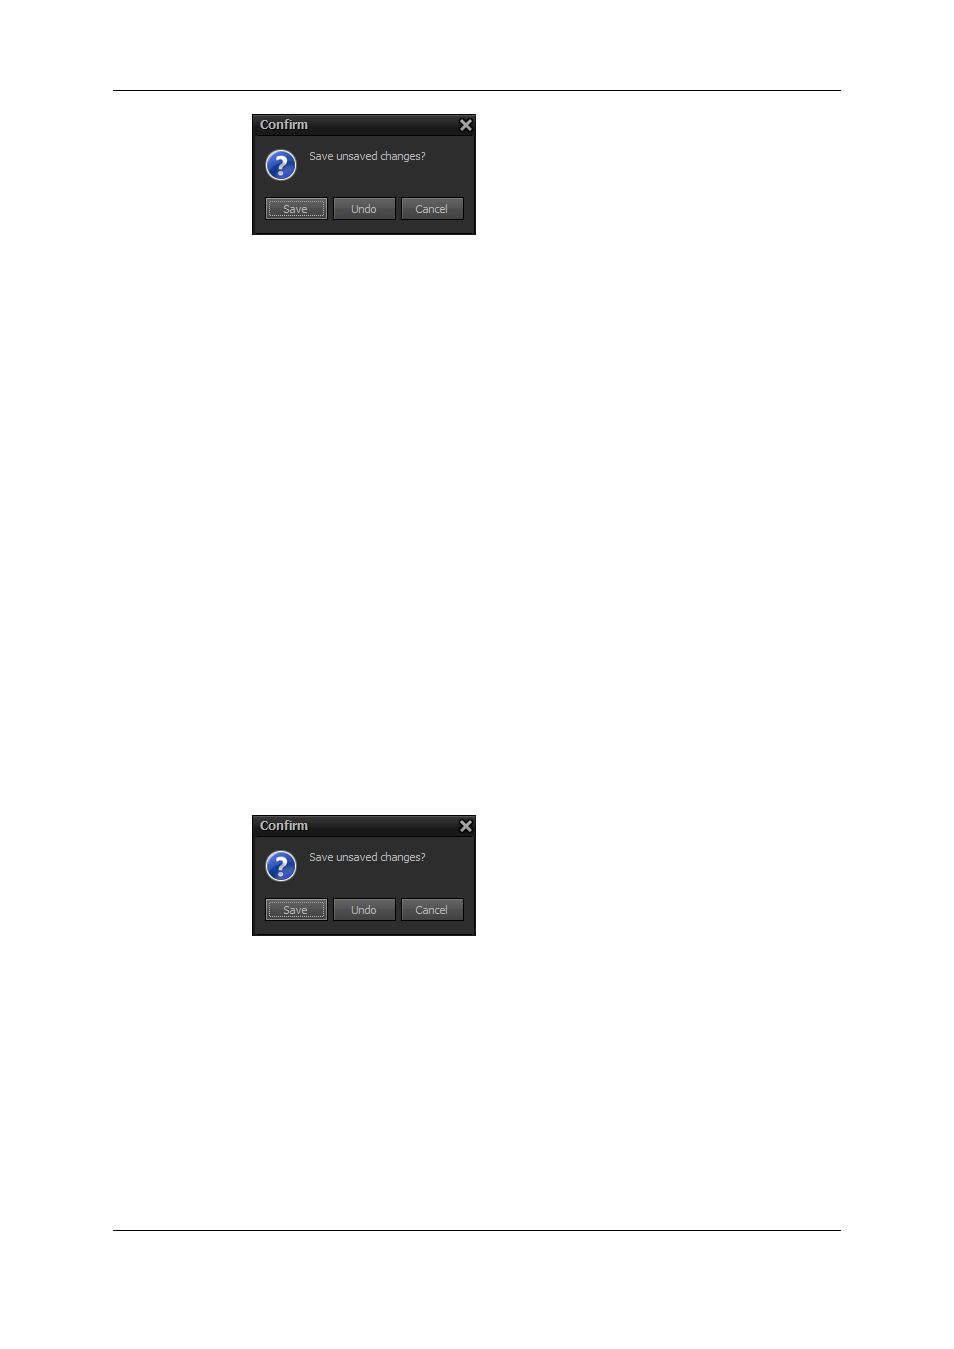
8. Click the Save button to save the remove hires filter in the database. If you don't save
your filter and leave the pane, a message will appear asking you to save your
changes.
9. Click Save.
Adding a Purge Filter
Depending on your user rights, you will be able to add an purge filter or not. If you don't
have the necessary rights, the Purge icon will not be visible.
To add a purge filter, proceed as follows:
1. Click the Purge icon to open the Purge pane.
2. Enter and/or select the desired filter criteria.
3. Click the Add button.
36
5. Configuring Settings
EVS Broadcast Equipment S.A. - July 2013
Issue 1.0.D