RIDGID CountPlus User Manual
Page 9
Ridge Tool Company
Tools For The Professional
TM
SeeSnake
®
CounTPluS Cable-CounTeR
Figure 12: Slide Text Area
4) While you are in Edit mode, the Text Key
will toggle between the
slide layout and the text selection screen.
a. In the layout screen, use the Arrow Keys to move to any point in the
screen where you want to place characters. When you have located the
cursor where you want it press the Text Key
to shift to the test se-
lection screen and actually write characters into the slide at that location.
5) In the text selection screen, use the Arrow Keys to move to a desired
character, number, symbol, or backspace. When the desired item is
highlighted, press Select
to insert it onto the slide. Repeat for the
next character, until the slide content is the way you want it. Note: The
backspace symbol () acts as a Delete key.
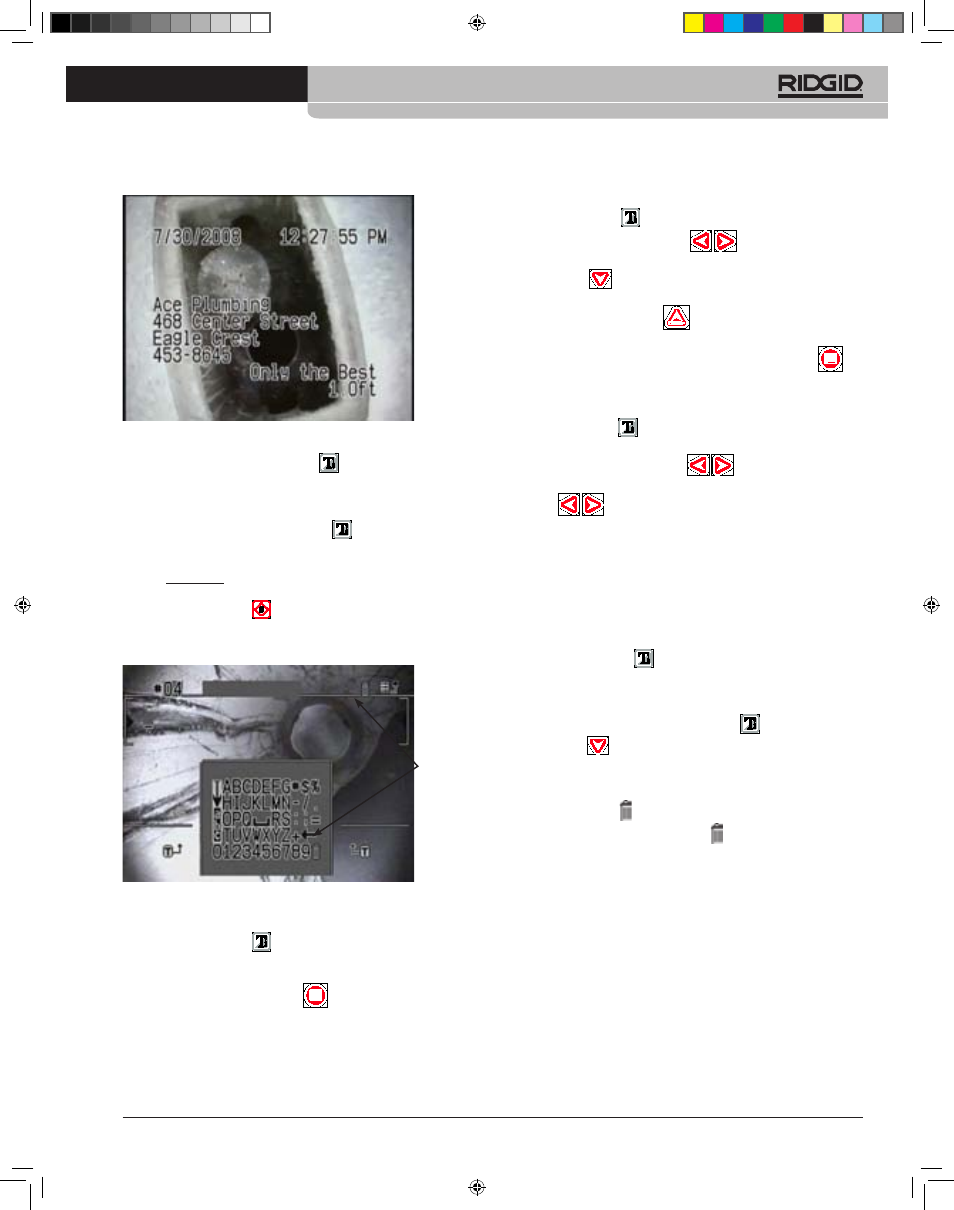
Figure 13: Text Selection Screen
a. To move to a different place in the slide, toggle back to the layout screen
by pressing the Text Key
.
b. To edit the slide’s title, use the Arrow Keys to move into the Title Region.
Replace the default title with your preferred text.
c. To save a slide, press the Menu Key
from the layout screen.
d. The slide will be saved automatically when you exit the slide, provided
some text has been entered on it.
Trash
Can
To Edit an Existing Slide
1) Press the Text Key
to display the current slide’s text.
2) Use the Left and Right Arrow Keys
to scroll through the
slides until the one you want to edit is displayed. Alternatively, press the
Down Arrow
to go through a list by title, and press Select when
your choice is highlighted.
3) Press the Up Arrow/Edit Key
to enter the edit mode for the
displayed slide.
4) When you have made the desired changes, press the Menu Key
to exit the editing mode.
To Choose a Slide for Display
1) Press the Text Key
to display the current slide’s text if it is not
displayed.
2) Use the Left and Right Arrow Keys
to scroll through the slides
until the one you want is displayed. Pressing the Left and Right Arrow
Keys
while a slide is displayed will change the display to the
next or previous slide in sequence.
3) If you are recording a pipe inspection and want to change the slide
overlay on the recording, pause the recording until you have selected
the desired slide, and then resume the inspection and the recording.
The displayed slide will be recorded along with the camera’s video. For
example, you may want to show an overlay that says “Roots” at the point
in the inspection where roots become evident.
To Turn Slide Display On or Off
1) Pressing the Text Key
will toggle the slide display off or on.
Deleting a Slide
To delete a text slide:
1. With text display toggled on using the Text Key
, press the Down
Arrow Key .
A list of existing slides will appear.
2. Arrow Down until the slide you wish to delete is highlighted and press the
Select Key.
3. Use the Arrow Keys to move along the text area until the cursor is under
the Trash Can icon . In Figure 13, the Trash Can is to the right of the
Title area. Arrow up until the Trash icon blinks, and press the Select
Key. (Alternatively, you can Select the Trash Can at the end of the Text
characters – see Figure 13.).
4. A confirmation screen will appear. To delete the slide, highlight the check-
mark icon and press Select. To cancel the deletion, highlight the X icon
and press Select, or simply press the Menu key.
744_031-601_0A_RevA_Countplus_ma7 7
9/04/2009 10:28:07