RIDGID CountPlus User Manual
Page 7
Ridge Tool Company
Tools For The Professional
TM
SeeSnake
®
CounTPluS Cable-CounTeR
Figure 6: System Time Screen
Format can be 12-hour time or 24-hour time. Press the Menu Key
to
accept your settings and exit the menu. A timer will automatically exit the
menu after 10 seconds of no activity.
System Date
Entering the Tools Menu
and scrolling to the Calendar
icon will
bring up the System Date control panel. The display includes a format option,
and a date string.
The format of the date display can be set to show the month, day and year
(MM/DD/YYYY) or to show the day, month and year (DD/MM/YYYY). Use
the arrow keys to highlight the month or day section of the format string, and
press the Up or Down Key
to toggle the format between these
two choices. Use the arrow keys to highlight each value in the Date string
and use the Up or Down Keys
to set the date correctly. Press
the Menu Key
to accept changes and escape from the Date menu.
Figure 7: System Date Screen
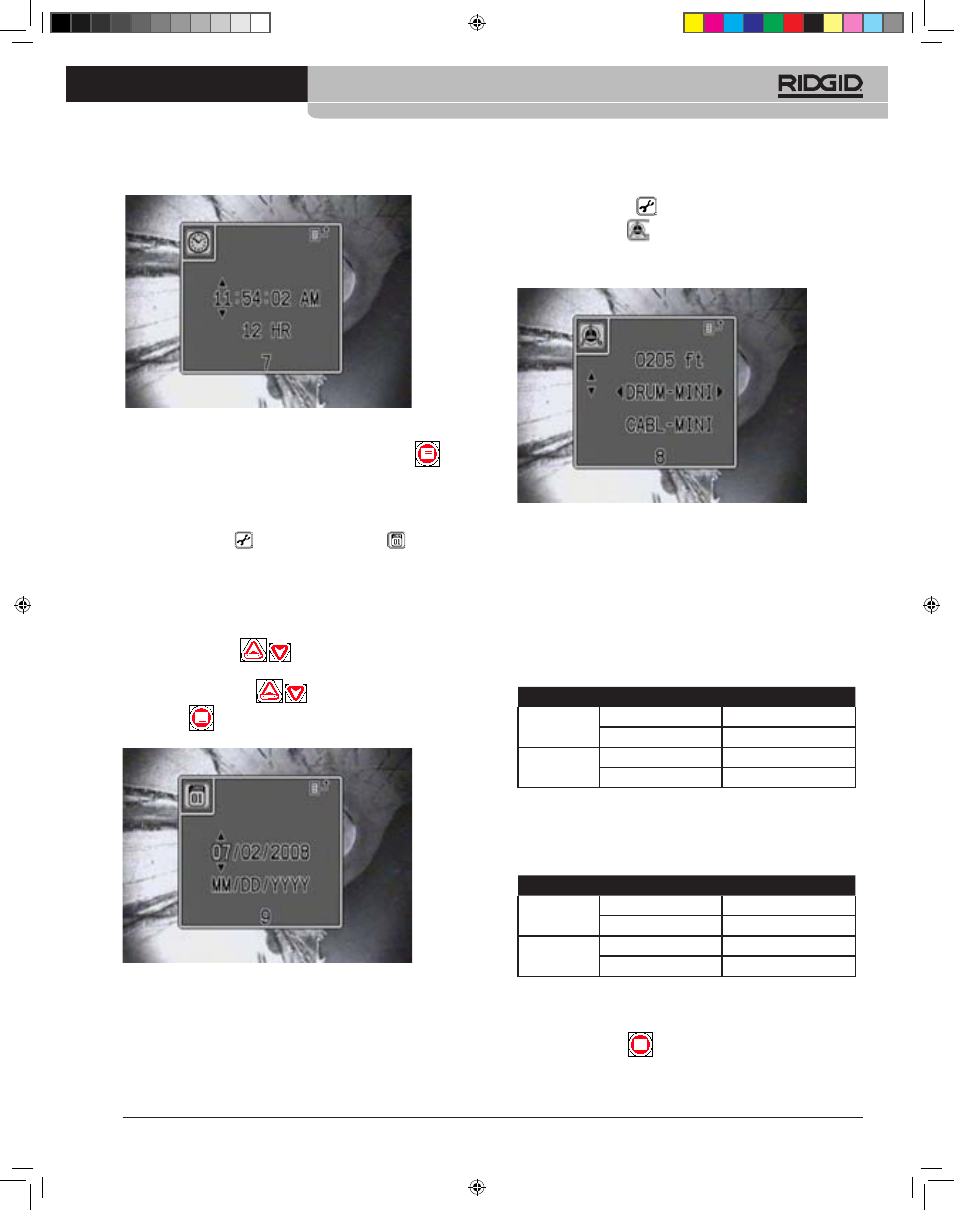
Reel and Cable Settings
Setting the right Reel and Cable types is part of setting up the CountPlus
to measure your particular SeeSnake correctly. When the CountPlus is
first installed, it has to be configured for the reel size and cable type your
SeeSnake system is using (Mini or Standard).
1. Select the Tools Menu
.
2. Select the Reel icon
.
3. Use the Up and Down arrows to move among the three parameters, and
the Right and Left Arrows to set their values.
Figure 8: Reel and Cable Type Settings
4. Arrow to the first row (Cable Length) and press the Left and Right Arrow
Keys to increment the counter to the correct number of feet. To change
numbers more rapidly, hold down one of the arrow keys. The standard
lengths for Mini, and Standard SeeSnakes, as shipped, are shown in the
following table.
If your cable has been cut to some other total length adjust this to the
nearest 5 feet of its actual length.
Table 1: Normal Cable Dimensions
MINI
STANDARD
Cable
Diameter
0.36”
0.44”
9.144 mm
11.176 mm
Cable
Length
200‘
100‘
60.9 m
30.48 m
5. Arrow down to the second row and set the reel setting to Mini, Compact
or Standard to match the unit you are using. If you are not sure which
kind of reel you are using, the following measurements will help identify it:
Table 2: Normal Reel Dimensions
MINI
STANDARD
Drum Inner
Radius
8.25”
11.82”
209.5 mm
300.2 mm
Drum Width
5”
6.76”
127 mm
171.7 mm
6. Arrow down to the third row (Cable Setting). Use table 1 if needed to help
identify the type of cable your system has in it.
7. Set the Cable Setting to the appropriate type installed in your SeeSnake.
Press the Menu Key
to save the settings and exit.
744_031-601_0A_RevA_Countplus_ma5 5
9/04/2009 10:27:46