Xerox COLOR 490 User Manual
Page 60
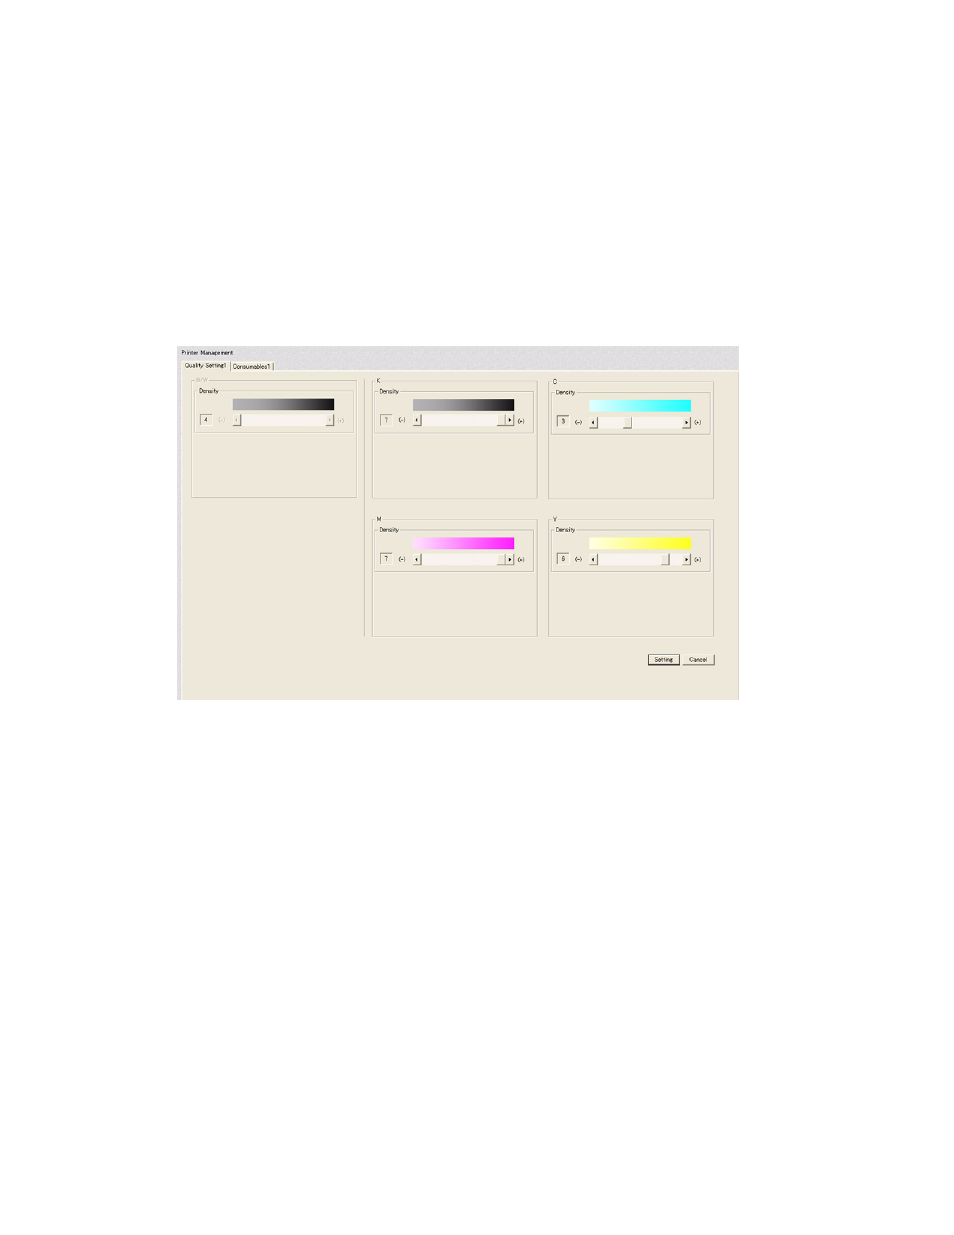
Pre-Calibration Engine Density Adjustment
Xerox 490/980 Color Continuous Feed Printing System
4-20
Color Management Guide
Note
In order to change color density values, the system must be paused (in NOT READY mode)
and the user must be logged in as a System Administrator. Once both of these
requirements have been met, the color density values can be changed from the PC-UI by
selecting [Printer Management] on the left-side navigation pane.
13. If the 100% color square on the test pattern (on average) is darker in density than the Dark
color square on the SIR, lighten (decrease) the print density of that color by 1 using the PC-
UI.
14. If the 100% color square on the test pattern (on average) is lighter in density than the
Light color square on the SIR, darken (increase) the print density of that color by 1 using
the PC-UI.
15. Select [Setting] after making the appropriate color density changes.
16. If another print-out of the test pattern is required, it may be released from the hold queue
of the IOT-UI without resubmitting the job from the client station.
Note
In the following step, if any color density settings are at their maximum or minimum
values, and the color settings are still not within the specified parameters of the SIR, notify
your local Xerox service representive.
17. Repeat steps 8-16 as many times as is required until all four colors are within the specified
parameters of the SIR.
18. When you are finished with this procedure, delete the job from the hold queue of the IOT-
UI.