Osd operation, Continued) – Tripp Lite B064-032-04-IPG User Manual
Page 31
User Management
(continued)
31
OSD Operation
(continued)
Assigning Users to a Group via the Group’s Notebook
To assign a user to a group from the Group notebook, do the
following:
1. Select the group’s name in the Group list or select the group’s name
in the Main Panel and click Modify.
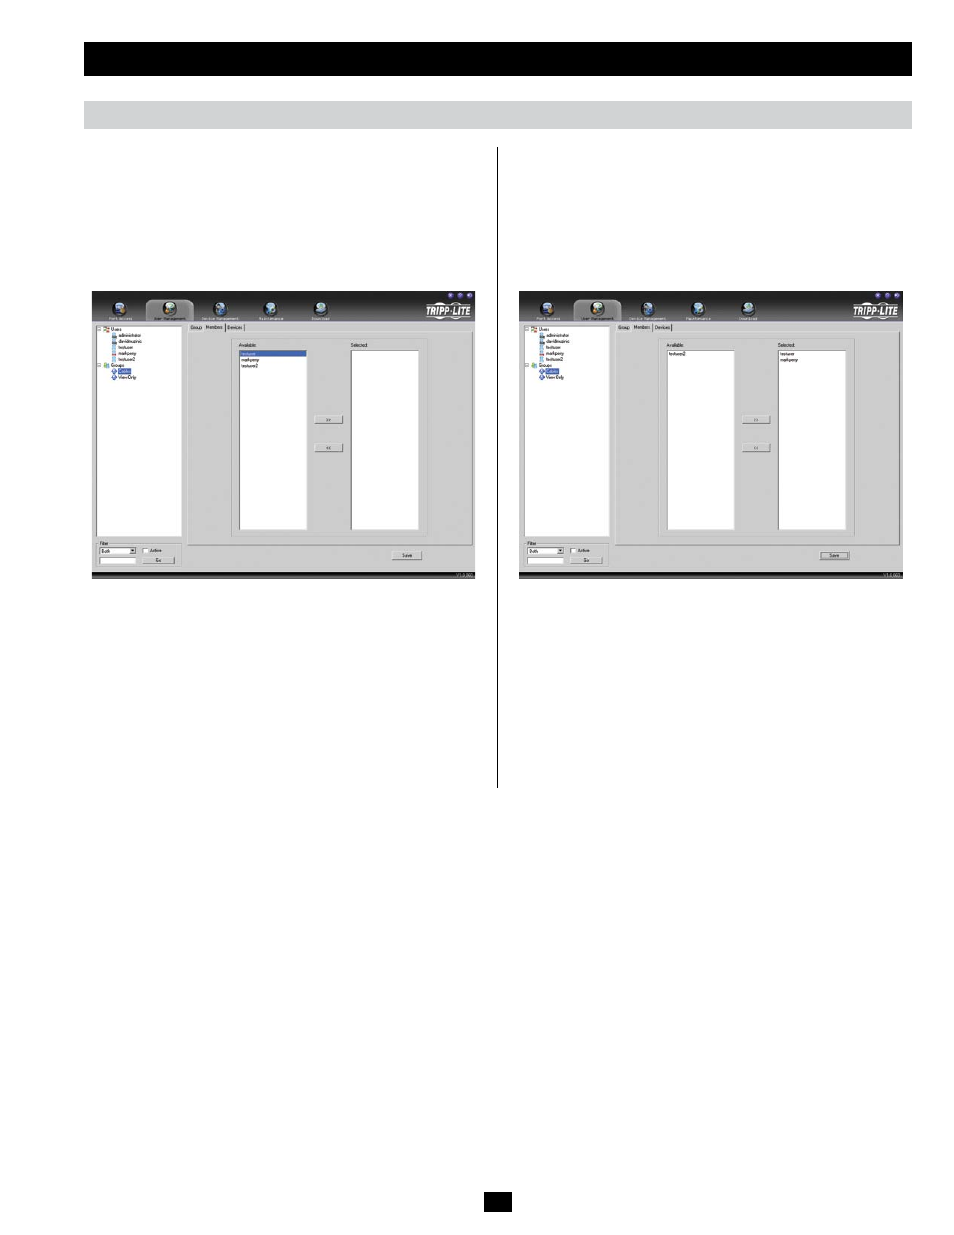
2. When the group’s notebook appears, select the Members tab. A
screen similar to the one below appears:
3. In the Available column, select the user that you want to add to the
group.
Note:
Super Administrators will not show up in the Available list,
as they already have access to the entire installation and cannot be
added to a group.
4. Click the Right Arrow to put the user’s name into the Selected
column.
5. Repeat the above for any other users that you want to add to the
group.
6. Click Save when you are done.
Removing Users From a Group via the Group’s Notebook
To remove a user from a group via the Group’s notebook, do the
following:
1. Select the group’s name in the Group list or select the group’s name
in the Main Panel and click Modify.
2. When the group’s notebook appears, select the Members tab. A
screen similar to the one below appears:
3. In the Selected column, select the user that you want to remove
from the group.
4. Click the Left Arrow to remove the user’s name from the Selected
column and send it back to the Available column.
5. Repeat the above for any other users that you want to remove from
the group.
6. Click Save when finished.