Operating instructions, Maintenance instructions, Copy of the lighting plate instructions – Regency SEE THRU P121-NG User Manual
Page 30: Do not remove this instruction plate
Regency P121/P121LC/P121RC/P131 Zero Clearance Room Sealed Gas Fireplace
30
MAINTENANCE
INSTRUCTIONS
1) Always turn off the gas valve before
cleaning. For relighting, refer to lighting
instructions. Keep the burner and control
compartment clean by brushing and vacu-
uming at least once a year. When cleaning
the logs, use a soft clean paint brush as the
logs are fragile and easily damaged.
2) Clean appliance and door with a damp cloth
(never when unit is hot). Never use an
abrasive cleaner. The glass should be
cleaned with a gas fireplace glass cleaner.
The glass should be cleaned when it
starts looking cloudy.
3) The heater is finished in a heat resistant
paint and should only be refinished with
heat resistant paint. Regency uses Stove-
Bright Paint - Metallic Black #6309.
4) Make a periodic check of burner for proper
position and condition. Visually check the
flame of the burner periodically, making
sure the flames are steady; not lifting or
floating. If there is a problem, call a author-
ized service person.
5) The appliance and flueing system must be
inspected before use, and at least annual-
ly, by a authorized field service person, to
ensure that the flow of combustion and
ventilation air is not obstructed.
Note: Never operate the appliance with-
out the glass properly secured in
place.
6) Do not use this appliance if any part has
been under water. Immediately call a au-
thorized service technician to inspect the
appliance and to replace nay part of the
control system and any gas control which
has been under water.
7) In the event this appliance has been serv-
iced check that the flue-air system has
been properly resealed & reinstalled in
accordance with the manufacturer's in-
structions.
8) Verify operation after servicing.
General Flue Maintenance
Conduct an inspection of the flueing system
semi-annually. Recommended areas to inspect
as follows:
1) Check the Flueing System for corrosion in
areas that are exposed to the elements.
These will appear as rust spots or streaks,
and in extreme cases, holes. These com-
ponents should be replaced immediately.
COPY OF THE LIGHTING PLATE INSTRUCTIONS
OPERATING INSTRUCTIONS
TO TURN OFF GAS APPLIANCE
FOR YOUR SAFETY READ BEFORE LIGHTING
This appliance must be installed in accordance with local codes, if any; if not, follow the
current CAN1-B149/ANSI Z 223.1 (Australia: AS5601-2004, New Zealand: NZS 5261)
1) Turn OFF the flame switch.
2) Push in gas control knob slightly and turn to "OFF" position.
CAUTION: Hot while in operation. Do not touch. Severe Burns may result. Due
to high surface temperatures keep children, clothing and furniture, gasoline
and other liquids having fammable vapors away. Keep burner and control
compartment clean. See installation and operating instructions
accompanying appliance.
LIGHTING INSTRUCTIONS
A)This appliance has a pilot which
must be lighted by hand. When
lighting the pilot, follow these
instructions exactly.
B)BEFORE LIGHTING smell all around
the appliance area for gas. Be sure
to smell next to the floor because
some gas is heavier than air and
will settle on the floor.
WHAT TO DO IF YOU SMELL GAS
- Do not try to light any appliance
- Do not touch any electric switch, do
not use any phone in your building
- Immediately call your gas supplier
from a neighbours phone. Follow
the gas suppliers instructions.
- If you cannot reach your gas
supplier, call the fire department.
C)Use only your hand to push in or turn
the gas control knob. Never use tools.
If the knob will not push in or turn by
hand, dont try to repair it, call a
qualified service technician. Force or
attempted repair may result in a fire
or explosion.
D)Do not use this appliance if any part
has been under water. Immediately
call a qualified service technician to
inspect the appliance and to replace
any part of the control system and any
gas control which has been under
water.
This appliance needs fresh air for safe
operation and must be installed so there
are provisions for adequate combustion
and ventilation air.
DO NOT REMOVE THIS INSTRUCTION PLATE
WARNING: If you do not follow these instructions exactly, a fire or
explosion may result causing property damage, personal injury or loss
of life. Improper installation, adjustment, alteration, service or maintenance
can cause injury or property damage. Refer to the owners information
manual provided with this appliance. For assistance or additional
information consult a qualified installer, service agency or gas supplier.
918-253a
You may shut off the pilot during prolonged non use periods to conserve fuel.
STOP! Read the safety information above on this label.
1) Push in gas control knob slightly and turn to PILOT position.
2) Push in control knob all the way and hold in until the pilot lights up. Continue
to hold the control knob in for about 20 seconds after the pilot is lit. Release
knob.
3) Push in gas control knob slightly and
turn to "ON" position.
4) Turn ON the flame switch.
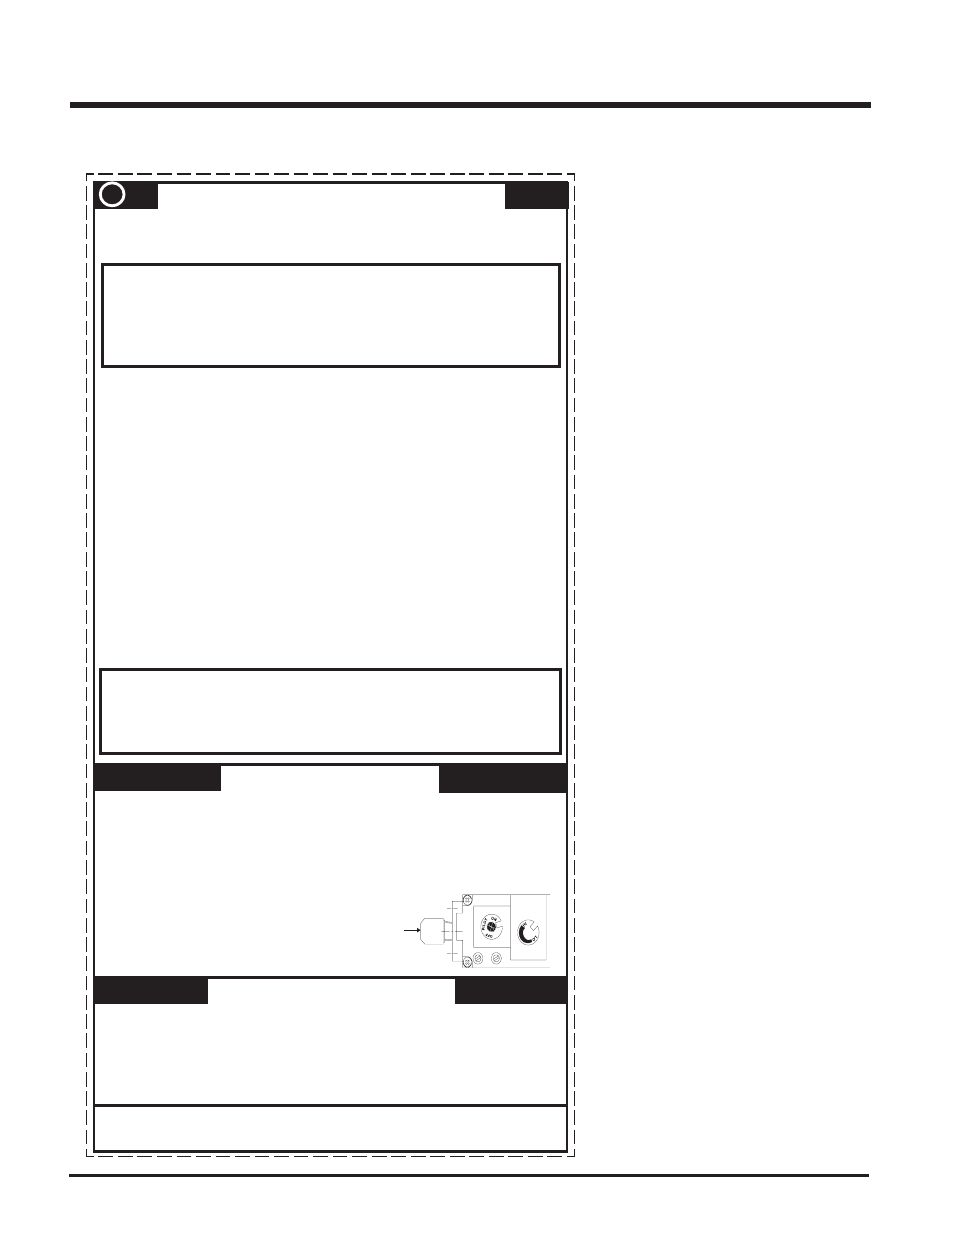
Gas Inlet