Removing 3.5-inch hard disk drive – NEC EXPRESS 320Lb-R User Manual
Page 247
System Upgrade 8-9
Removing 3.5-inch Hard Disk Drive
Follow the procedure below to remove the hard disk.
IMPORTANT:
Make sure to read "Anti-static Measures" and "Preparing Your System for
Upgrade" before starting installing or removing options.
1.
Disconnect the hard disk from RAID, referring to step 1 in “Restoring Redundant
Configuration Manually” (page 3-6).
2.
Unlock the front bezel with the security key and open it.
Unlock the front bezel with the security key and detach it.
3.
Perform the shutdown process from the OS properly.
Execute the shutdown process using shutdown command, and then press the POWER
switch to turn off the server.
4.
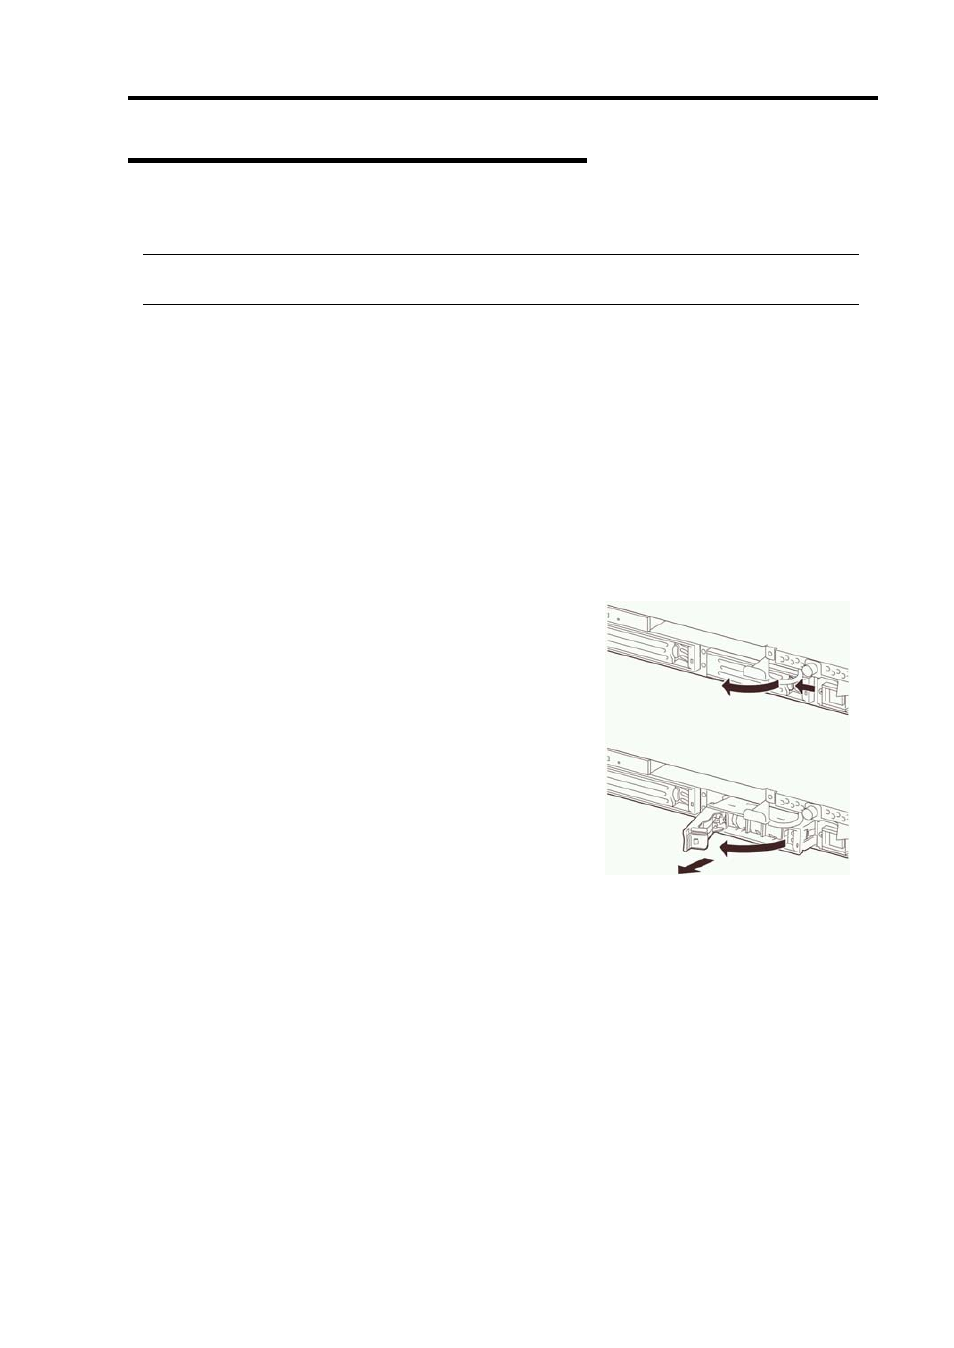
Push the lever of the hard disk to unlock the handle.
5.
Hold the handle and hard disk to pull them off.
6.
Install the dummy tray in an empty slot according
to procedures described in "Installation".
Make sure to install the dummy tray in the empty
slot to improve the cooling effect within the device.